
Among the most kunning orks in the galaxy, Kommandos represent the most effective operatives the Orks can muster, teams of speshulist operatives who can make their way undetected through a battlefield and savage unsuspecting foes. Kommandos were, along with Veteran Guardsmen, the first teams released for the current edition of Kill Team in 2021, and despite a couple of nerfs have managed to stay more or less competitive through a host of more modern teams. In this article, we’re diving into these teams and talking about how to build them, how to play them, and how to beat them.
Team Overview
Strengths
- Fantastic Ploys – Kommandos come with one of the strongest set of ploys available to a team with a couple ranking amongst the best in the game.
- Balanced – This team hits hard in both melee and at range. While a majority of the team is best-suited for combat up close, players who underestimate the proficiency of the ranged specialists will be in for a shock.
- Strong Specialists – As a big leap over the Compendium Greenskins almost every specialist on this team has strong and easy to use data-card abilities.
Weaknesses
- Minor – Kommandos really don’t have a ton of weaknesses; There are only a few things Kommandos don’t have access to. They lack a medic specialist and have no access to Group Activation 2 in their rosters but otherwise Kommandos have the tools to be capable in any match up.

Team Structure
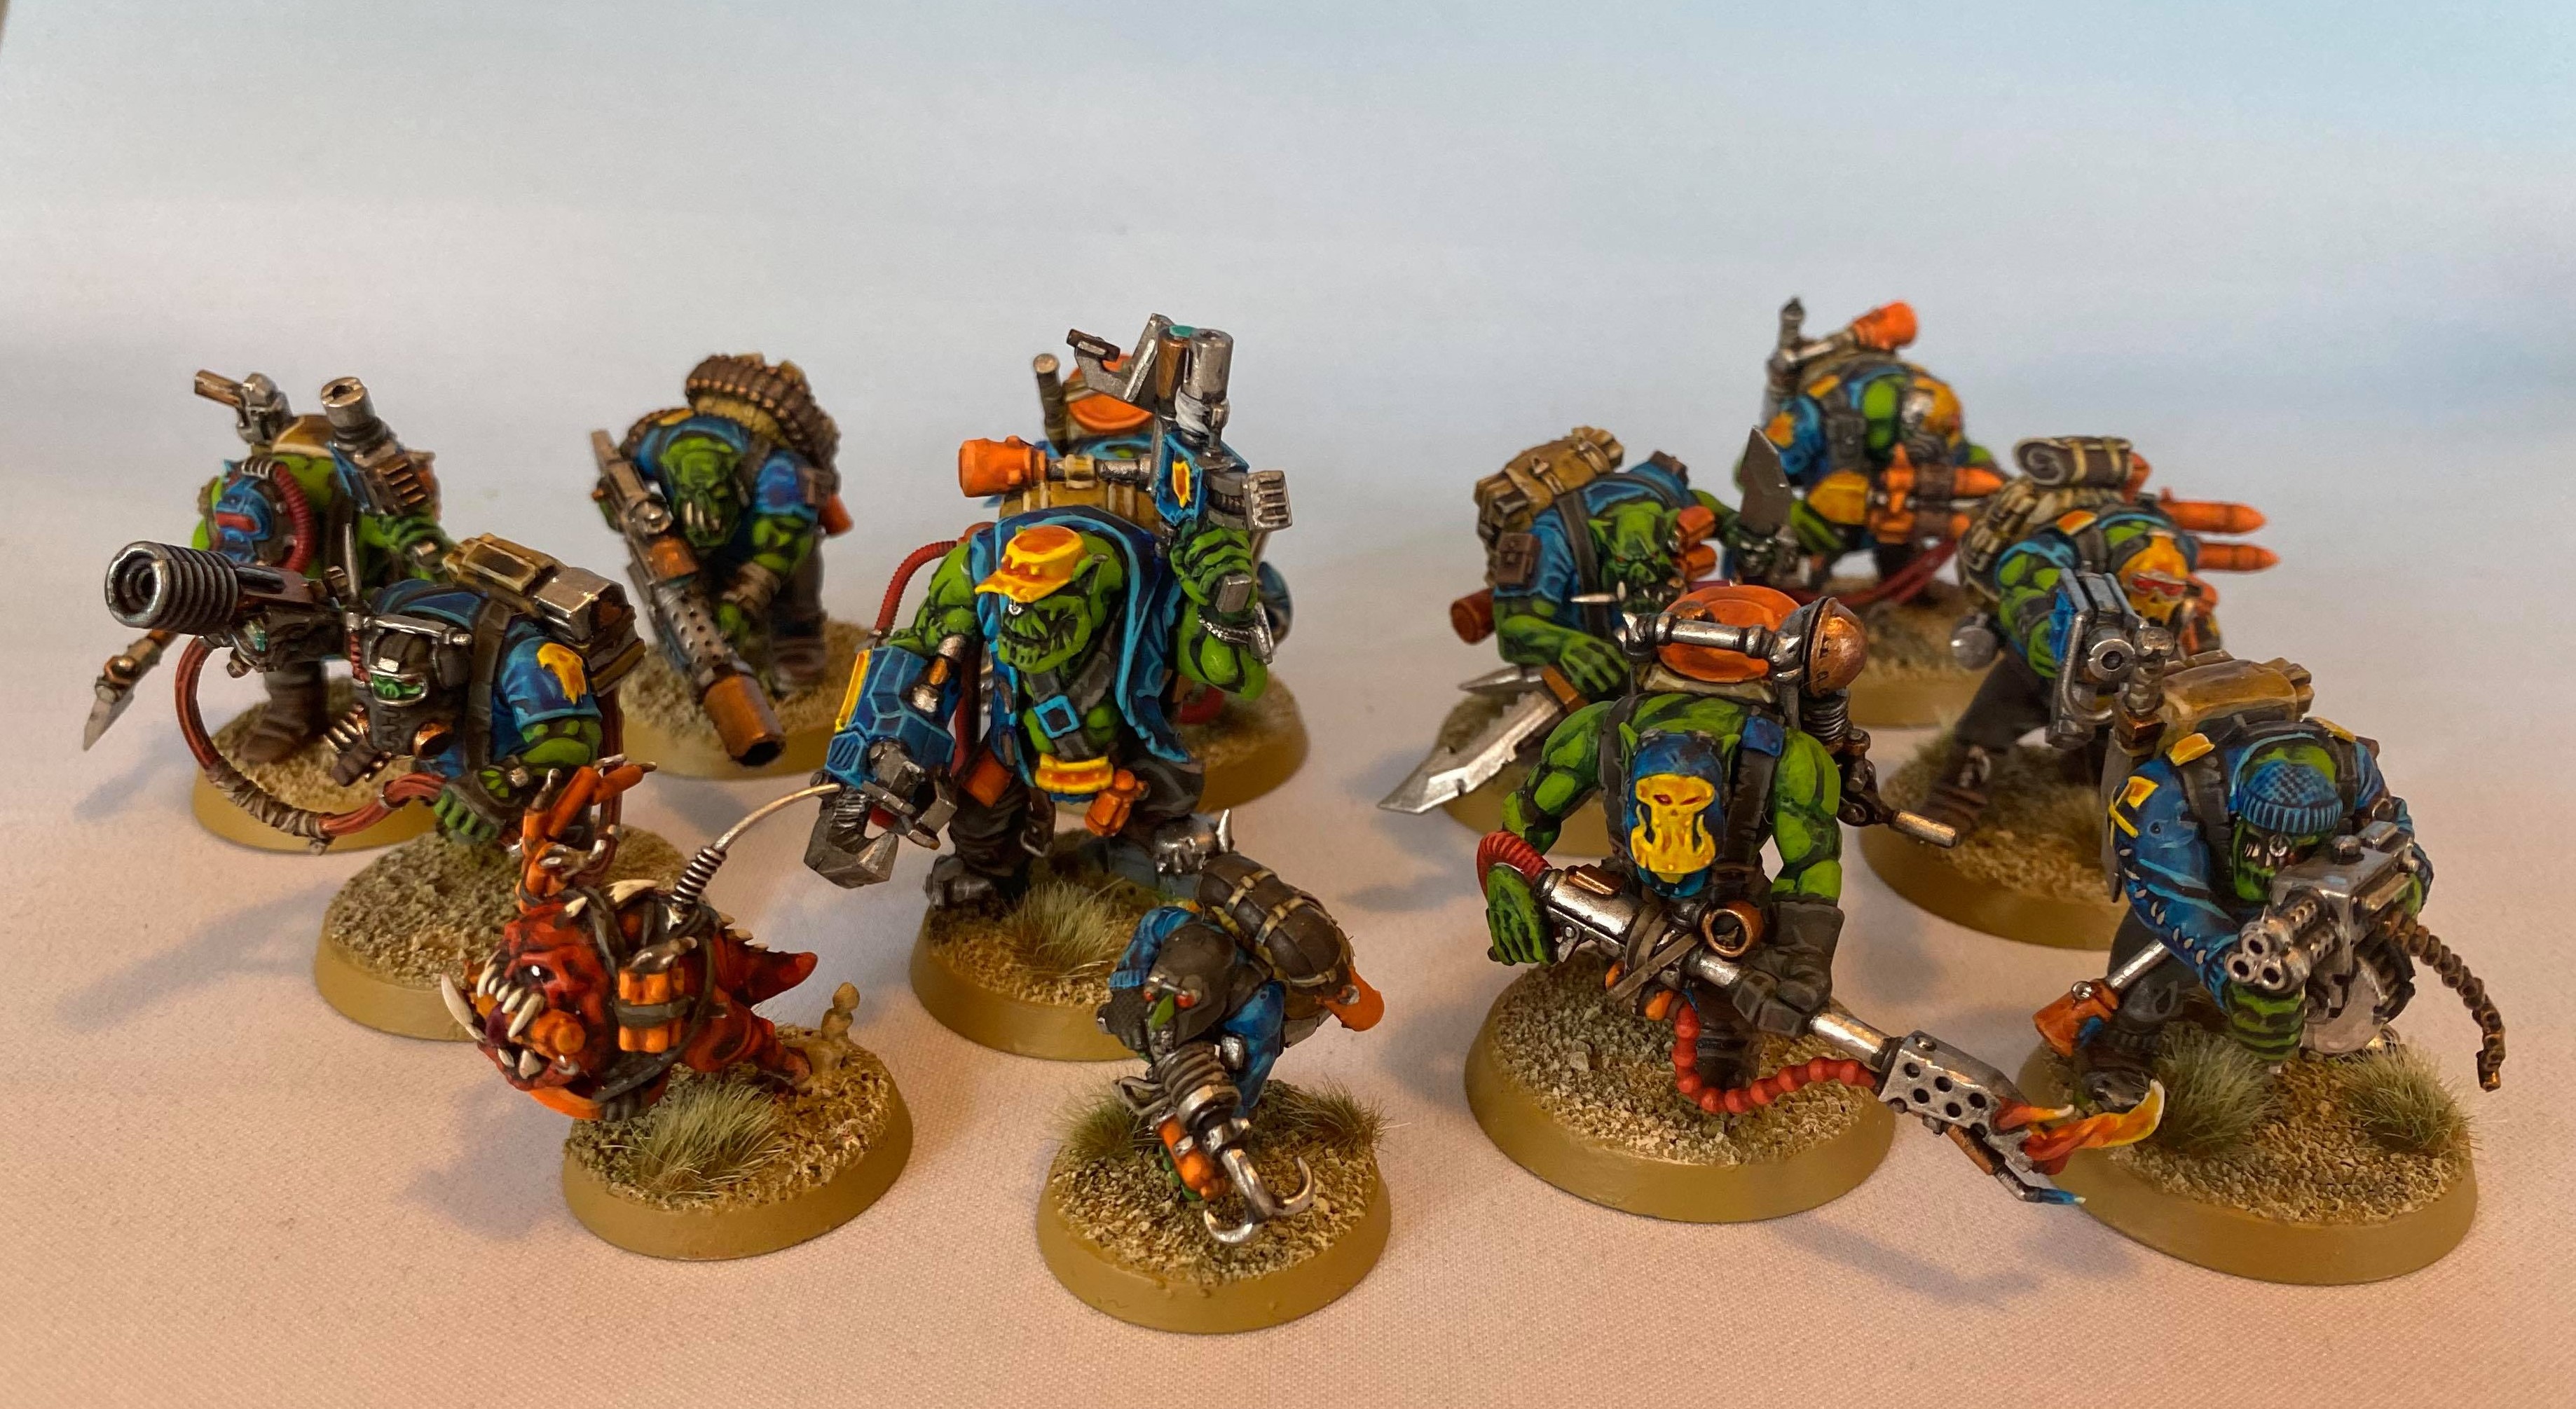
Kommando Kill Teams fall into the grey area of, not-elite but not-horde, with 10 operatives. The team is also perhaps one of the most pre-determined in what players can bring with a Kommando Nob being the obligatory leader option, and the only operative that comes with multiple weapon options, your choices being either a Power Klaw or a Big Choppa.
Your remaining 9 Operatives are drawn from the following:
- Kommando Boy
- Kommando Grot
- Kommando Slasha Boy
- Kommando Breacha Boy
- Kommando Snipa Boy
- Kommando Dakka Boy
- Kommando Comms Boy
- Kommando Burna Boy
- Kommando Rokkit Boy
- Bomb Squig
Only Kommando Boy operatives may be taken more than once.
Abilities
Kommandos mostly share a common profile of 10 wounds, 2 APL, and a 5+ save. They’re superior to their Compendium cousins in most respects: All of your Boyz hit on BS 4+ with their ranged attacks, while still sporting the Ork penchant for melee with WS 3+ to hit in combat.
Most importantly, they come with the team-wide ability Throat Slittas, which allows them to make a Charge Action while Concealed. This makes them incredibly dangerous on the table, able to sneak around cover and get the drop on your operatives before you can take them out with shooting.
Operatives

Kommando Boy
Your non-specialist option, comes with a Choppa and a Slugga, but otherwise has no special abilities. The main reason these guys will come up is when you need to decide to whether you will take the Grot and/or the Squig (more on them later), as they are the more situationally useful of the operatives available. The Grot and Squig are both very fragile and having a standard Boy may be more useful, similar to how Navy Breachers can take standard Armsmen in place of their servitor drones.
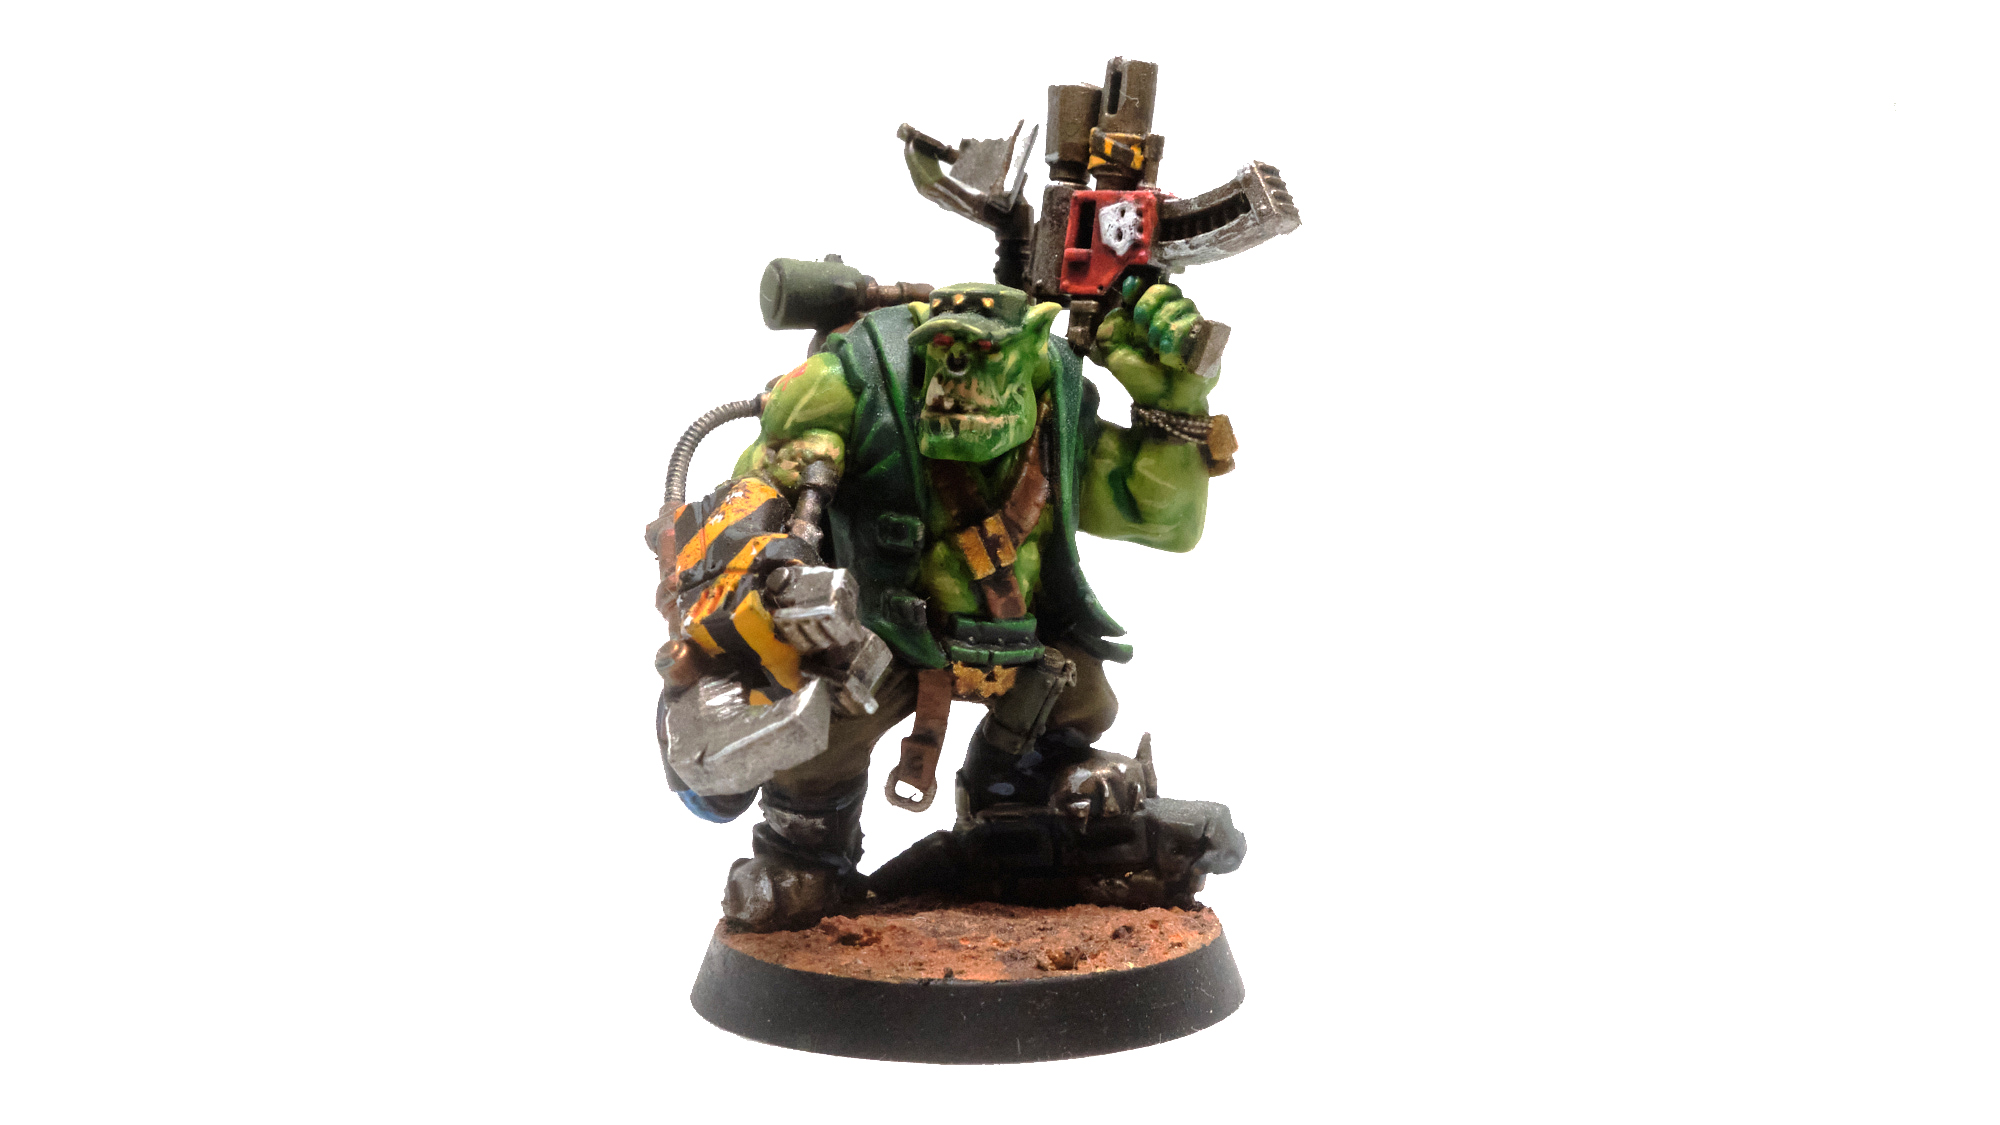
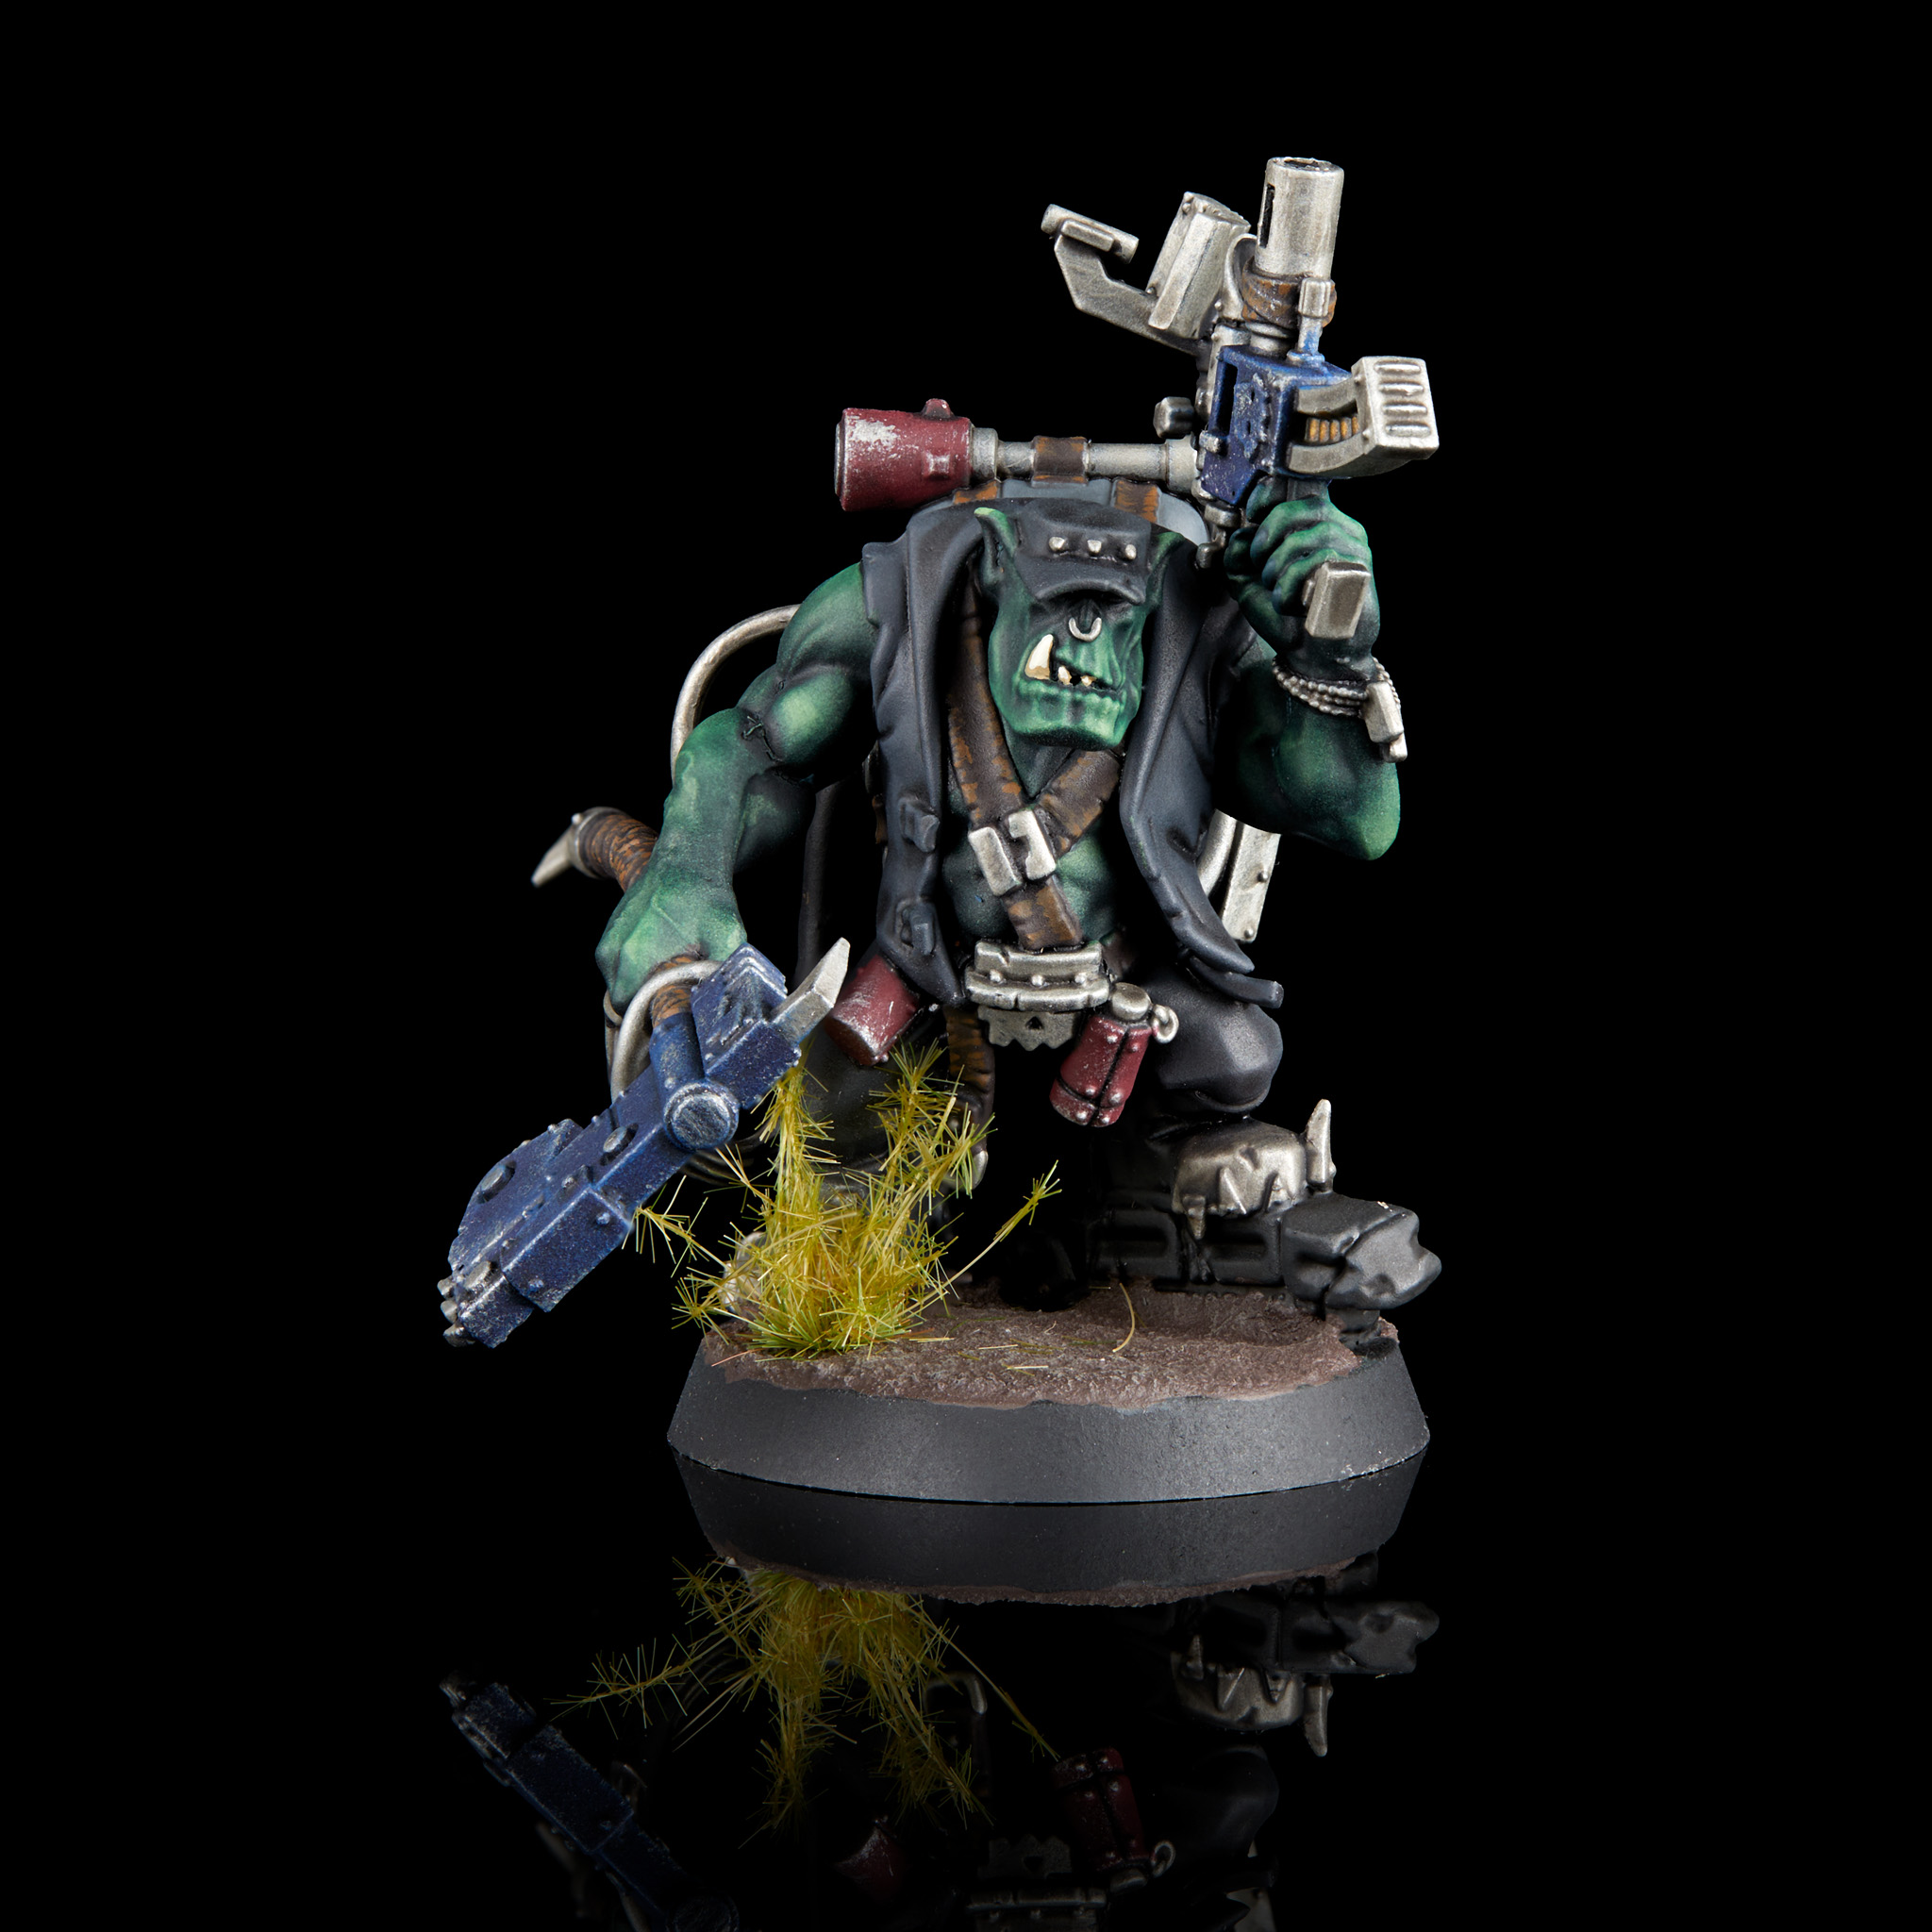
Kommando Nob
Your obligatory chunky leader who sports a proper 3 wounds over his comrades, and is better at Krumpin’ than your standard Boy. This operative is armed with the nastiest close combat weapon available to the team, AND has the ability to raise the APL of an operative within 6 inches by 1 making him an excellent combination of buffer and more than capable than defeating almost any other operative in combat short of a Custodian. Give him the power klaw.
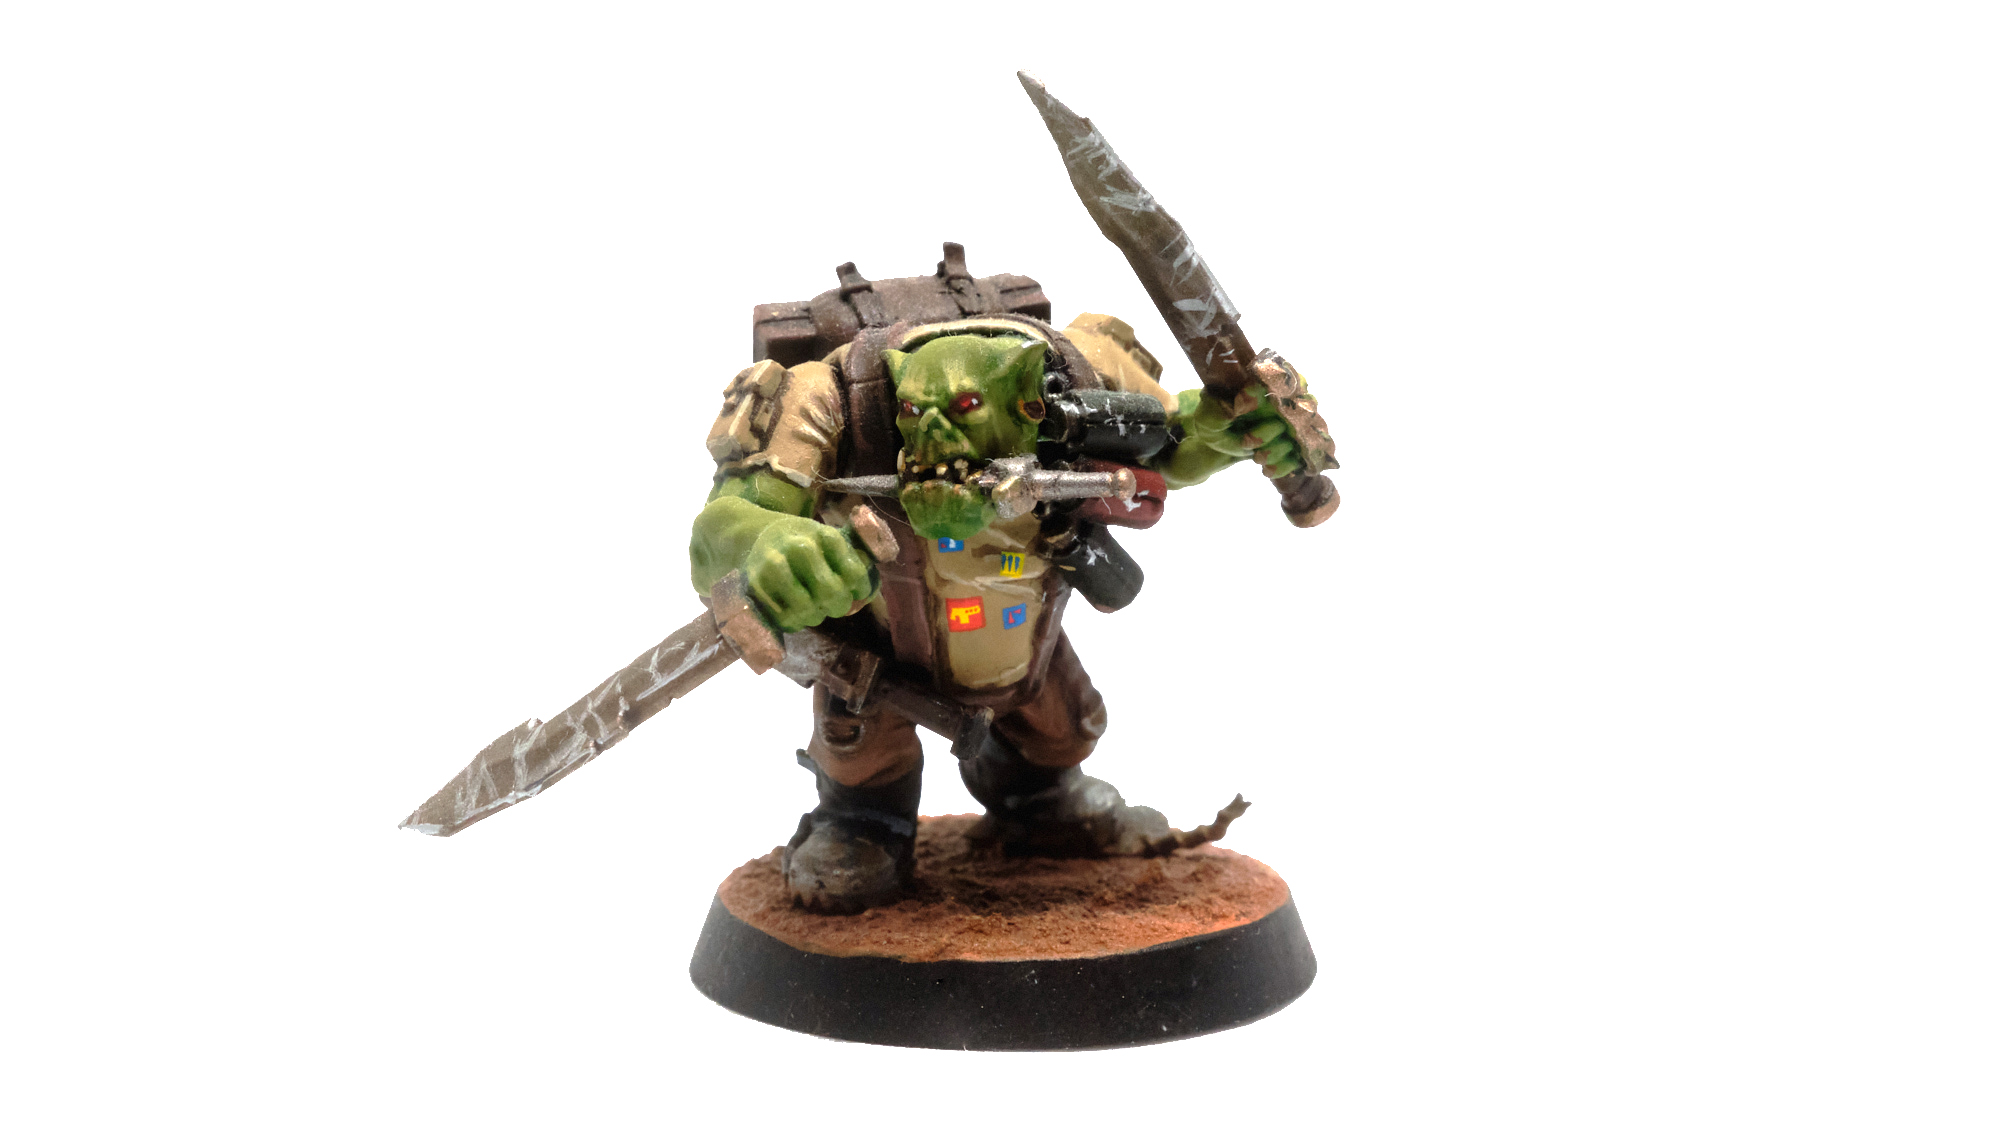
Kommando Slasha Boy
Our first melee specialist, this Ork is armed with a pair of Relentless Choppas, and comes with a ranged option in the form of throwing knives. These weapons have the odd 2/5 damage profile along with a six inch range and the Silent trait. Also he comes with the Dat All Ya Got? special ability which allows him to deal 2 Mortal Wounds on a 4+ if he deals damage, but fails to kill his target.

Kommando Breacha Boy
Armed with a Slugga like your standard Boy, however the Breacha swaps out the Choppa for a Breacha Ram that comes with 3 attacks, 5/5 damage, and the Brutal special rule. Basically you’re trading out an attack for more reliable damage, however this isn’t really what makes the Breacha special. Its most powerful ability comes in the form of the Breach special rule that allows it to Charge, Dash, or Normal Move through terrain no more than 1 inch in thickness. This makes the Breacha a very versatile operative that can be used to charge weaker enemies through walls, or get access too difficult to reach objectives. Unfortunately, it was recently confirmed by the Design Team that this ability can not be used on Into the Dark boards, which drastically neuters this operative’s effectiveness on those missions types.

Kommando Snipa Boy
Perhaps one of the strangest “Sniper” specialists in the entire game, the Snipa Boy’s Scoped Big Shoota comes with a whopping 6 attacks, 3+ to hit, 2/2 damage, and MW2. This final trait makes this operative one of the swingiest in the game as it has the potential to land a staggering number of mortal wounds, or nothing, depending on your luck. Additionally, this operative comes with two special abilities ‘Av It! (2 AP) and Da Best Spot! (2 AP). Both of these require both the operatives actions, or in more important terms will prevent you from moving (unless your Nob is around), if you wish to employ them. The first grants the Scoped Big Shoota a pseudo-blast ability that only gets 4 attacks against targets past the initial one, while the second grants a free shooting action but with the Silent trait.
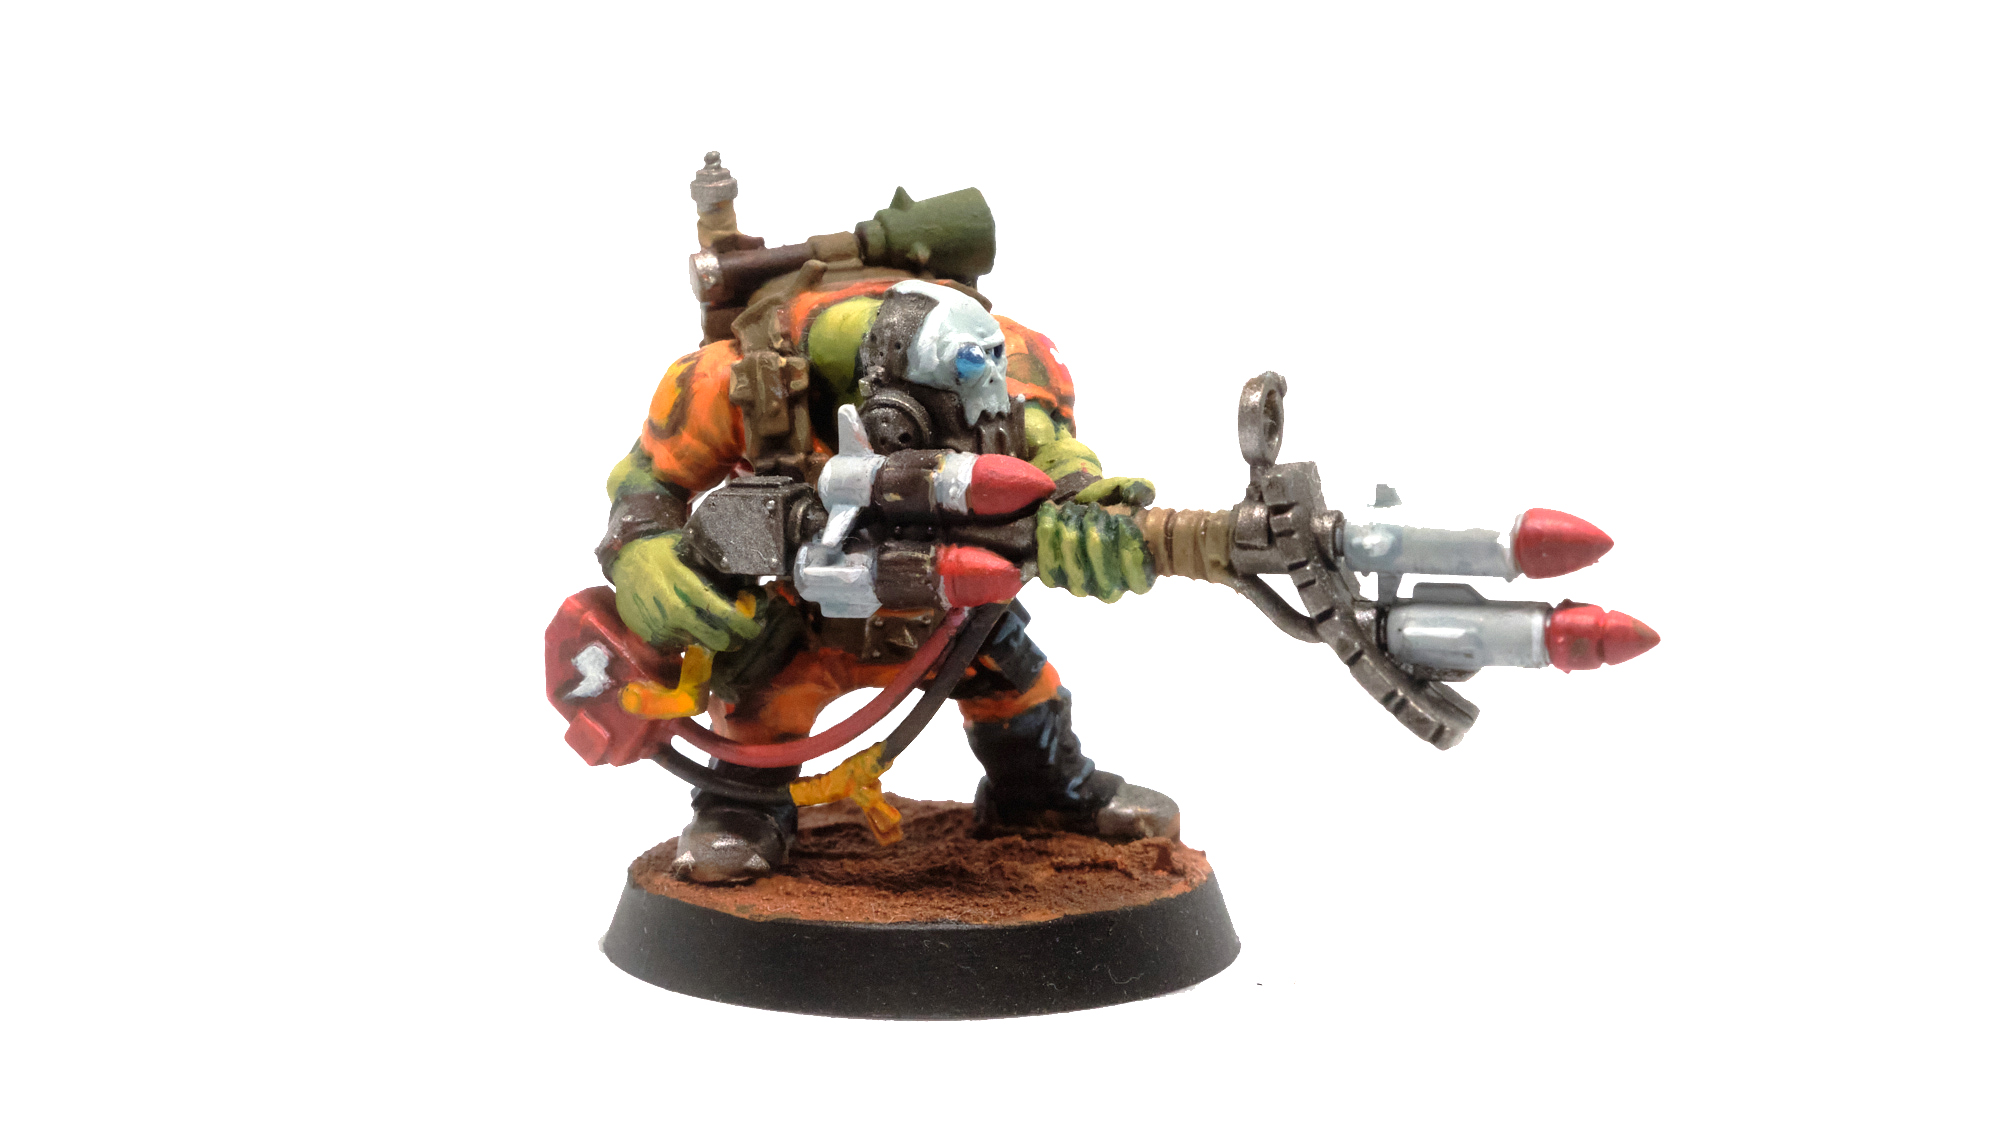
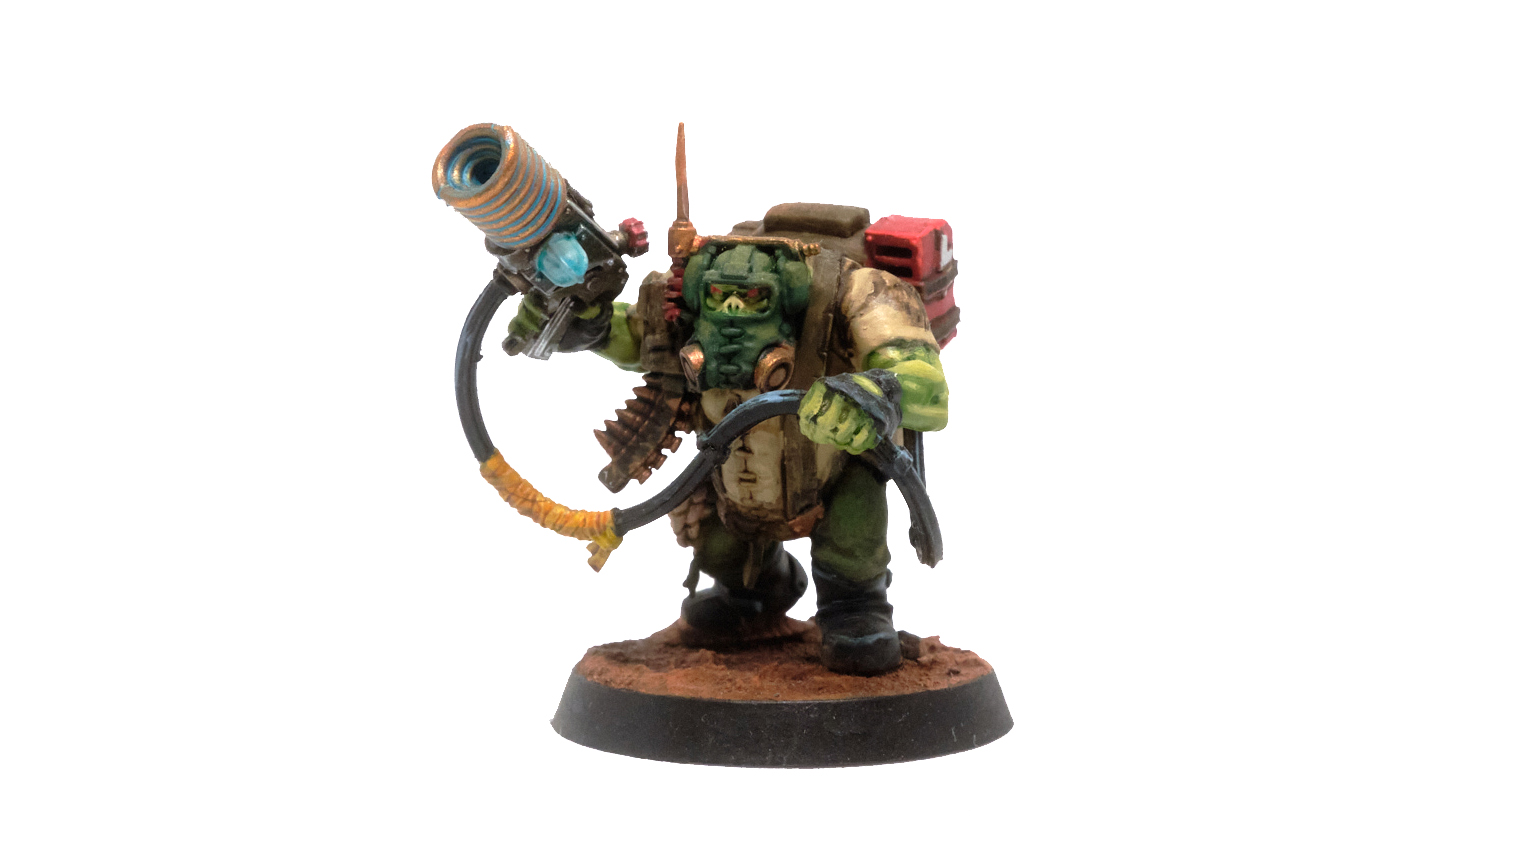
Kommando Rokkit Boy
The Rokkit Boy is armed, unsurprisingly, with a Rokkit Launcha which is mostly unchanged from its compendium variant, though with one big difference: If this operative has not moved during its activation when it performs a Shoot Action it may re-roll any or all dice. As was covered in the Greenskins article, Rokkit Launchas are fantastic weapons since they lack the Heavy trait, and in the hands of Kommandos they’re even deadlier. Additionally, this weapon gains Lethal 5+ in Gallowdark missions (thanks to it having Splash 1), making it the deadliest ranged weapon available to the team.
Kommando Dakka Boy
The last of our ranged specialists. While not as deadly as our Snipa or Rokkit Boy, this operative is very versatile. Equipped with a 5-attack Shoota, the Dakka Boy comes with the Dakka Dash (2 AP), which allows him to perform a free Shoot and Dash Action in any order. Additionally, this operative may re-roll any or all attack dice when using his Shoota within 6 inches of his target, making him a very reliable at closing with and finishing off enemies.
Kommando Comms Boy
Comes with the usual Comms Specialist ability to give up an APL to give it to another operative, but with a range requirement of six inches. Additionally, this operative may perform mission or pick up actions at 1 AP less and has the very Orky Shokka Pistol that has 6 attacks, 1/1 damage, MW2, and Stun. This last weapon is far from reliable, but is very similar to the Snipa Boy’s Big Shoota with the potential for a big swing in damage.

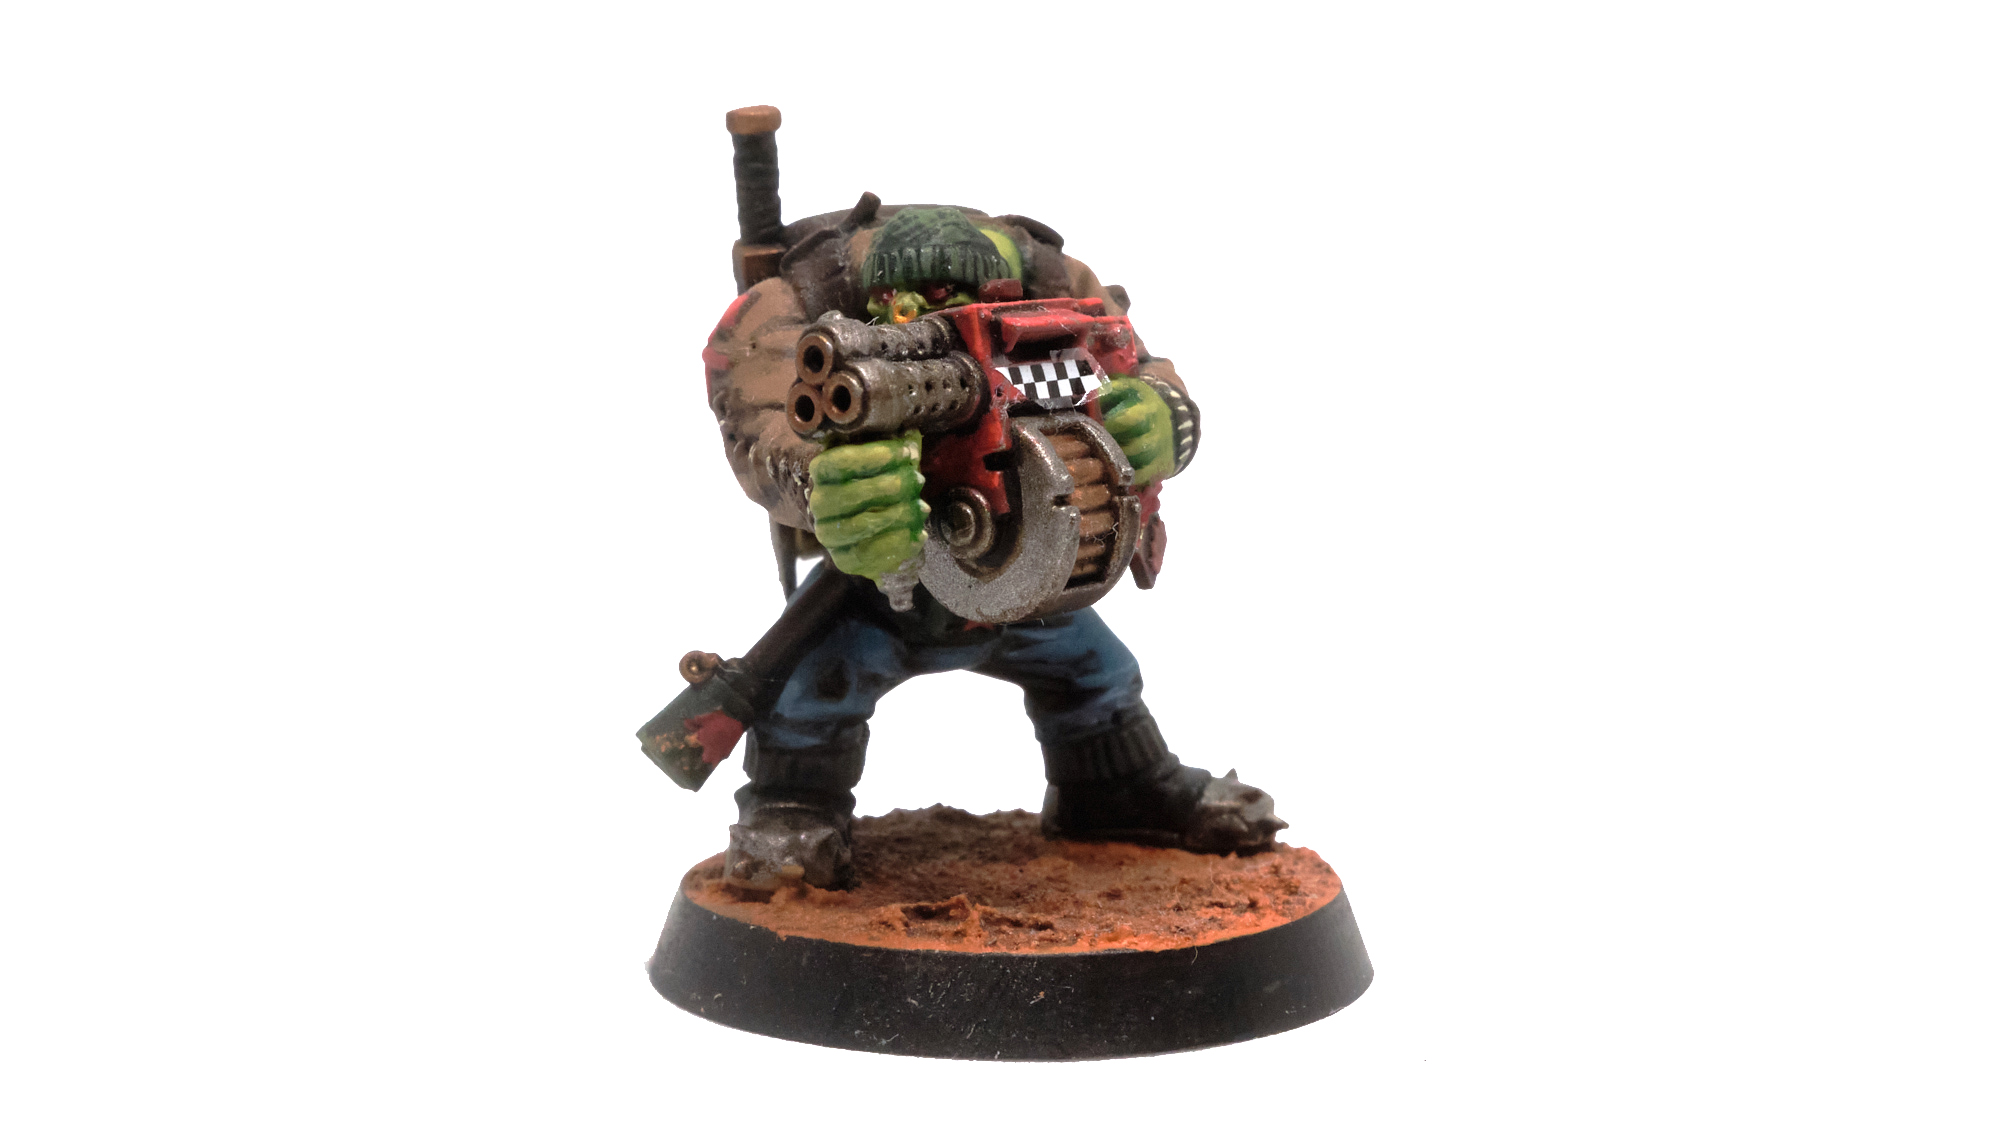
Kommando Burna Boy
The only specialist who doesn’t come with any sort of unique ability, simply a boy that has traded out his Choppa and Slugga for a Burna. Utility will vary by how useful having a burna is.

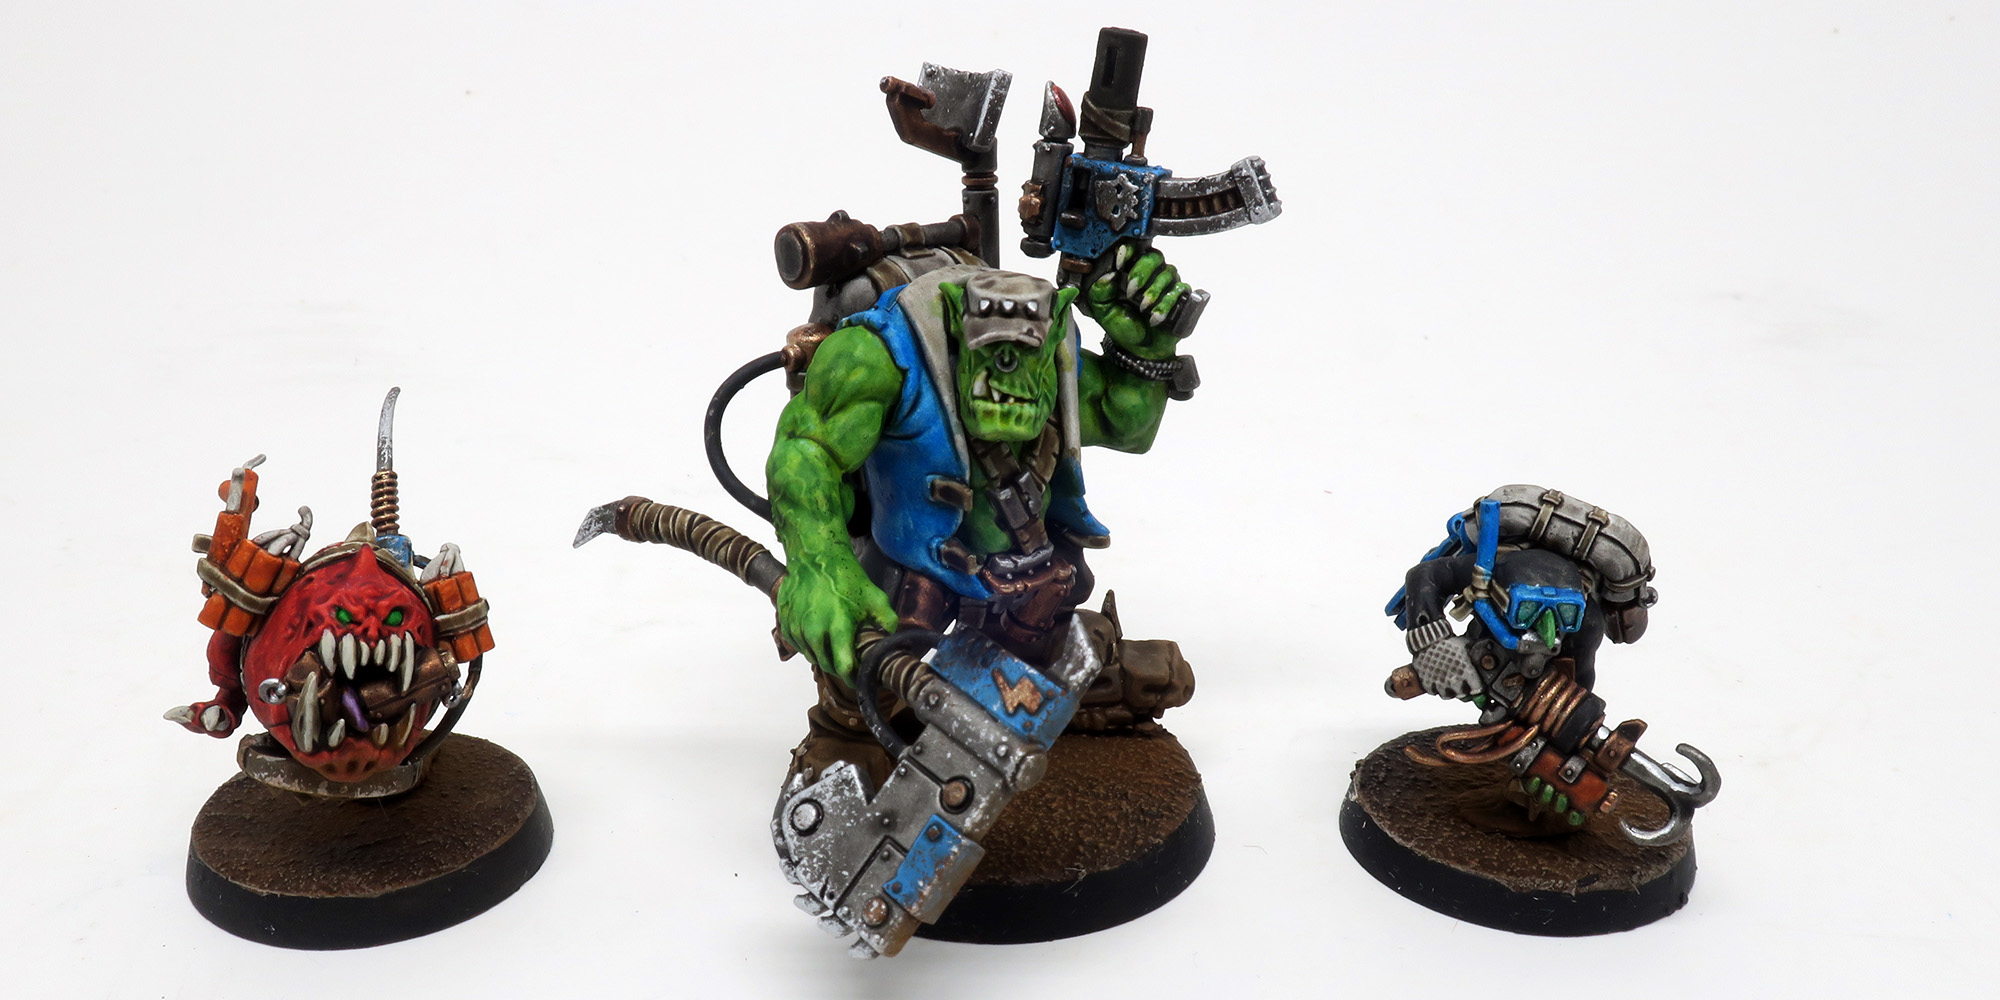
Kommando Grot and Bomb Squig
These are basically the two non-required operatives for the team, which ironically have the most interesting abilities. First we have the Kommando Grot, who comes with the Sneaky Zogger and Grappling Hook (1 AP) abilities; the former meaning the Grot is always treated as having the Conceal order, and the later allowing the operative to perform an unlimited distance move to any point on a terrain feature it can see. This ability is really unique, and can make the Kommando Grot especially useful for completing certain Tac Ops. Unfortunately, aside from this ability the Grot has no useful offensive abilities, dies very easily, and is near useless on Into the Dark missions. Unless you have a VERY specific plan on how to use him he is best replaced by a regular Kommando Boy.
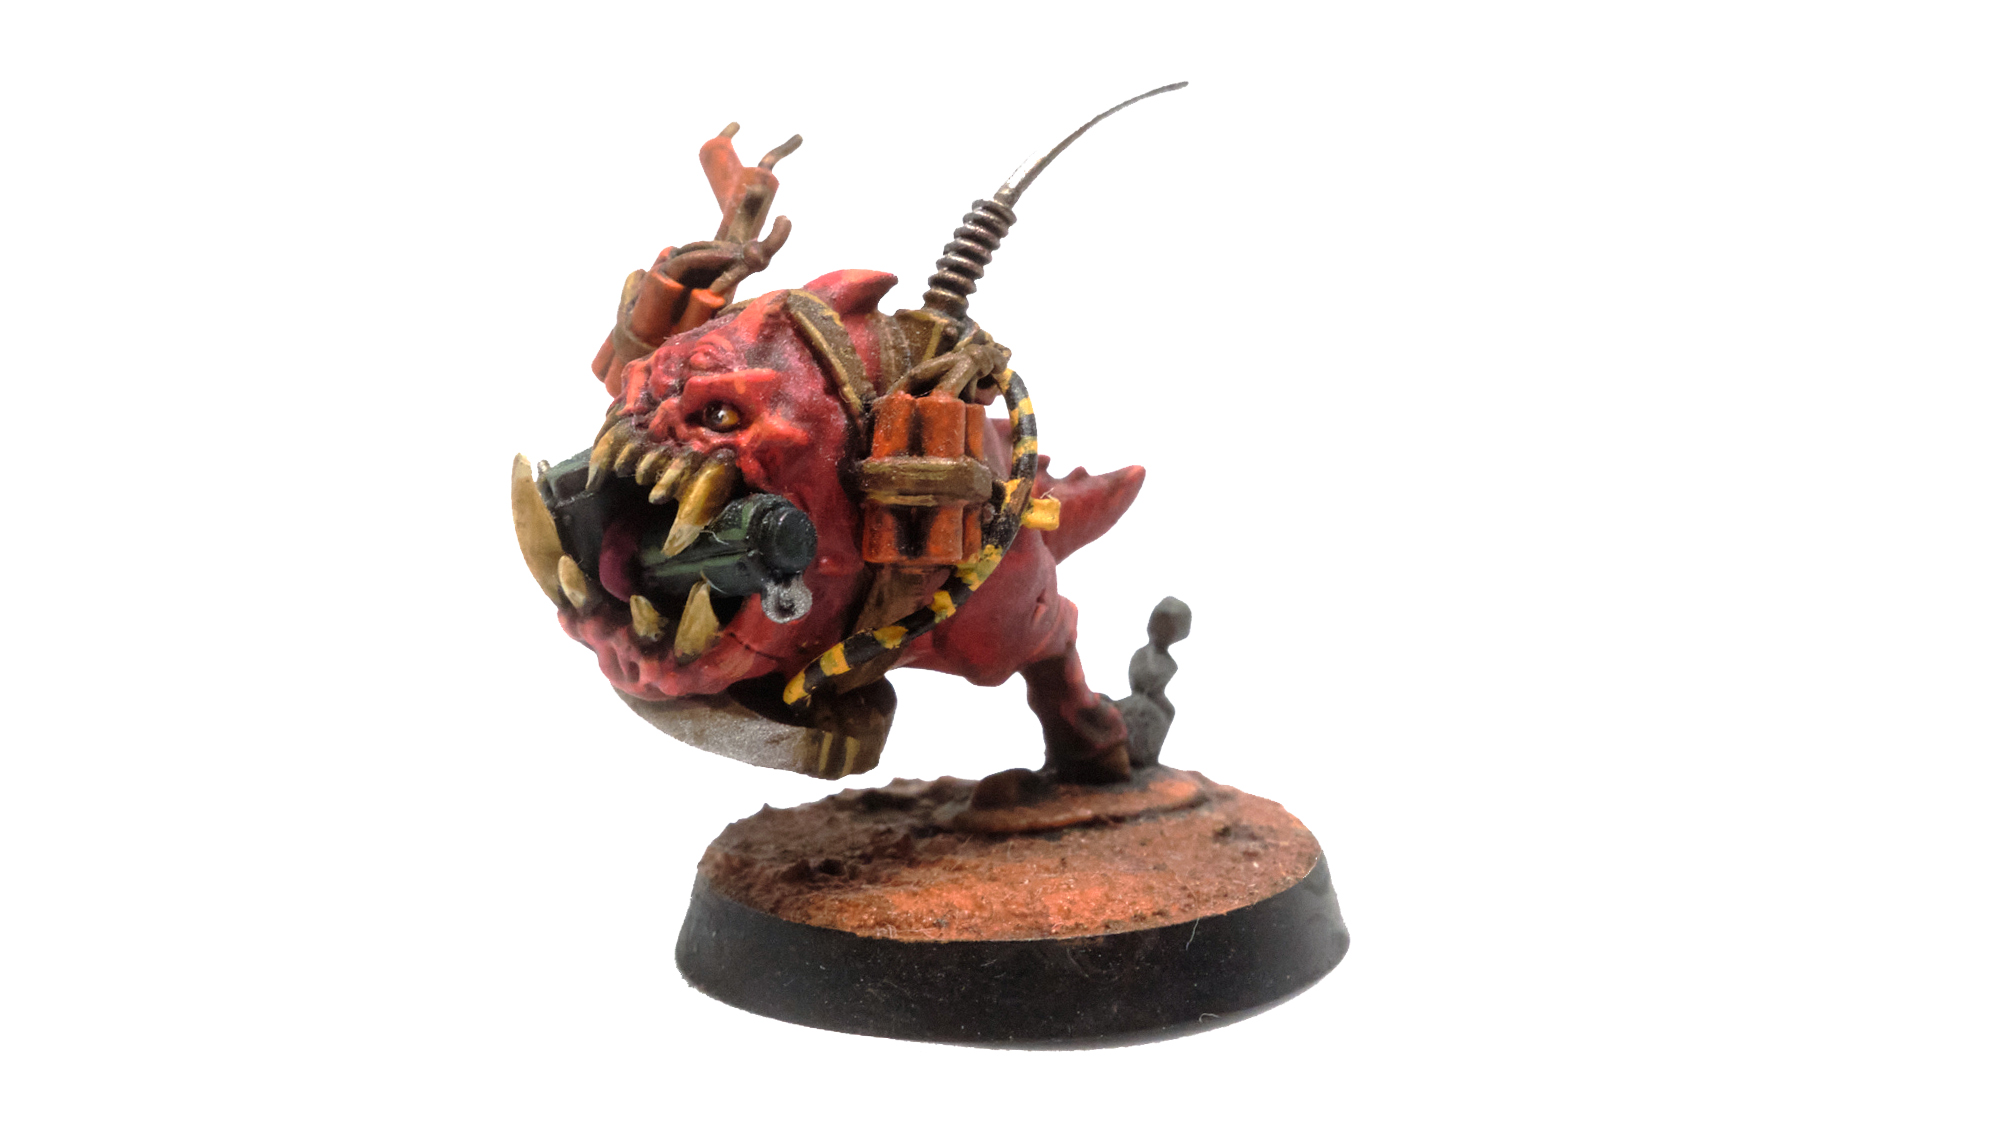
Second, we have the Bomb Squig, who comes with two weapon profiles. The first is its bite with 3 Atks, +4 Hit/Wound, and 4/5 Damage, which is worse than an unarmed Ork. However, it comes with the unique Bomb Squig ability which grants it the use of its ranged weapon profile while in engagement range (in fact this is the only time it can be used). Doing so is an impressive 4 Atk, +3 Hit/Wound, 5/6 Damage, AP1, Blast 2, and P2, which can reliably kill most enemy operatives. The downside of this is using this ability incapacitates the Squig meaning that you need to ensure the trade off is worth losing an operative. This makes the Squig more useful against Elite teams since you’ll need to catch a minimum of two enemy operatives against horde teams to make the Squig earn its pay. Additionally, this ability also triggers on a 3+ when the Squig is incapacitated, meaning your opponent can blow the Squig up on your operatives. As a final blow the Squig may not perform a Mission or Pick Up Action.
Ultimately, both the Grot and Squig are risky options; they can be used to swing games thanks to their unique abilities, but also run the risk of putting you down too many operatives and giving points to your opponent by being significantly less durable than the rest of your Kommandos.
Ploys
As we mentioned at the beginning, Kommandos come with a strong list of ploys, including all of the good ones from Compendium Greenskins. At the time of writing this guide we are not long off the heels of the release of Into the Dark, which brought Kill Zone: Gallowdark and the Close Quarters Combat rules. The Close Quarters Combat rules in particular introduce a number of changes in both rules and Designer FAQs that have drastically altered the usefulness of the certain abilities.
Strategic Ploys
SSSSHHHH!
Operatives that are not within Line of Sight or have the Conceal Order AND are not within 6 inches of an enemy operative may make a free Dash action. This may only be performed once per game. A FANTASTIC ploy, period. This ability is great for gaining some ground early in the game, or allowing operatives to retreat to safety at later points. It is especially useful in Close Quarters Combat conditions as you are likely to get the maximum benefit from it, allowing your entire team to perform a free Dash. A+
Dakka! Dakka! Dakka!
Until the end of the Turning Point operatives that retain any critical hits during a shooting attack may automatically retain one failed hit as a normal success. This ploy makes your shooting somewhat more reliable, and is really good with weapons that bring a large amount of attacks to the table. However, many of these same weapons rely on critical hits to really up their damage output, and a simple normal hit might not be worth the CP, which makes this one of the weaker ploys. C
WAAAGH!
If an operative retains two or more normal hits you may automatically upgrade one to a critical hit. A much more reliable ploy than the previous one, Kommandos are already very proficient at melee meaning you’re very likely to benefit from this Ploy every time an operative fights in combat. B
Skulk About
Operatives with a Conceal order may automatically retain one defense die as a normal save. This is a fantastic ploy that can go along way in keeping your operatives alive, and is especially useful at points in the game when you have exposed operatives who you feel will be attacked before they have a chance to activate. B
Tactical Ploys
Just a Scratch
Directly copied from its compendium counterpart and still one of the best ploys in the game. Spend a CP to cancel out an attack, this is great for any number of reasons whether its barely surviving a shooting attack, or allowing your standard Boys to punch above their weight against enemy melee specialists. A+
Krump’em
At the end of the firefight phase an operative may perform a free Fight Action. Another excellent Ploy that can allow operatives to either defeat an especially durable opponent such as Gellerpox Hulk, or two lesser enemies if you manage catch more than one opponent in combat. This ploy is best when used with your Boss Nob as they are simultaneously the deadliest and toughest of your operatives, despite being 10 wounds most of your other operatives will have difficulty surviving two consecutive combats against anything stronger than a Guardsman. A
Sneaky Git
At the set up operatives step of the mission sequence you place an operative anywhere in the Kill Zone that is more than 6 inches from your opponent’s drop zone, within 1 inch of Heavy Terrain, and under the Conceal Order. As I have mentioned in previous articles, any ability that grants free movement or positional advantage is very good, and this is perhaps the best one in the game. Due to it occurring prior to the first Turning Point you may use this ploy to position two operatives, AND thanks to the Throat Slittas team ability you may perform a Charge Action with either of them. There are all sorts of ways you can use this ploy to mess with your opponent, whether its by setting up multiple Turning Point 1 charges, putting an operative armed with Dynamite near the opponent’s deployment zone, or simply just having operatives start closer to objectives, this provides you with A LOT of options. As of November 2022 this ploy received a massive nerf when used on boards that use the Close Quarters Combat rules, basically having been replaced by a completely different ploy. A+ on open boards. C- on Into the Dark
Equipment
Kommandos have access to a solid set of equipment options that comes with a few really good choices along with a few duds that come down to them being redundant as opposed to useless. It is also worth noting that none of this may be given to either your Squig or your Grot.
Choppa [2 EP]
Pretty straight forward, give it to an operative that lacks a melee weapon to give them a significant melee boost in both damage and number of attacks. This is great for your gunners and can basically turn your entire team into a significant melee threat. B
Sledgehammer [3 EP] – 1 Per Team
While not a bad weapon you lose 1 damage on crits to gain the Stun Trait. This unfortunately is not a big enough change to justify it over a Choppa, especially since it is slightly more expensive. D because you have a better option
Slugga [2 EP]
Perhaps the biggest “Why!?” option on here. All your operatives either already have this weapon, or have a BETTER weapon. F
Harpoon [3 EP] – 1 Per Team
Unlike the Sledgehammmer this weapon is a legit upgrade over the Slugga, and actually isn’t a bad choice in certain situations as it is one of the few sources of Stun for the team. Unfortunately, only having 4 attacks mean that the Stun isn’t reliable making this a niche option, and putting it into competition with more generally useful options. C
Stun Grenade – [2 EP]
I continue to shit on stun grenades, a 50/50 chance to reduce your opponents APL sucks. F
Stikkbomb – [2 EP]
A frag grenade that does one more critical damage, always a good choice, and a good example of why grenade spam was nerfed. B
Dynamite – [4 EP]
Much like the Squig and the Grot this is the equipment choice for risk takers. It hits twice as hard as a Stikkbomb, and is costed as such. Additionally, it comes with Unwieldy making it very hard to employ. You need either your Comms Boy or Boss Nob to make this weapon useful, but it can be utterly devastating if used correctly. For example, put it on your Breacha Boy, and keep your opponent constantly guessing as to when they might kool-aid man through a wall and drop this special bundle on their doorstep. On open tables this item plus the Sneaky Git ploy can be used to pull off some very nasty Turning Point 1 maneuvers on ill-prepared players. B
Climbing Rope – [1 EP]
A reliable method to get shootier operatives onto vantage points quickly, otherwise useless. C
Faction Tac Ops
Kommandos have access to the Infiltrate and Seek & Destroy archetypes, both of which have their own Pros and Cons on Kill Zones that don’t use the Close Quarters Combat rules. A player can take advantage of Infiltration Tac Ops such as Interloper or Implant to score, the former achievable via the Kommando Grot with the right terrain circumstances, while the later comes naturally to Orks who wish to be in combat. Whether you go this route over Seek & Destroy ultimately comes down to the specific of your round, however if you’re using the Kill Zone: Gallowdark Missions, Seek and Destroy becomes a more obvious favorite of the two.
When it comes to faction specific Tac Ops it is safe to say this is the closest thing Kommandos have to a weakness. None of their choices are easy, and some can be near impossible versus certain opponents or board setups.
Blow it Up!
Your opponent selects ANY Heavy Terrain feature, and it becomes a “BULWARK” that you must perform the Blow it Up! (2 AP) action within an inch of it to gain 2 VP. This Tac Op is insanely terrain dependent, and is difficult even in favorable circumstances. The Blow It Up! action can not be performed in the same activation as any other action, other than the Dash Action, meaning your operative has to be already in position on the previous Turning Point. The best you can hope for is that your opponent selects a terrain feature that is valid for you to use Sneaky Git to pre-position an operative near, otherwise your operatives have to slog their way across the battlefield and hope they are in position by Turning Point 3. Additionally, this Tac Op was removed entirely from being used on Kill Zone: Gallowdark Missions. D
Shokk Taktiks
Kill an enemy operative during the first Turning Point for 1 VP, receive a 2nd VP if you hold more objectives than your opponent at the end of the second Turning Point. Slightly more reliable than Blow It Up! this one encourages you to be aggressive, and on standard boards the first VP is rather reliable to obtain, especially if you use Sneaky Git to get close to your opponent. However, the timing of the second VP can be much more difficult, and your opponent will certainly be looking to thwart you once you reveal this Tac Op. C
Get Stuck In!
At the ending of any Turning Point other than the fourth, if you have three operatives within 6 inches of the enemy’s deployment zone you gain one VP. Gain the second if you do it again. Another very situational Tac Op, as the size of deployment zones and how far you will have to move to get near them is going to greatly effect whether you choose this one. Not allowing this to be scored in the final round is also very harsh, and seems very unnecessary, meaning the second and third Turning Points are likely going to be your only opportunities to score this. D
Final Thoughts
Kommandos, along with Veteran Guardsman, are one of the two original teams to come out with Kill Team 2.0, and over year after the game’s release their rules still hold up remarkably well against the teams we have seen release since then. While they aren’t exactly claiming big event wins they aren’t a team you can afford to underestimate. They’re simultaneously great for beginners, their rules not being to complicated, and veteran players with some of the stronger abilities and ploys in the game. Their rules left them poised to be very strong in Kill Zone: Gallowdark missions, however recent Errata and Designer’s Commentary have done much to blunt this advantage, taking away some of their stronger options.
Have any questions or feedback? Drop us a note in the comments below or email us at contact@goonhammer.com.
