Army Composition in Conquest
The first question that people instinctively ask when starting to write Conquest lists is: What is the balance of light, medium and heavy units I should have? Unfortunately, this is the wrong question – there are units of so many different battlefield roles contained within those categories that those categories alone do not form a useful basis for planning. This article will instead attempt to define the actual battlefield roles you are likely to use and what kind of units fill it.
Firstly, this is all written on the assumption that you are playing a ‘standard’ game of Conquest: 2000 points, a 72’*48′ battlefield, using one of the December 2022 scenarios with a mixture of destroyable objectives and claimable zones. Different scenarios in the scenario pack will of course call for different compositions and balances, as will different game sizes.
Early Game Units
The Early Scenario Piece
Although zone scoring does not unlock in Conquest until turn four, many scenarios have central objectives zones that are still difficult to reach until several turns into the game. If you can move a Medium unit (or a light unit that contains a Medium character) fast and far enough up the battlefield to touch a central objective, you establish the potential for those points to start flowing in as soon as possible. Even better, you might be able to push beyond the zone and lock your opponent out – although doing so puts a (probably valuable) unit at risk. Nevertheless, a lead in points is hard won in Conquest; so often scoring is symmetrical so even a small edge early can keep you ahead for the entire game. Having that scoring edge can also free you up to take a more defensive posture in the mid and late game, forcing your opponent to come to you.
This class of unit, booking it up the table early, also gives you extremely aggressive reinforcement lines that you can use to seize flank objectives on the second turn.
Ranged Pressure
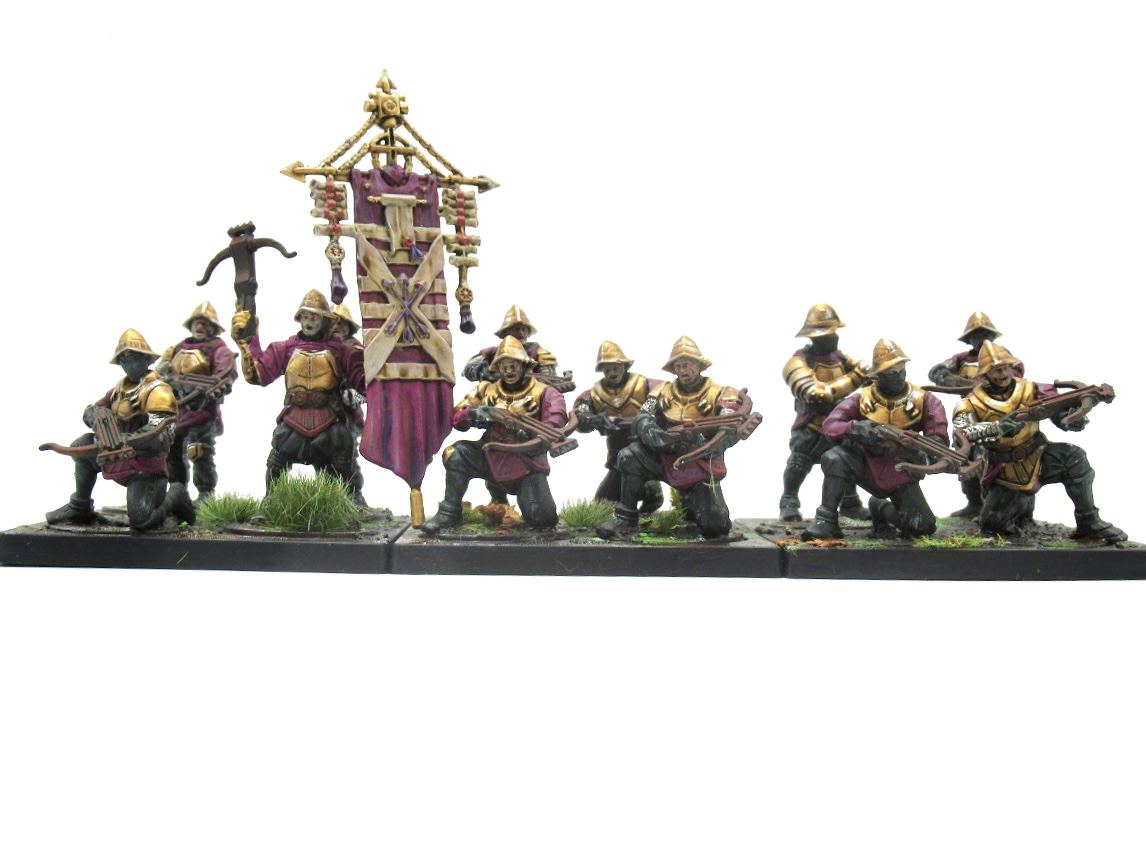
Many low quality light ranged units fit into this category; the militia archers of the world. Their role is usually to fill out mainstay slots and inconvenience light units that are seizing board control. Sometimes these will be where a more important support character hangs out and casts spells from. The main thing to be aware of with these is that they are both vulnerable and bait – if you can tempt an enemy unit to dive deep in the early game to scare off some militia archers they are at serious risk of being out of position and annihilated when the reinforcements come through, but on the other hand keep in mind the huge threat of a move+charge means that even a basic infantry unit can hit you from up to 16 inches away.
By virtue of arriving early in the game, these units often also shift into a secondary role as the game progresses: screening infantry. A cheap unit of militia bowmen that has been advancing up the field will often find themselves with a heavy infantry or cavalry block behind them, and their bodies keep that unit safe until it’s ready to commit. This is especially useful when the follow-up unit is shock cavalry, whose primary priority is getting that charge and so can comfortably march through the militia to clear them then make that all-important charge.
Vanguard Cavalry
Light cavalry is a premium piece in Conquest and you pay for it – often these pieces are restricted, fragile and expensive. They do have an extremely clear and obvious role though: Shutting down or supporting early scoring pieces, harassing ranged pressure, and setting the reinforcement line. If uncontested they can also cross the table quickly and jam up enemy reinforcement lines – if the enemy wants to bring a big pike square off a table edge toward a key objective zone and are instead forced to move them off their rear table edge, it can throw the entire battleplan into chaos.
The big thing to worry about with vanguard cavalry is premium archery units. While a unit can’t come onto the battlefield and then immediately charge, a unit can come onto the battlefield and immediately shoot. A vanguard cav unit that’s dived deep is at serious risk of a unit like Leonine Avatara appearing and immediately executing them with a point blank ranged volley.
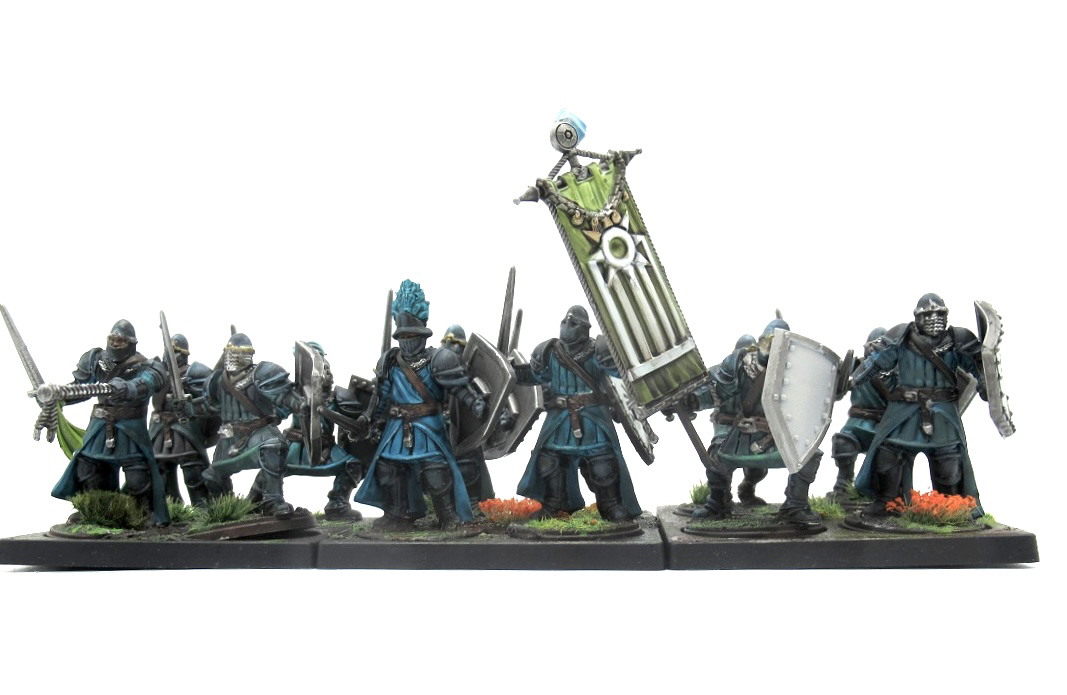
Screening Infantry
As mentioned above, most light infantry choices ultimately exist to jam up and stall out enemy attacks. Often they will do this by dying miserably to the vanguard cavalry. That’s fine if it happens; just like the cavalry can potentially stall out units many times their cost, if the screening infantry eats a vanguard cav charge then they’re not messing up your reinforcement lines or getting into your ranged pressure.
Objective Burners
Starting on turn 3, you need to spend 3 total actions – and luck that isn’t disastrous – destroying an objective. Virtually any attack will do the requisite wound, so the question becomes the best way to deliver those attacks. Impact attacks from medium cavalry/throwing weapon infantry are a great option, as are ranged brutes who can volley then charge to deal impact attacks. A very efficient way to clear out your own backfield objectives is to have ranged pressure units shoot at them as they advance to deal one wound and then let the impacts of your medium cavalry sweep them up as they pass.
It is very difficult to burn objectives on your opponent’s side. Light cavalry don’t deal impact hits so racing to the targets is difficult and exposes your light cav. If you’re going after backfield objectives early it’s a huge commitment and you need at least two units of light cavalry to stand a chance.
The Early Game Balance
So, then, there are a few different options for an early game strategy:
– Early Scoring
If you’ve got the option to start destroying objectives early, you almost always want to do so. Your light ranged units will often fill this role, but if you’re playing a faction with access to light units with impact attacks, they’re perfect for it too (being able to destroy an objective in two activations rather than three).
– Map Control
A 150-300 point investment in vanguard cavalry can give you total battlefield control, enough to wipe an early scoring unit, dive deep against an enemy spellcaster, or even just run so deep that the enemy can’t reinforce the way they want to. If you’re doing this you will want to minimize the number of other early game units you have – you might be forced to take some other light units as a tax depending on your warband, but where possible rely on the mobile units to do their job and invest heavily in midgame units.
– Pressure
A few units of archers and perhaps a screening infantry unit to stop them from being overrun. These units are here to bother enemy units with mild ranged fire and prevent your backfield from being jammed up by map control. The point of a pressure configuration is really just to stop your opponent from doing whatever they want – if they dive deep against you then they’ll be out of position, if they don’t you get to pick up some free points with your mediocre ranged fire. Oftentimes you’ll wind up with a pressure force just as a tax for other warband units.
– Unsupported Infantry
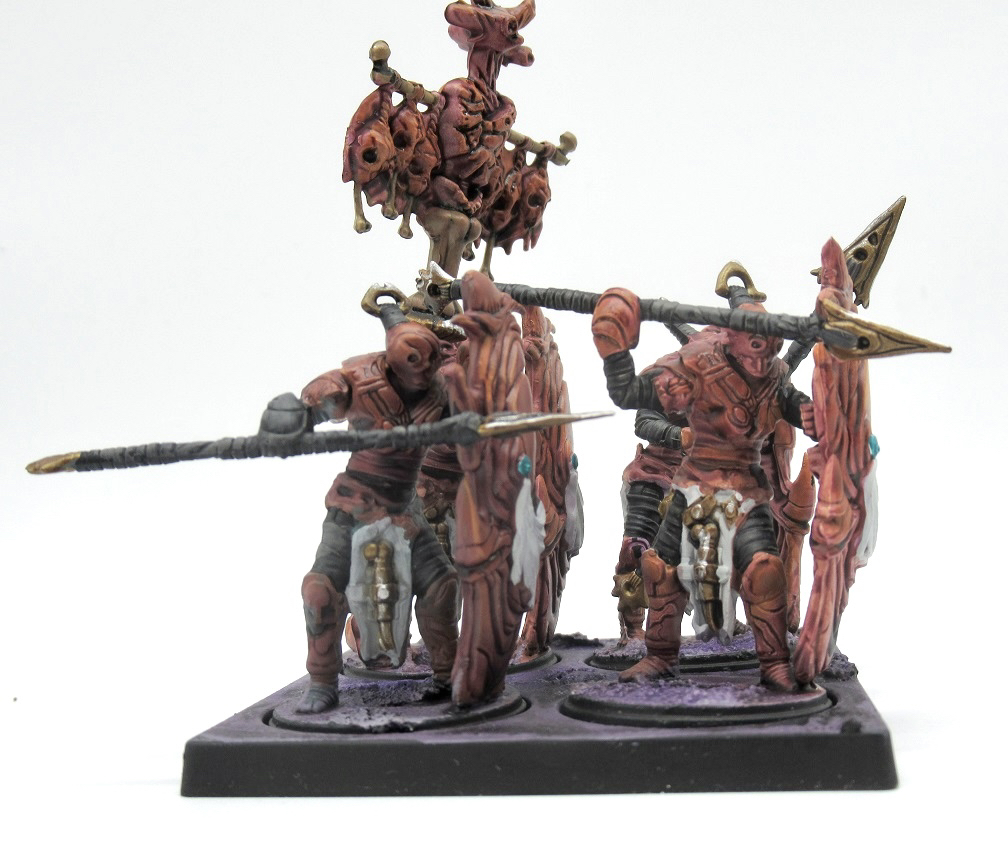
Blundering forwards with a set of unsupported light infantry who have no plan, no backup, and no ability to usefully close with ranged forces is not great. They’ll get torn apart by map control units, harried from a safe distance by pressure units, and won’t arrive in time to stop an early scoring unit from doing what they want. The only times you’ll really want to do this is if you’re the Spires and you have a big block of Force-Grown Drones that can regenerate any ranged pressure damage.
– Nothing
You can also choose to do nothing and just not contest the early game at all. Just skip straight to medium units. This is risky but not terminally so. If your opponent has no early scoring pieces you won’t be behind in points. If your opponent has no map control you’ve got an uncontested deployment when your medium units start rolling out. If your opponent has a pressure configuration then you’ve given them nothing to pressure. This can go badly wrong but it can also give you an edge, especially if you’ve got some way to make your later deployments more reliable through rules like Flank, Vanguard or +1 to deployment rolls.
Midgame Units
– The Scoring Brick
This is a huge, durable, chonky unit with good armour, the Support special rule and possible healing support that you want to park on an objective from this time until the end of time. These are slow and ungainly, their mass making them almost impossible to turn, so they do their best if their flanks are locked down by your early game units. If your scoring brick finds itself getting held up before it gets to the objective it’s a disaster; each turn they’re away from where they need to be is a turn where your opponent is getting ahead. Accordingly, getting this on the table early and getting it parked to its footprint covers as much of the 6’ radius around the centre zone as possible is a huge priority. While these are normally medium, a heavy unit with Flank (and preferably Double Time) can arrive quickly enough to do work as a Scoring Brick.
– Heavy Archers
These are fantastic pieces to have. The ability to sweep any vanguard cav that has gone too deep is an enormously useful ability, and after that what they represent is the ability to concentrate force on a unit that’s already being attacked. Keeping these from getting charged is your absolute highest priority.
Heavy archers frequently have long range and are often either size 2 or have Arcing Fire or something similar that allows them to safely volley from the backlines. You will also frequently face a lot of conflicting pressures to advance, reposition or aim. As a result it is often best to deploy heavy archers centrally and move them as aggressively as possible behind your main combat block on any turn when they are not shooting. The front lines might move forwards so get close early so you won’t have to move later.
– Spike Damage
Big units of lance cavalry or offense-oriented brawlers, spike damage pieces are your tool to crack scoring bricks and bust down defences that rely on attritional healing. If you’re investing in these then you want to invest enough in these – you need a preponderance of force to crash down a critical unit. If you don’t land that haymaker then these units often get swept up on the counterswing.
– Utility Threats
Small sized units of quality infantry that can manoeuvre freely, jam up bigger units for a turn, take advantage of exposed flanks and punch above their weight. While the scoring brick will be your central anchor the utility threats are the guys skirting around the sides looking for opportunities or contesting on the flanks. These are the most personal preference type of unit – whatever models you think is cool but you don’t want to centre your entire army around are a utility threat.
Midgame Balance
Most midgame lists I’ve seen or written consolidate around a couple of concepts:
– The Default
A huge scoring brick on a centre objective, and secondary objectives contested by a variety of utility threats or secondary scoring bricks. Heavy archers perhaps to concentrate force. This feels like the most obvious way to play Conquest, but it doesn’t leave you with a huge amount of initiative.
– The Spiker
This is about cracking a scoring brick early with some massive burst of damage, often from lance cavalry or a supremacy ability that gives you a chance to shatter a key unit. This is vulnerable to utility threats – a massive cavalry charge spending its whole turn to kill a bunch of cheap units, and then getting flanked and countercharged represents a fundamental failure so you need the early game position to land your hammer blows.
– Objective Play
This one is about burning your army hot for a scoring advantage; emphasizing speed and hitting power to force as many engagements as possible on your opponent’s side of the table while you’re scoring turn after turn. This emphasizes light and medium units and preventing scoring bricks from initially getting into place. In the most current scenario pack, where games always go to turn ten, this plan is a risky one – but if your light units and medium are high enough quality to actually fight their way through to a late game, it can be a very serviceable approach.
Lategame Units
The entrance of Heavy units to the game is a difference in kind and not the complete paradigm shift of the early game to the midgame, but by that point the demands on each profile has changed.
– The Bigger Brick
This is a Scoring Brick with bigger numbers. Its purpose is to hit an existent scoring brick and push it off the objective – sometimes literally in the case of the Trample special rule. These generally pair with objective play – if you’ve invested in a massive scoring brick of your own then, if you played your game right, they’ll still be where they need to be by the time the big brick arrives.
– The Relief Force
On the fifth turn look to the west and there you’ll see the relief force; expensive superheavy mobile attack pieces that can sweep in to take the pressure off a collapsing line or struggling brick. These are best kept small and mobile, able to rapidly move through gaps in the line or able to apply force exactly where it’s needed.
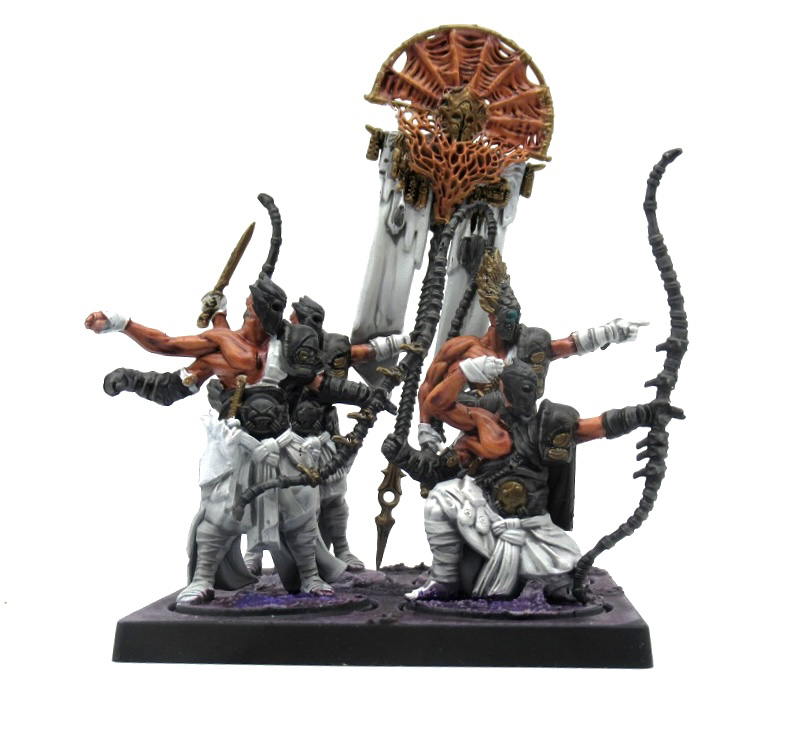
– The Scoring Piece
Some monsters aren’t there to kill. The Spires Abomination is 135 points, counts as 3 stands for scoring, and is quick enough to dart out of the backfield directly onto any objective in a single double move. Sometimes a lategame unit is not present for its sheer numbers or linebreaking capability but for its ability to reactively seize control of a vulnerable objective.
Lategame Balance
It’s hard to know how things will go after so much friction and dice, so these concepts are naturally more fuzzy than the early game roles.
– Recovery
If you’re not confident in your midgame forces to control the objective, likely because you don’t have good units in those roles, the lategame is about reversing the damage you were forced to endure to maintain scoring parity in the early turns. In this case your early game is specifically about stalling until the commitment of your heavy forces.
– Reserve
Lategame units can alternately be counterplay pieces; things deliberately held back until key enemy threats are sighted that warrant their commitment. These are mobile, high damage units you can commit as needed in the face of a chaotic battlefield.
– Nothing
You can also just forego the lategame entirely and get your entire army on the table early, hoping you build up such an advantage that not even the heavies can turn it back on you.
Putting It Together
So, what percentage of my army should go towards each phase of the game? It depends, depends on your gameplan, faction and your opponents. As a rule of thumb, though, a big commitment to the early game is 300-400 points of vanguard cavalry; either put in those 300 points or have some sort of plan for dealing with 300 points of vanguard cavalry (even if the plan is ‘accept I get wrecked if they have 300 points of vanguard cavalry’). After that, prioritize the midgame, with lategame options specifically there to support expected weaknesses or opportunities opened by your midgame play.
