
Attention robotic citizens! The forges have been lit and at full production day and night while we forged this STC but the grand work is finally complete – use this in every future expedition, as a reference and guide for new adepts to follow the dogma of the machine god. From Mars to Metallica may the creed of our god spread throughout the galaxy.
Do you like robots? Steampunk aesthetics? Welcome, you have come to the right place. The Hunter Clade Kill Team was first introduced in White Dwarf 468 and they’ve been up and down competitively since, starting off slow but gaining rapid steam following some dataslate updates. Currently they’re still one of the game’s strongest teams, able to operate well in both open terrain and the Gallowdark, and can respond to a variety of teams and situations.
Team Overview
Strengths
- Versatility: Hunter Clade teams have many operatives to work with, giving you a variety of different threat ranges. They also have a good mix of combat and shooting units to work with that give them answers to a number of different situations and threats.
- Shooting: Hunter Clade kill teams can take a large number of weapons with AP, including the special weapons their gunners can take.
- Defense: Hunter Clades have lots of defensive tools to work which can help keep them on the table.
Weaknesses
- Fragile. Your shooting units are pretty fragile, and playing Hunter Clades well can be tough as the team struggles with living somewhere in between hordes and elite toughness kill teams. Your Vanguard units are too important to be sacrificed.
- Reliability. Hunter Clade teams don’t have much access to re-rolls, which can make them unreliable or subject to variance.
- Mismatches. If your operatives are mismatched, you are about to have a bad time.
- Predictable. Hunter Clade teams don’t have many tricks to pull.
Team Structure
A Hunter Clade Kill Team consists of one Skitarii Ranger Alpha, Vanguard Alpha, Sicaran Ruststalker Princeps, or Sicaran Infiltrator Princeps, and then 9 Hunter clade operatives picked from the following list:
- Skitarii Ranger Marksman
- Sktarii Ranger Diktat
- Sktarii Ranger Gunner (with special weapon)
- Sktarii Ranger Surveyor
- Skitarii Vanguard Shocktrooper
- Sktarii Vangard Diktat
- Sktarii Vanguard Gunner (with special weapon)
- Sicarian Ruststalker Assassin
- Sicarian Infiltrator Tracker
Your kill team must include more SKITARII RANGER and SKITARII VANGUARD operatives than it does SICARIAN operatives.
Your kill team can only include up to two GUNNER operatives, unless it contains three or fewer SICARIAN operatives, in which case it can include up to three GUNNER operatives. Each GUNNER operative must be equipped with different ranged weapons.
Your kill team can only include up to one DIKTAT and one SURVEYOR operative. A major addition from the Dataslate is that if your team has no more than 4 Sicarians then you can get and an additional RANGER or VANGUARD operative (to get you to 11 operatives).
This basically means that when building your team, your construction will pretty much always be either 5 Sicarians and 5 Skitarii or 4 Sicarians and 7 Skitarii (RIP arquebus – December 23, 2022). The big post-dataslate choice here is whether to take 5 sicarians or the additional body. I think against elite teams you are probably better taking the more aggressive list with 5 Sicarians, the Alpha, 2 Gunners, Ditkat, and Surveyor. If you are against horde or mid range teams you are probably better off taking 11 bodies, allowing you to have the last T1 activation most of the time.
Here’s a standard roster for mixed terrain:
++ Roster (Hunter Clade) ++
+ Leader +
Skitarii Vanguard Alpha
. Arc pistol and taser goad
Skitarii Vanguard Alpha
. Phosphor blast pistol and taser goad
+ Operative +
Sicarian Infiltrator Tracker: Flechette blaster, Power weapon
Sicarian Infiltrator Tracker: Flechette blaster, Power weapon
Sicarian Infiltrator Tracker: Power weapon, Stubcarbine
Sicarian Ruststalker Assassin: Transonic blades
Sicarian Ruststalker Assassin: Transonic blades
Sicarian Ruststalker Assassin: Transonic blades
Sicarian Ruststalker Assassin: Transonic blades
Sicarian Ruststalker Assassin: Chordclaw and transonic razor
Sicarian Ruststalker Assassin: Chordclaw and transonic razor
Sicarian Ruststalker Assassin: Chordclaw and transonic razor
Sicarian Ruststalker Assassin: Chordclaw and transonic razor
Skitarii Ranger Gunner: Plasma caliver
Skitarii Ranger Gunner: Arc rifle
Skitarii Vanguard Diktat
Skitarii Vanguard Gunner: Transuranic arquebus
Skitarii Vanguard Shocktrooper
Skitarii Vanguard Shocktrooper
Skitarii Vanguard Surveyor
With this roster you cover all possible varieties of Sicarians. There are certain matchups where you want 4 different types of Rustalker; the infiltrators however are less useful and you are only going to put a maximum of two in each match. But we’ll talk more about that in the Operatives section.
With this roster the sicarian princeps is completely discarded, but the Vanguard Alpha brings so much to the table that it is impossible to not take it in any given situation. It is the only unit that brings some aces up its sleeve and will likely be the most useful operative on your kill team – but it’s also one of the most complex operatives to master.
Abilities
Hunter Clade kill teams get the Doctrina Imperatives ability, which gives them modes they can switch into during the game, with each giving an Optimisation (buff) and a Deprecation (debuff). During the Strategy phase of each Turning Point, when it’s your turn to use a Strategic Ploy, you can choose an Imperative to become active for your kill team. It lasts until the end of the battle, or until you change it to a different Imperative, whichever comes first.
Effective use of Doctrines is critical to lead your team to victory. They are available from the first turn, and since the most recent balance dataslate you can ignore the deprecation effect the first turning point in which the Doctrine is active, so you can effectively go all game without experiencing a downside, provided you don’t repeat any Imperatives (which we will avoid as much as possible, and will only do in VERY specific circumstances).
Doctrina Imperatives
Protector Imperative
- Optimisation: Each time a friendly HUNTER CLADE operative makes a shooting attack, in the Roll Attack Dice step of that shooting attack, before any other re-rolls, if you rolled two or more failed hits, you can re-roll one of your attack dice.
- Deprecation: Each time a friendly HUNTER CLADE operative fights in combat, in the Roll Attack Dice step of that combat, before any other re-rolls, you must re-roll one of your critical hits (if any).
Conqueror Imperative
- Optimisation: Each time a friendly HUNTER CLADE operative fights in combat, in the Roll Attack Dice step of that combat, you can re-roll one of your attack dice.
- Deprecation: Each time a friendly HUNTER CLADE operative makes a shooting attack, in the Roll Attack Dice step of that shooting attack, before any other re-rolls, you must re-roll one of your critical hits (if any).
Bulwark Imperative
- Optimisation: Each time a shooting attack is made against a friendly HUNTER CLADE operative, in the Roll Defence Dice step of that shooting attack, before any other rules take effect, if you rolled two or more failed saves, you can re-roll one of your defense dice.
- Deprecation: Subtract 2” from the Movement characteristic of friendly HUNTER CLADE operatives.
Aggressor Imperative
- Optimisation: Add 1” to the Movement characteristic of friendly HUNTER CLADE operatives.
- Deprecation: Each time a shooting attack is made against a friendly HUNTER CLADE operative, defense dice cannot be automatically retained as a result of Cover (they must be rolled instead).
Equalised Imperative
- Optimisation: No effect.
- Deprecation: No effect.
It is very important from the very beginning of your game that you have a plan for these doctrines. In almost all my games in the first turn I always find myself choosing between the Aggressor Imperative, or if I play against a shooting faction, the Bulwark Imperative. Aggressor is especially interesting on Gallowdark boards since it lets you move within range of certain doors or objective markers that you couldn’t otherwise reach if you didn’t have the Imperative active.
In the second turn I generally use the Conqueror Imperative since my combat units should be in position to make good charges and I need that extra reliability. You can consider not using this if you play against hordes or weak targets in combat.
In the third turn I usually choose the Protector Imperative as there are usually not too many combat units left (and hopefully they will have done their job) and you probably need reliability in shooting with your special weapons (Very important to try to survive these units for the third turn).
Finally on turn four. I usually use the doctrine that I haven’t picked yet, BUT sometimes you can consider using a doctrine again and deciding to take a depreciation that is not very terrible at the moment, and that will help you close out the game in your favor.
Operatives
Your kill team will be either 10 or 11 operatives, depending on the number of Sicarians you take. You’ve got two chassis options, up to eleven 7-wound range-focused Skitarii, and up to five 10-wound melee-focused Sicarians to pick from. Skitarii are broken up into toxic Vanguard and hooded rangers, while the Sicarians are split up according to whether they’re ranged or melee specialists.
Skitarii Ranger Marksman
The Marksman takes an otherwise OKish profile and attempts to make it better by virtue of giving them a Galvanic Rifle – 4 Attacks, 3/4 damage, Heavy P1!. The downside however is that it only has 7 wounds and a 4+ armor save. On top of that, it has Heavy with no equipment (like Suspensors) options to give it the ability to move and shoot, which means you’ll likely end up shooting and dashing to your next firing position, limiting what you can do with the model somewhat. The weapon is too limiting to really merit consideration though, and losing the radiation aura is very hard. Cool model, though.
Note that Heavy is less of a problem on ITD/Gallowdark terrain, where you can normal move, and go into Guard, you can also use the 1 EP Uplinked Vid-Feed equipment to make them pretty efficient on guard. Compared to 2 ep for the carbine however since you are only including one of these warriors, I will say have it as a Vanguard, place it on a point and if someone approaches they will get injured allowing most of the time that vanguard to survive. And about that…
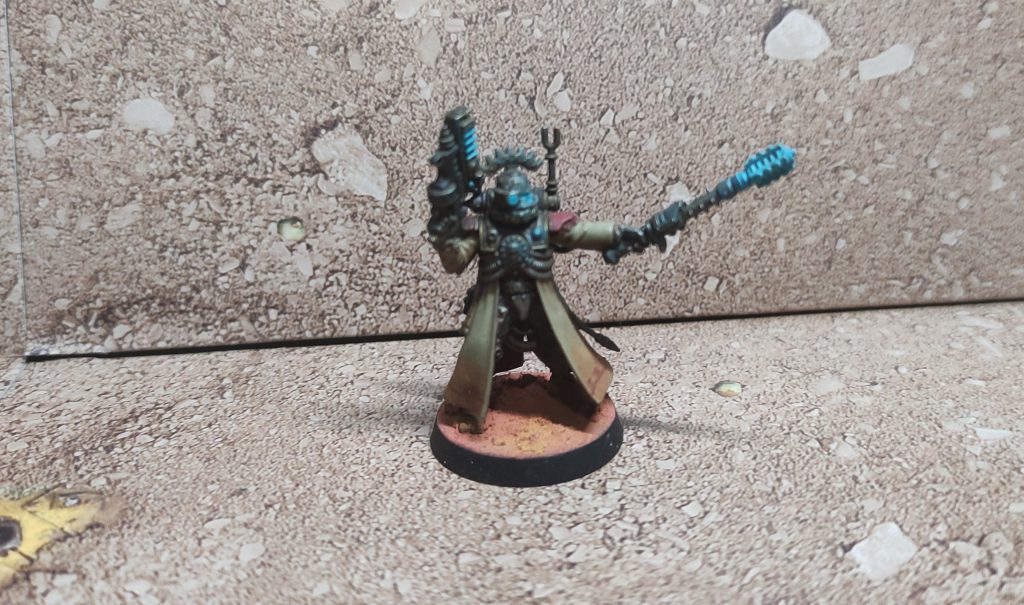
Vanguard Shocktrooper
Ah the good ol’ vanguard, only really useful on Gallowdark/Into the Dark terrain where the Arquebus is less efficient or in open maps where you need mobility. Note that after the most recent balance dataslate you will likely need two of these to fill out your roster. Overall, the model’s stats are fantastic for a line troop; 3+ BS with the 2″ Rad-Saturation aura equipped with a 2/4 Rending Carabine (which you can improve to 3/4 with equipment) can make this a very efficient unit, especially if their shots are combined iwth Martial Protocol and/or the Protector Imperative.
Skitarii Ranger/Vanguard Surveyor
Surveyors take a standard Ranger or Vanguard and give them an Omnispex (the Vanguard is the better option of the two), and gives them the ability for 1AP to select one friendly operative within 3” and one enemy operative – no limitations on range or visiblity (that’s huge!). That enemy operative is then not obscured and the friendly operative’s weapons gain the No Cover rule when targeting that enemy operative.
The Transuranic Arquebus seems an obvious partner to this, but it’s great for hitting models you wouldn’t normally be able to or which benefit greatly from cover due to ploys like Lurk in the Shadows. After the most recent dataslate the Arquebus isn’t really worth taking, so you’ll want to pair the Surveyor with any other gunner. One option here is to use the Omnispex on himself and shoot right out of the gate, but you can also combine him with the Leader Control Edict.
Skitarii Ranger/Vanguard Diktat
Another standard model with special equipment, the Diktat has the Enhanced Data Tether, and for one AP can give a friendly model within 6” another AP. There are multiple ways to use this, on the first turn you can jump up and down from a vantage after shooting. But what’s even better is that you can give in your last activations an extra APL to an infiltrator and making moving and a dashing for 11+2 inches of threat range and if an enemy model comes in, fire his short range pistol (probably causing you to score Calculated Eradication) and maybe even Rout and leaving an infiltrator in the middle of the table threatening an equally powerful turn 2 where he can make a shot and a charge or a charge and a fight with his power sword. Another powerful play here is to give a model 3APL to control a point, or to make him loot or control right in the face of a bunch of APL2 models. There is a lot of play with the comms guy!
Skitarii Ranger/Vanguard Gunner
These are functionally identical in terms of stats, with Vanguard Gunners getting Rad-Saturation and different ploys affecting the models (or ploys having different effects).
The three weapons you can select are the arc rifle, plasma caliver, and transuranic arquebus, and you can only have a maximum of one of each. After the FAQ you can have 5 Sicarians and 2 gunners or 3 sicarians and 3 gunners, but that last option is generally not great. So most of the time you are picking arc rifle and plasma unless you are going up against heavy armored enemies like legionaries where the Arquebus is worth considering. The decision of whether to make them Vanguards or Rangers is usually based on the Strategic Ploys they can perform. In this case the big winners are the Rangers, since for starters they will benefit from the Persuers Ploy, which lets them perform a couple of dashes if you choose this Recon option during the Scouting step, or if you chose Infiltrate you can change their order along with the order of one other operative, which is even better since you can Conceal them and still have them as threats. They’ll also be affected different by the Martial Protocol Strategic Ploy, and if you’re planning to use it you need to be cautious and prepare them in the prior turn so they can shoot without having to move – this is usually more complex than it may seem.
Let’s look at the options:
- Arc Rifle – A solid choice, with 4 dice, 4/5 damage, AP1 and stun. AP1 does solid work and a couple of unsaved hits kill anything 8 wounds or less. Also Stun on critical hit could be awesome against teams that are affected by, also if you get Rerolls the chance of it gets ever increased which is awesome
- Plasma Caliver – The best choice, with 4 dice, 5/6 damage AP1 or AP2 and Hot if you overcharge. Great for punching out armoured targets, but overcharging is risky and you want to be benefiting from a reroll from Martial Protocol or Protector Imperative to potentially get rid of those 1s.
- Transuranic Arquebus – 4 dice, 5/3, AP1, Heavy, Unwieldy and MW3 on criticals. This means that it is 2AP to shoot, you can’t move and then shoot, and if you aren’t in a good position to shoot in the first turn you have to spend a turn getting there. It pairs well with the Surveyor to give it No Cover and no Obscuring against a target, but you likely need to set it up somewhere you can see things. Also on ITD he can’t do the Guard action and shoot. It’s still an amazing weapon and a considerable threat if played correctly. In addition you can make a lot of shenanigans with obscurity and his oval base, since his base is huge you can more easily position yourself outside the two inch radius and shoot without being shot back, after the last DS he will be way less taken, maybe in some specific matchups with beefy enemies like the Gellerpox.
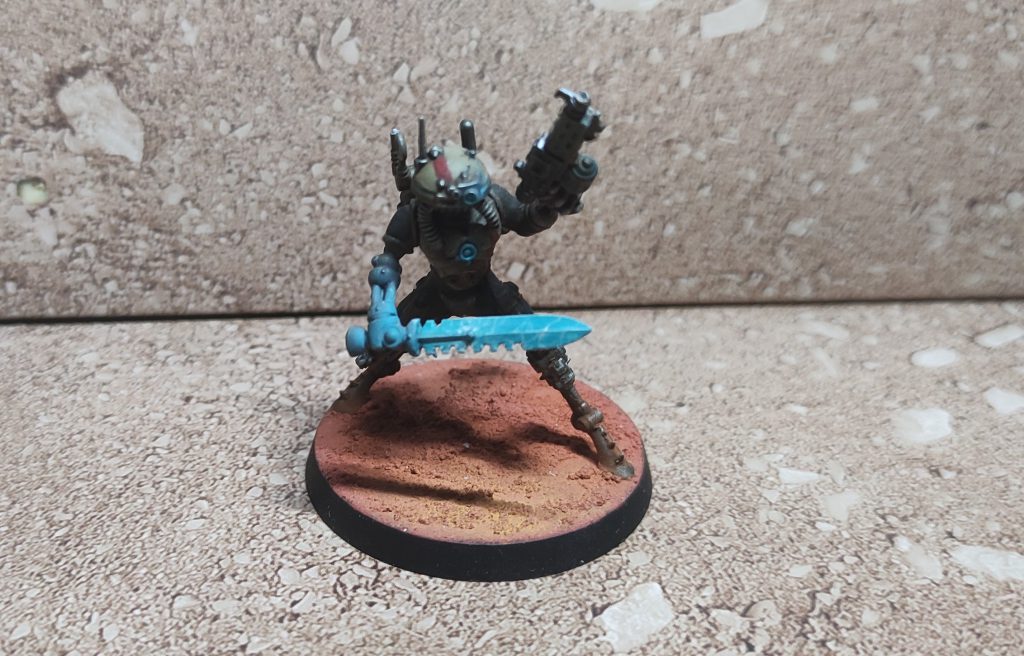
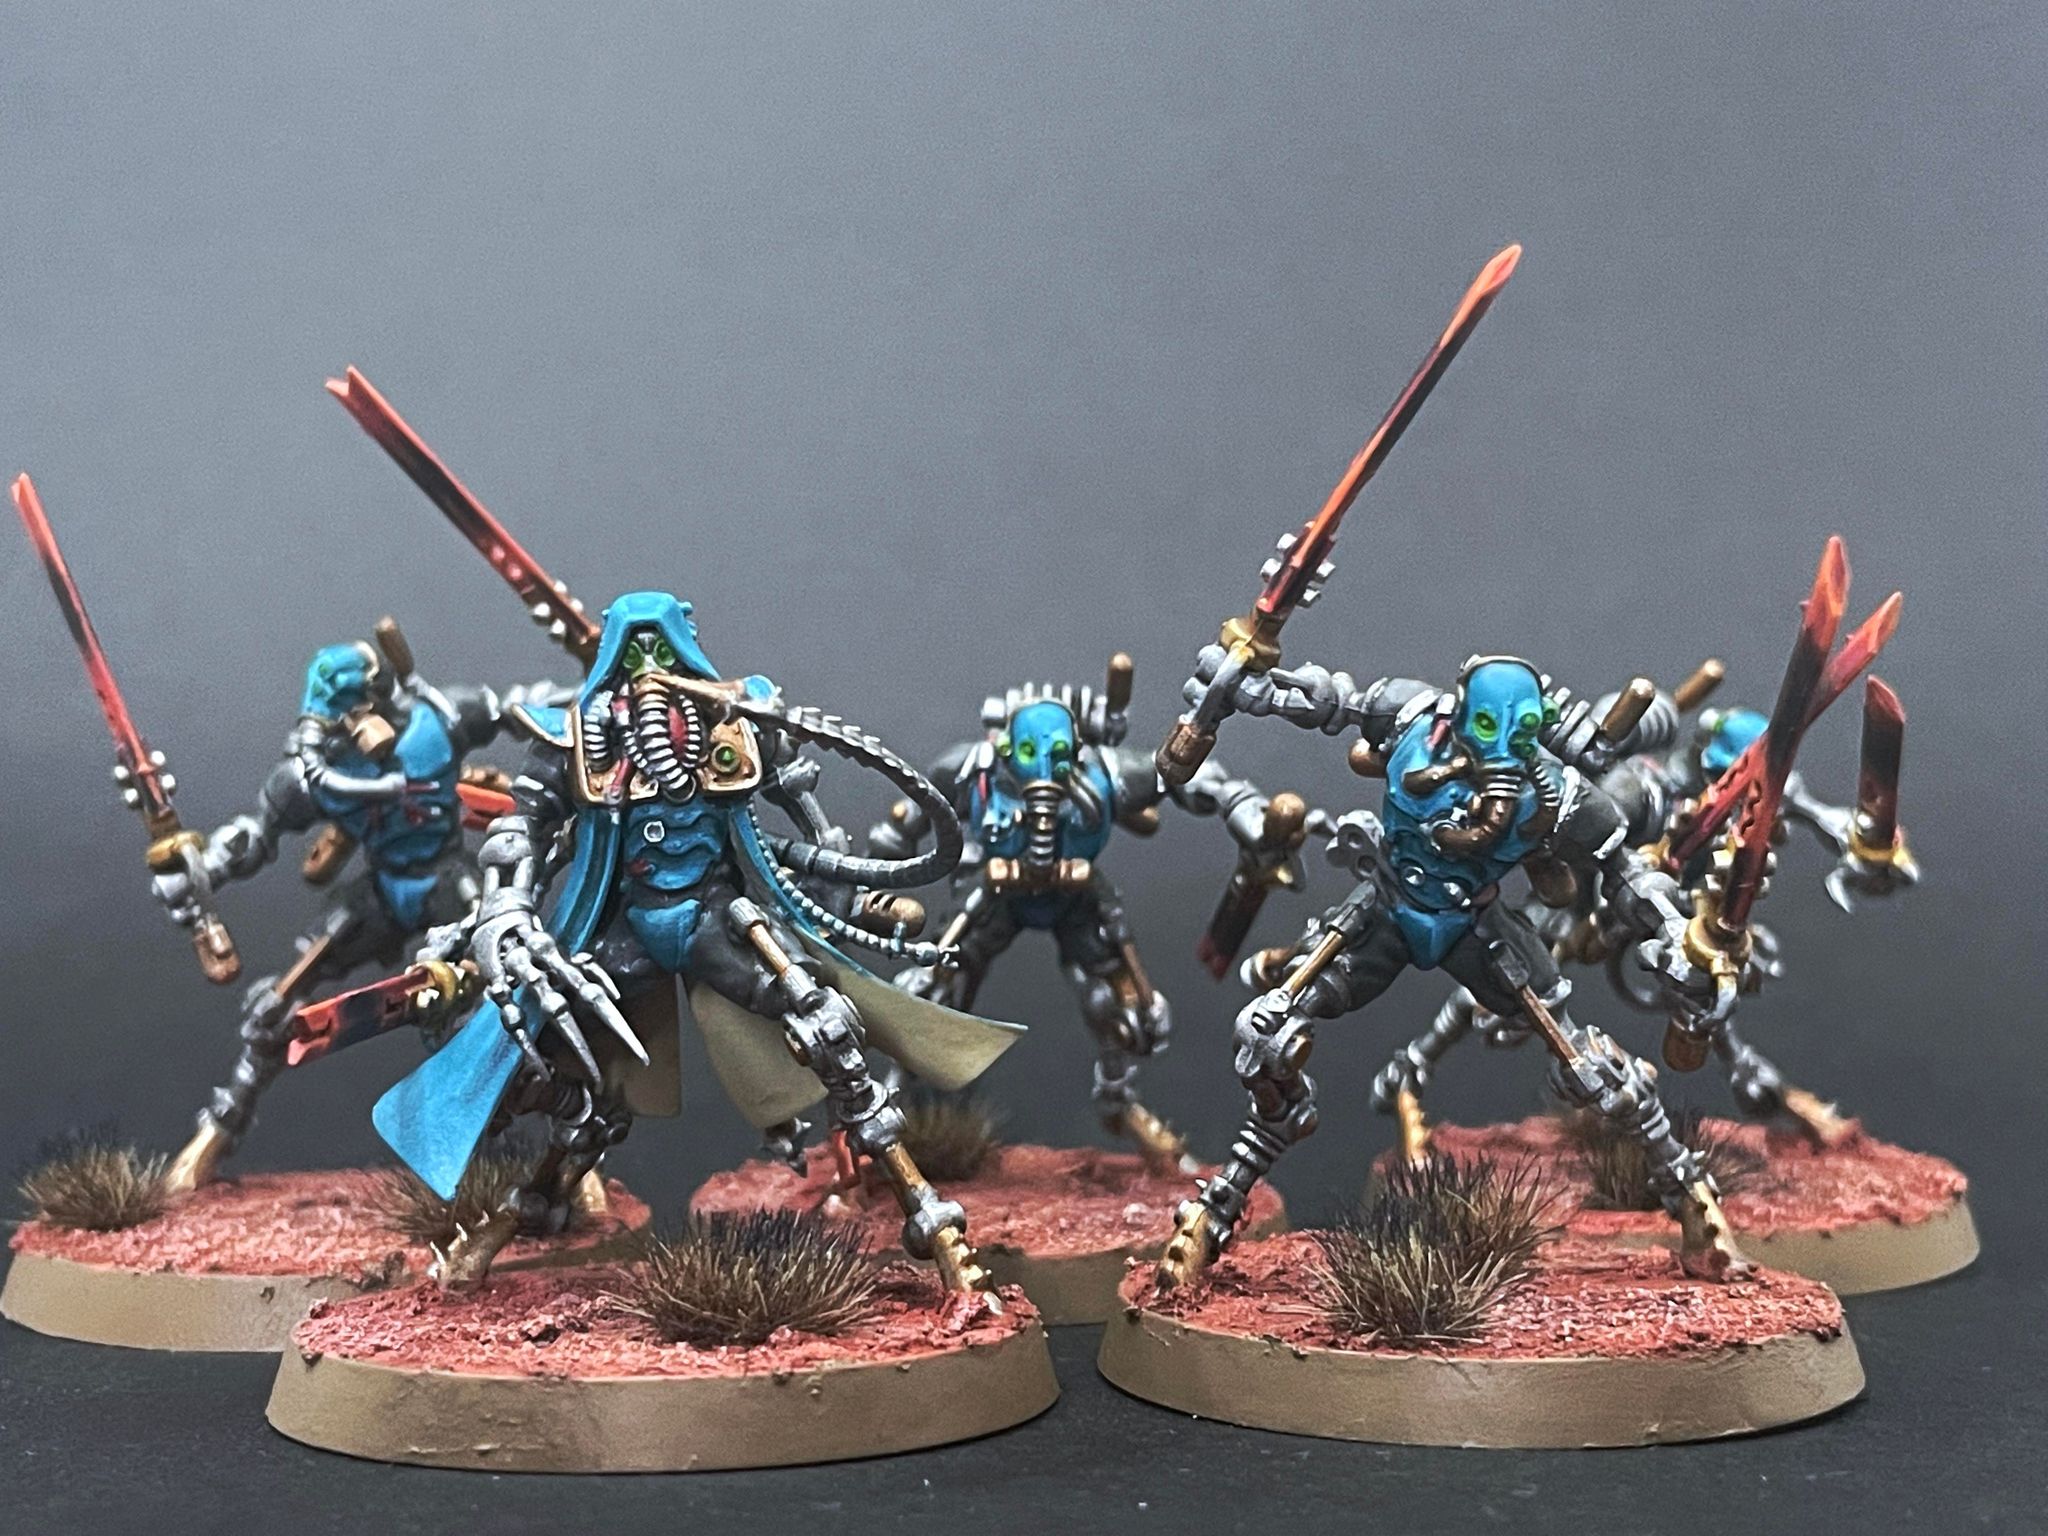
Sicarian Ruststalker Assassin
Finally we start to make our way to the bread and butter of the team. Your specialized combat units, the Sicarian Rustalkers come armed with 2 types of loadouts: Either the transonic razor and a claw or the transonic swords. The former are usually the best weapon by default; having balance on them is fantastic for taking down enemies with up to 8 or 9 wounds. However some matchups require that you take the latter, where their rending really shines. Some good examples here are legionaries, navy breachers, and ork kommandos. The swords reach their sweet spot because against legionaries we want to get those critical that can kill them in 3 hits (6+3+3), against navy the same (5+3) and against kommandos or other Hunter Clade the same (6+4), or at least have the threat that if they charge you can return much damage and not that the trade is not good for them.
Rustalkers can be equipped with Optimised Gait (1 EP), which will make them go further (more on this later), and have what is possibly the best ploy of the faction in Accelerant Agents, which allows you to fight once for free and fight 2 times with no other restrictions. This allows you to score, charge and hit, or the more obvious charge and kill 2 enemy operatives in one activation which can tip the balance in your favor.
Sicarian Infiltrator Tracker
Here we have our scouts and probably the best scorers on the team. Whether they’re equipped with flechette blasters or stub carbines, both options are very powerful. Don’t be fooled by the flechette pistol’s range; the fact that it is relentless makes it a very damaging and reliable weapon despite its short range. The pistol can put a dent at any target in range and even heavily armored opponents will take damage due to the high number of hits you can generate with BS 3+ and full re-rolls to hit.
As for the choice of melee weapon the most effective is without a doubt the power weapon. With a 4/6 damage and lethal 5+, it’s effective against almost everything, especially if you have the Conqueror Imperative activated; that re-roll makes it a really reliable and powerful weapon.
I said at the beginning that these are the team’s scouts because they can forward deploy and start completing missions and scoring right out of the gate. They can also be equipped with the servo-skull or mechadendrites to make their ability to score mission VP even better, even in enemy territory. Being able to steal a Loot & Savage point from enemy territory with one of these units is one of the best experiences you can have in the game.
So it’s either a pistol that individually does little damage, but is likely to overwhelm the opponent’s defense dice by getting four or five hits, so even Legionaries or Intercessors are taking damage, or a Bolter that can re-roll 1s. If you are planning on getting in close the Flechette blaster is better, as you can overwhelm and chip away at models even if they have good saves, while the Stubcarbine is great for popping Guard equivalents from across the board. I’d say if you’re fighting a 5+ save army use Stubcarbines since you can shoot and then charge into safety. While against more elite armies I will take the flechettes to put at least some wounds down range.
It’s one of the best models to put extra APL on since they can Charge, Fight and Shoot, or make a Move+dash and then shoot some key target in the face.
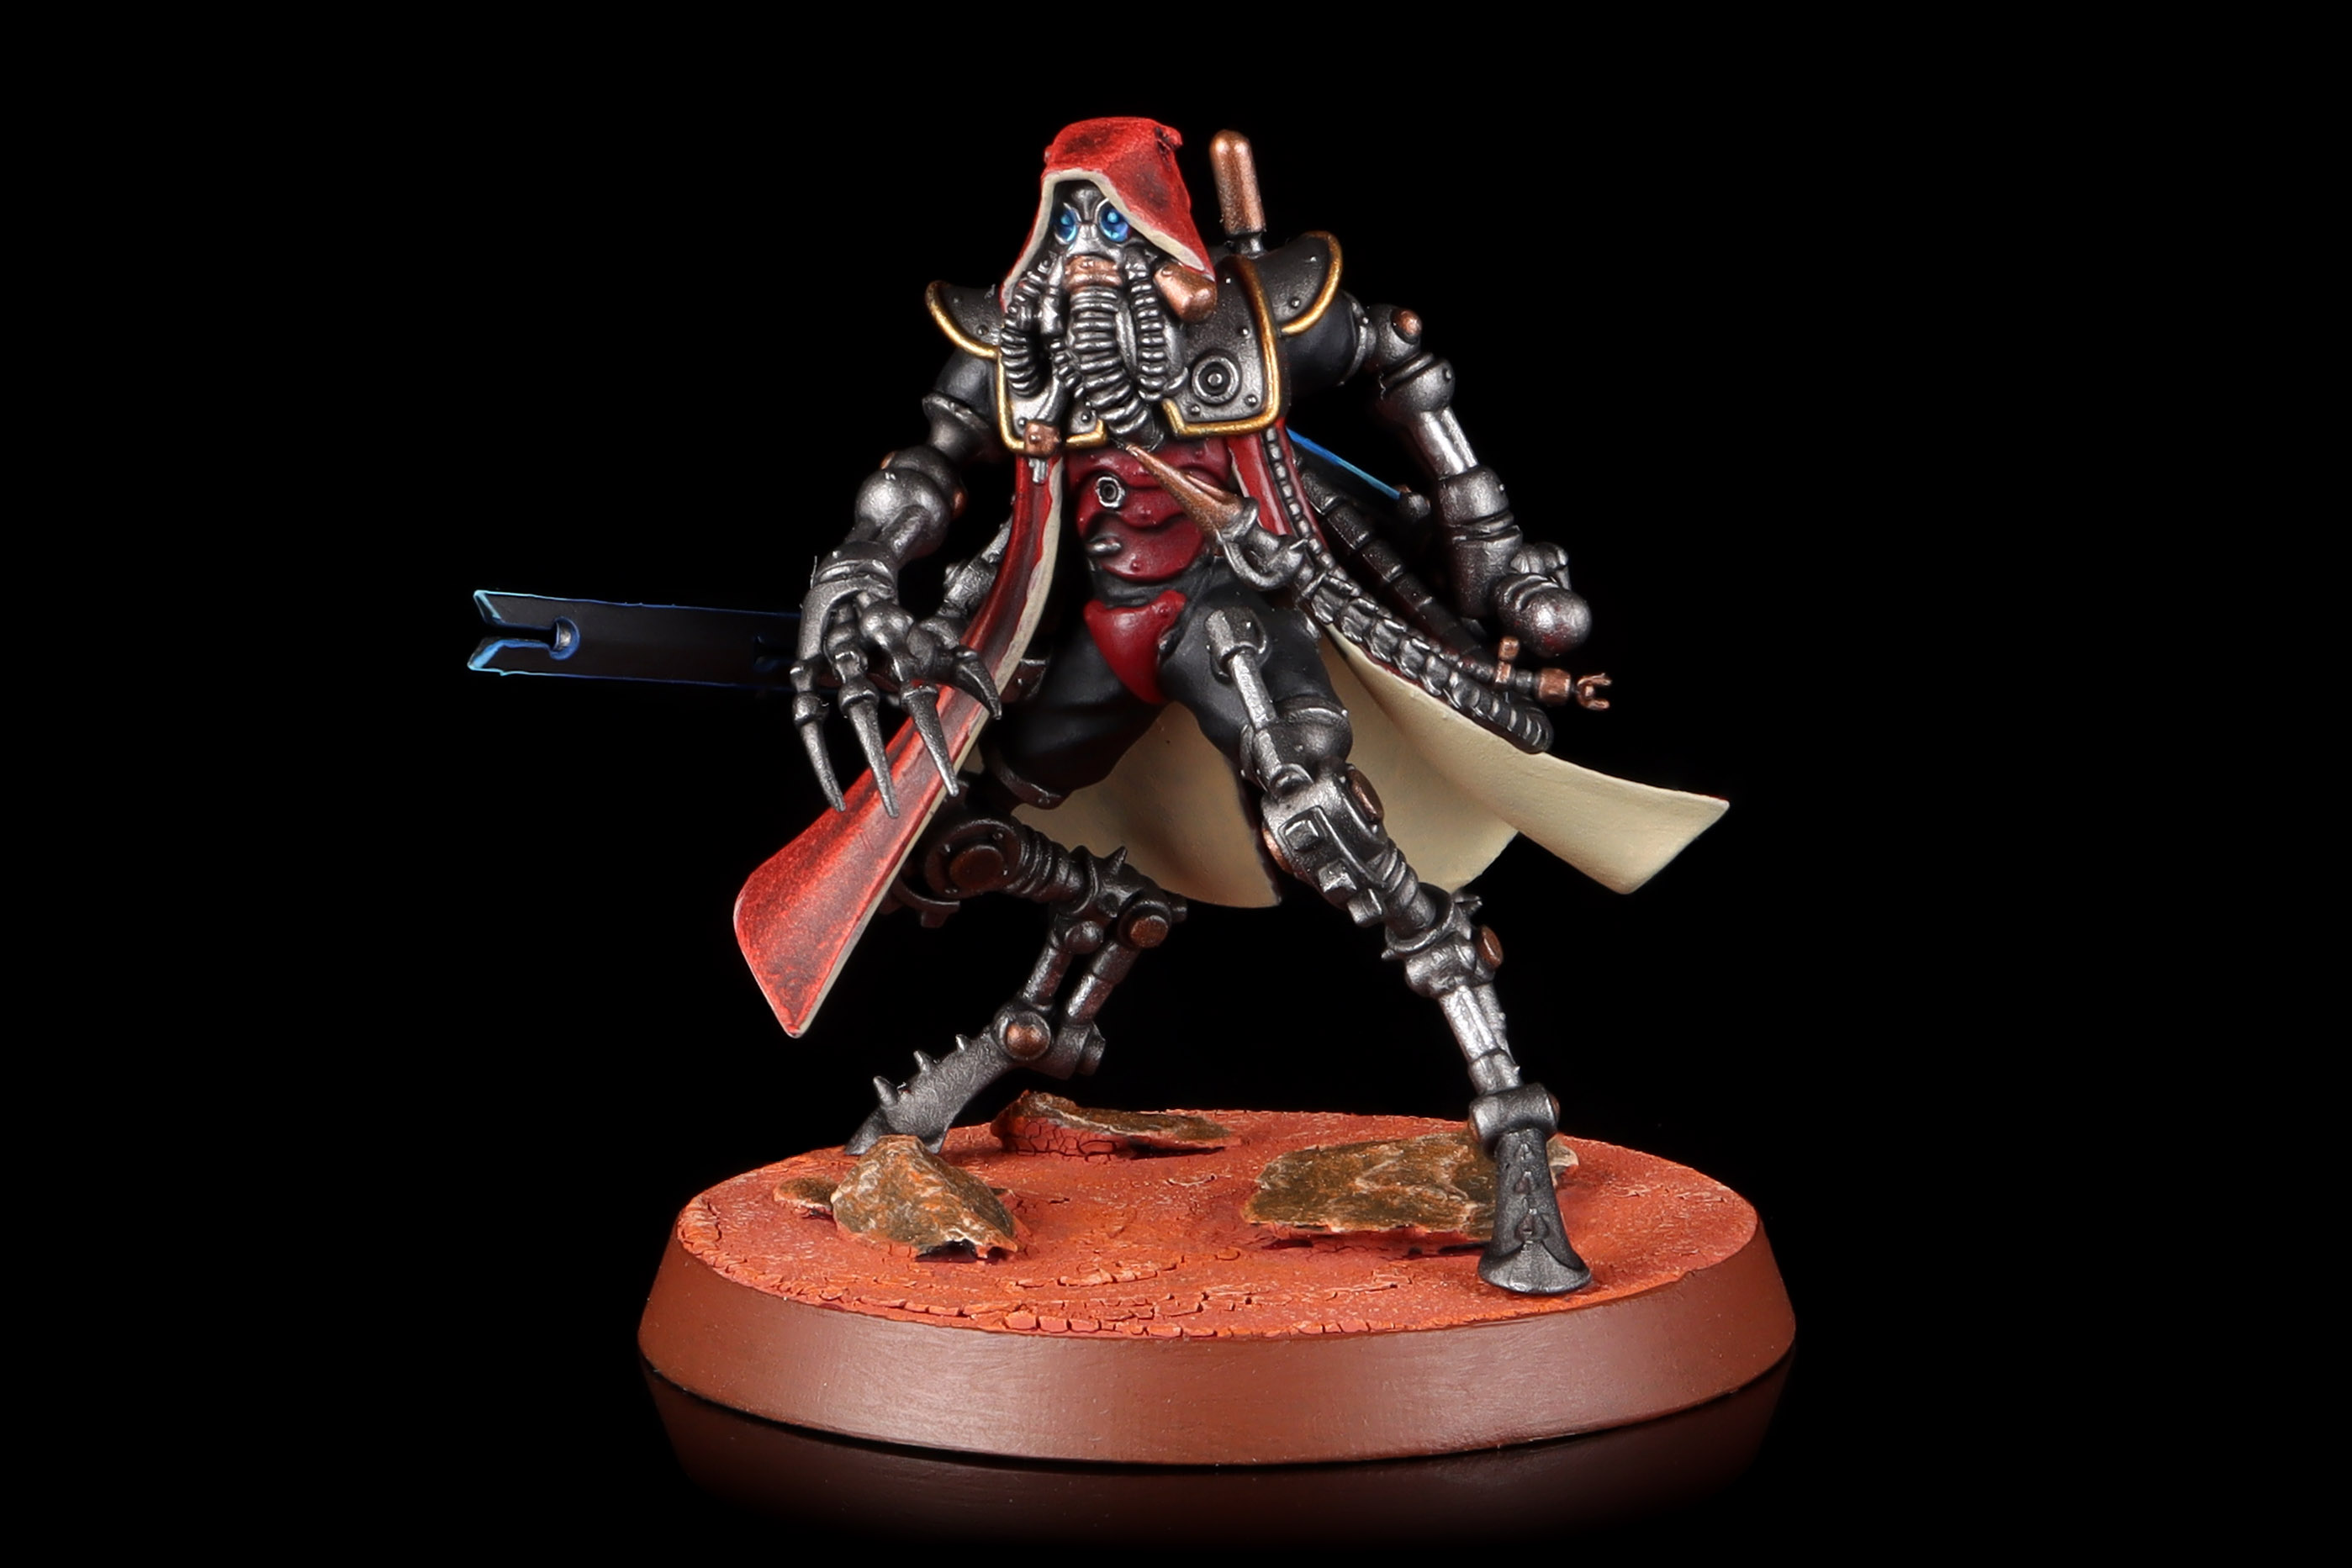
Sicarian Ruststalker Princeps
With a 6” move, 4+ save, 2 APL and 11 wounds the Ruststalker Princeps is a reasonably tough melee operative. However there are two important things to note about this operative:
- This operative’s weapons have been combined, so instead of choosing between a Chordclaw and Transonic razor or Transonic blades, it acknowledges that the model has a Chordclaw and Transonic blades, and so has 5 dice, 2+ to hit, 4/6 Balanced and Rending. This means it can hit like a train in close combat, and re-roll a dice if you get a one, or to take a chance if you fail to get a critical.
- Despite all of that, there is a better leader option and I don’t event put a Princeps on my roster (But he is pretty cool).
Credit: Pendulin
Sicarian Infiltrator Princeps
The only difference between this operative and your standard Infiltrator is that you get the Servo-Skull for free built-in to this model, which is great. Being able to make mission actions for one less AP is always amazing. But again, there is still another better Leader option waiting for us.
Skitarii Ranger Alpha
This Leader operative has the same profile as the Vanguard (below), but without the Rad-Saturation Aura. Pass. Let’s get down to the real thing.
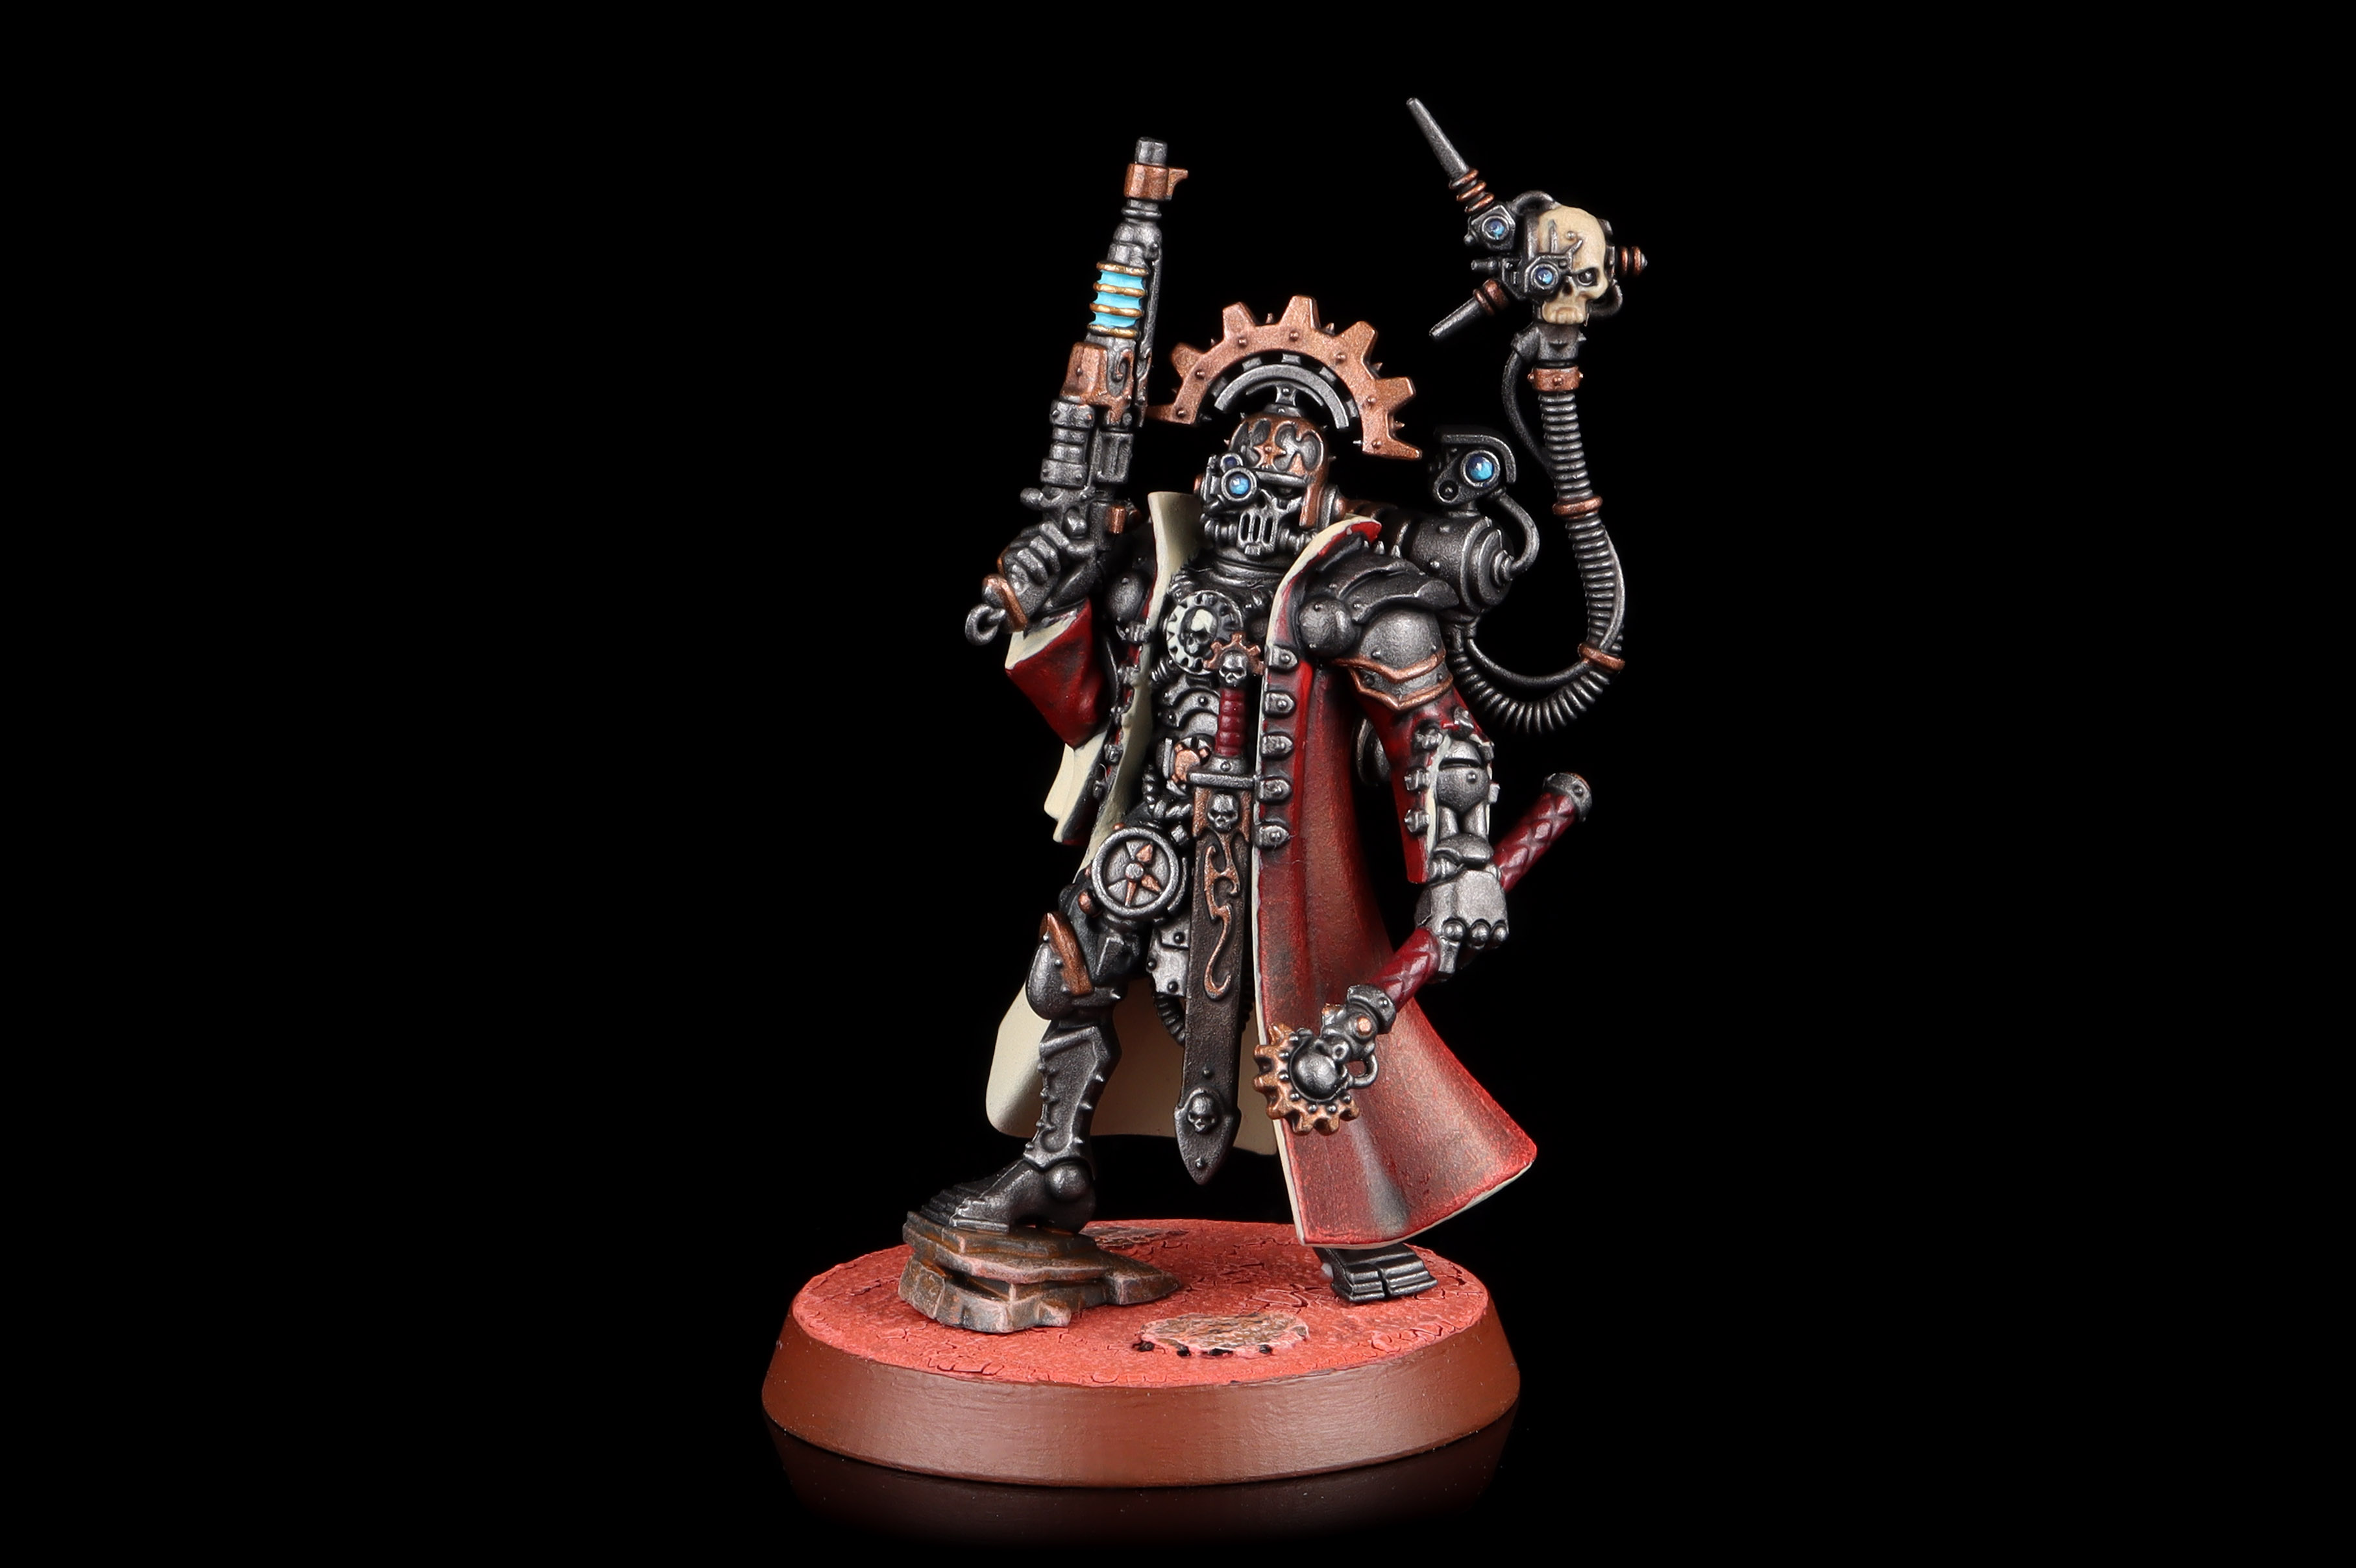
Skitarii Vanguard Alpha
This is the real Leader operative. Compared to other Vanguard, there are almost no changes to the basic stats: Skitarii are still 6” move, 2 APL, 4+ Save, but Alphas are 8 wounds and more accurate. The big thing here is that the weapon options have changed, and two of the pistols have been improved. Here the choices are pretty simple: Most of the time you want the Arc pistol (Ap1 good is just too good) or if the enemy is a horde, has invulnerable saves, OR you are playing on ITD/Gallowdark, then you can pick the phosphor blast pistol since that 1” blast becomes way more useful. And while the Ranger Alpha has a similar profile, it lacks the Rad-Saturation aura.
Both the Vanguard and Ranger Alphas gain the Control Edict special rule (which used to be a Tactical ploy for Forge World teams), which allows you to chain activate two models within 3” of this model once per Turning Point.
It’s so important, we’re giving it its own section!
Control Edict Combos You Can Pull Off
Comparable in strength to the Imperial Navy Breachers’ Breach and Clear, a mechanic that helps to push them as the premier ITD team, Hunter Clade gets a diet version attached to their skitarii leaders.
This is the best trick of your Kill team and the one that opens the door to more combos, let’s not forget that you don’t need to activate the leader with this ability. Here are some of the possibilities:
- Gunner + Surveyor: allowing you to remove the obscuring rule from a miniature and then shoot it immediately afterwards.
- Gunner + Ditkat: With this you can instantly give a +1APL to a gunner and shoot with that operative right after making the opponent unable to react, by having it raise and lower after a shot from a vantage
- Rustalker + Rustalker: Making a whirlwind of blades crash into the enemy vanguard. This is your typical move at the beginning of turning point 2.
- Ruststalker + Vanguard gunner: Shoot with the gunner, then charge/move. Ruststalker gets into melee with an injured model, and cleans up a fight more easily
- Leader + Infiltrator: Being able to capture distant areas or charge and shoot with both as necessary.
You can simulate the breach and clear ability from the breachers, you can also open a door, shoot, and then charge with a rustalker. Additionally using this against hordes can open up extra overwatch opportunities which can allow the vid-link equipment extra spots to shine. There is so much to it and you’ll constantly find ways to get more out of it. Your game is going to depend in large part on your ability to master using this operative.
Ploys
While the number of ploys Hunter Clade teams have isn’t as large as some other factions, the Doctrina Imperiatives functionally provide us with ploys 5-9. Good timing of those doctrinas is just as important as using your strategic and tactical ploys at opportune times!
Strategic Ploys
Martial Protocol 8/10 – Shooting rangers get a re-roll if they haven’t moved, and vanguards get a reroll if they’re within 6” of opposing drop zones or 2” of objectives. I almost always use it on Turning points 2 and 3. I try to have my gunners on Conceal, covering a good portion of the map so they can shoot with re-rolls then go back into cover.
This is the easiest access to re-rolls we have, and when combined with protector protocol it lets the Skitarii attack as-if they have 5-6 dice worth of rolls. Your usage of this Strategic Ploy is going to be heavily dictated by your skitarii layout. Rangers must shoot, then move, and vanguard merely need to be in position. This really combines very well with your Arc pistol, Arc gun (For the Stun) and the rending from the Vanguard Carabines
Accelerant Agents 10/10 – Ruststalkers get a free fight, and can fight twice.
The ability to turn your ruststalkers into mini-marines is a large part of the team’s flexibility. Being able to double fight or mission action and then take free fight turns any ruststalker into a huge threat. Since ruststalkers are often paired with enhanced gaits you can surprise many opponents with this.
Neurostatic Interference 6/10 – Opposing operatives within 6” of an infiltrator cannot re-roll during an offensive action.
When faced with re-roll heavy teams, like pathfinders or novitiates, your infiltrators can neuter their offensive rolls. This one can provide some sneaky end of tp1 movements than can stymie tp2 offensive actions and take the sting off of losing initiative. Without the mass rerolls certain teams fall apart, and can provide openings for a well placed power sword or flechette blaster.
Calculated Approach 4/10 – Opposing operatives more than 6” away from targeted models, allow those friendly models who retain a critical save to take a failed save and turn it into a successful one.
Against teams that force your models to roll cover saves, this can be combined with bulwark doctrina to heavily limit damage. Rolling 3 saves, and getting 1 reroll for 2 misses, means you get 4 bites at a crit. Hitting that crit can easily push your retained saves to 2-3 saves, which really keeps models around. The bulwark + calc approach combo has been particularly good against teams with easy access to no cover.
Tactical Ploys
Pursuers 7/10 – During scouting you can add on 2 more selections for the correct skitarii type. Rangers infiltrate, and Vanguards dash.
Allowing you to triple up on Recon or Infiltrate scouting options, pursuers can provide a strong 1-2 punch on tp1 to opponents. Being able to set up 3 gunners with conceal means that oftentimes tp1 options are very limited for opponents since you can guarantee getting the first shot off. Importantly enough the bonus choices for pursuers are limited to the corresponding skitarii, but the first use of recon or infiltrate can be any model.
There is a niche use for doubling up on pursuers so you can infiltrate 4 rangers or dash 4 vanguards for 2 CP. I have generally avoided doing this tactic or pursuers + concealed position on tp1, as having a spare cp handy for healing or tactical reroll has been important.
Command Override 6/10 – One model can change its doctrina during the firefight phase, for the rest of the phase.
Sometimes you really need +1″ of movement, or balanced on a specific melee, this ploy can provide those things. However activating a doctrina will count towards the one use restriction that causes deprecations. Its really situational but the extra inch can win you games.
Concealed Position, 8/10 – Select one Infiltrator operative to deploy anywhere more than 6” from enemy operatives or dropzone. Along as within 1” of heavy terrain and your infiltrator must remain on conceal for tp1. The model with the flechette pistol is a good model to send afield.
A good ploy when you need to put the points pressure on an opponent early, and terrain allows you to set up for it. Look for ways to set up the concealed infiltrator for as many early points, tac ops, and neurostatic bubbles as possible before you elect to risk a sicarian on this tac op.
Motive Force Vitality 5/10- when activating a model heal it d3 wounds.
Allowing models to push themselves out of injury can allow surprise plays, so make sure to keep an eye on 3w/5w models that you can un-injure with this ploy. This needs to be done AT activation, so make sure to keep the timing window in mind, as once you start rolling dice your opponent could rightly stop you from getting the heal off.
Equipment
Uplinked Vid-Feed [1ep] 6/10: skitarii can ignore ballistic skill penalties on Overwatch actions. A solid, cheap upgrade for when you expect to be outnumbered in a shooting fight. Additionally, this is excellent on Gallowdark missions, as it takes away the penalty for going on Guard.
Servo-Skull [2ep] and Mechadendrites [2ep] 7/10: will provide a free pickup or mission action. These are an auto-include as long as the mission has anything relevant – Secure Archeotech is a particularly nice mission for these as you can use both to good effect.
Optimised Gait [1ep] 10/10: ruststalkers can avoid the first 2” fee, for traversal, climb, or drop. These are almost auto-included on every Ruststalker as they allow the sicarians to charge and move in ways that opponents must respect.
Refractor Field+ [3ep] 7/10: Provides the leader with a 4+ invulnerable save. Taken if there’s some high AP on the opposing team; it really depends on how likely it is that the leader needs to survive a round of shooting against an opponent. I’ve generally found room for it on open, and chosen to eschew on Gallowdark missions in favor of more vid-feeds and enriched rounds.
Enriched Rounds [2ep] 6/10: Pushes vanguards’ radium carbines up to 3 normal damage. Is generally used as a filler for the random Vanguards on my list. Since I only have a Vanguard Diktat, it’s worked its way into multiple games. In most of my mirrors my opponents put the EP into pushing their profiles to bolters.
Cense Bearer [2ep] 5/10: all models within 3” of the bearer can ignore movement modifiers. Generally on this team one an injured model has already done its job so I haven’t used this much. Theoretically if you expect to be injured with auras this could see play to combat that.
Command Uplink+ [4ep] 0/10: Comms can spend 2AP to generate a CP. I’ve never used this as the comms buff is too potent to lose and so it’s not worth taking.

Playing the Missions
Hunter Clades have a ton of flexibility which is both a blessing and a curse – it makes
Faction Tac Ops
Relentless Pursuit (Tac op 1) 2/10, what is effectively a recon tac op for when you mostly use seek and destroy tac ops. I’ve not had too much success with this tac op, as it incentivizes everyone moving up a bit too quickly for the guns to do their work. It additionally allows your opponent a bit too much leeway for influencing your scoring ability, so I’ve avoided it.
Calculated Eradication (Tac op 2) 10/10, Everyones favorite faction tac op. Post balance dataslate this has become a relatively easy tac op to score. Hunter Clade easily rack up the damage, and being able to score this for 0 AP makes it one of the most consistent elements to score.
Assassination Order (Tac op 3) 6/10, nominate a model for elimination and make good on your promise while within 3” of the target. Generally playable against elites, and it’s hard for them to play keepaway with only 6 models. Against hordes and semi-hordes an intelligent general can play keep away with the target.
Critical Operations Missions: Open Missions
Loot: Probably the mission that best suits us, you can deploy an infiltrator with a skull to steal a point at the first turning point, you can use your rustalkers to loot charge and hit for free and as they move so fast ignoring barriers it is relatively easy to do. Probably the mission that will make you happiest of the primary ones.
Secure: The old domination, not bad considering that as we have said with loot the sicarians can charge, hit and control a point. That if our infiltrator is quite worse for this task since we usually want to move it quickly from the point we want to steal and if we do so we can easily recapture it. In general I would try to take many rustalker to these missions.
Capture: Probably the most complex mission, Hunter Clade likes to exploit missions where you have to “touch” objectives markers
Anyway we still have many bodies to control as many points as necessary and our units are difficult to kill so we can hold well at objectives markers.
Gallowdark/ITD Missions
Conduit: Small chargeable rooms means ruststalkers should reign supreme on this layout, position for surprise control edict runs. Then have the skitarii stroll in to claim objectives.
Channels: Large empty rooms provide great spots for your skitarii guns to control space. Side channels are set up so a turn 1 aggressor imperative can get those doors opened up for a tp2 charge. Keep the leader close to a ½ point between two lanes so you can pivot where the control edict gets placed.
Hub: Be careful of the hallway with your sicarians as someone can body block you with a barricade and some sneaky positioning! Lots of small 2×2 rooms means your ruststalkers can provide strong melee threats everywhere. Use control edict well to push onto points and rooms aggressively
Bridge: Push melee threats up to the doors while using skitarii to hold the large room. The middle room with large open ground feels like a fair bit of a trap, so having a few extra infiltrators would make sense.
Vault: Leave the right room for your ranged models to control while your sicarians run rampant on the 2 left rooms. Your leader can sit inbetween the two right rooms to provide the threat of control edict activation on either end. Once you control the middle room you can push out to support either lane.
Store: Use the walls on the top most room as cover when positioning your shooters. While the melee focused units can crawl around the bottom half. With so many hallways you may be able to catch people with the phosphor blast pistol.
Hangar: One of the stranger maps, where you can open up a shooting lane quickly on the bottom. Then you can push forward in the middle with some sicarians. If you manage that the sicarians can attack either the top or bottom half with the central doors. I’d expect a central leader for control edit by the end of tp1 to lead to spicy tp2 plays. A centrally placed barricade can block your objective off, and provide a strong central control edict point.
Hold: Skitarii holds the middle while the sides get pushed with melee sicarians. Keeping the leader on one of the wings should allow you to break opposing lines quickly on tp2. Don’t forget to use the central wall ends as cover when moving into the hold.
Lock: Central barricades on the middle room allows sicarians free reign on top and bottom room control. Once you win one of those, you can have the sicarians complete the flank to close in the middle.
Duct: Set a holding force for the upper room, and commit forces to the middle and bottom room. The bottom room allows melee models to get a charge on the opposing duct’s side. A mission that looks likely to stall, so make sure to look for ways to score tac ops.
Credit: Pendulin
Playing Hunter Clade Against Other Teams
Veteran Guard, A: Patience is key here, be very careful with the Spotter so he doesn’t blow up one of your units on the first turn, stay hidden until your charges can come true. Charge to things already activated and stay safe in combat but watch out for possible In death atonement and don’t get caught on engage with a dead model holding you back. It’s best to try to kill as many as you can in pairs with your rustalkers and finish off the rest with gunfire. If you can get into their zone you can deny them many secondaries. Try not to get into a shootout unless you can snipe a medic first, as medics can mitigate your ranged damage.
Kommandos, S: Big and tough guys, but they can smash into your combat units, load up with Transonic Blades on the rustalkers, rending 4/6 lines up well against ten wounds backed by Just a Scratch . Special attention to the Boss Nob who is the only one who can kill sicarians in two hits. Watch out for the Dakka boy who can also do a lot of damage if he plants himself in your face and takes your cover. Otherwise all your shooting weapons line up well against greenskins.
Hunter Clade, F: It’s a mirror, follow this guide, be the best player and collect your gains. Additionally be mindful of how you can set up neurostatic interference to ruin chordclaws if your opponent selects them.
Warpcoven, A: Losing dash to ephemeral instability hurts, losing charges even more, spellcasters and rubrics if any should be your first target. Since melee is harder your shooting weapons can do a lot of damage to them but watch out for invulnerable saves. Your combat also works vs spellcasters that require 3 hits to kill you, you probably fighting twice can kill them, here goes better blade and claw than swords giving you more reliability.
Pathfinder, B: These little guys are pretty tough, try to move from heavy cover to heavy cover and not until the last activations where you go light. Use bulwark imperative and calculated approach to mitigate shooting to let you close the distance with sicarians. If you get several successful charges with the leader’s edict control you can do a lot of damage to them in a couple of early activations. Try not to get into a shootout unless you can snipe a medic first, as medics can neuter your ranged effectiveness.
Novitiates, S: One of the most advantageous pairings, you can stick in a couple of infiltrators to blast some Neurostatic Interference so they have no re-rolls or packs of rustalkers to hunt the girls two at a time. Watch out for blinding aura you may think you have a shot where you really don’t have it. Watch out for the sister superior with hospitaller backup, as that pair can put out consistent shooting damage.
Voidancer Troupe, S: Here you want transonic blades, to find crits, on your rustalkers a lot and try to look to kill 2 of their units with one of yours. Cegorach’s Jest can neuter your normal melee hits, which is why you want crits here. Watch out for their fusion pistols and beware that with your huge bases it’s possible the Death Jester can torrent you and your rustalkers aren’t going to survive that. Important to note all targets of torrent must be within 2” of each other, and valid targets individually. Additionally use your gunners aggressively as your big guns can all do a good job of wounding or killing void dancers, remember within 2” you ignore Domino Field’s effect!
Legionaries, S: Here your plasma is your best weapon, if you charge them you most likely won’t be able to kill them, you want the rending swords to dodge Mutagenic Flesh. Luckily it’s not the worst to be charged by them since they can’t kill 2 operatives in one charge. Watch out for their leader and try to take him down as fast as you can. Bring as many gunners as you can and try to soften them off from a distance, as your melee threats get into position.
Voidscarred Corsairs, S: This one shouldn’t be too horrible, your units should do tons of damage on charges and you should be able to outactivate them. 8 wounds is a horrible breakpoint for chordclaws and high AP weaponry. On ITD they may provide a stickier challenge, but having 2 models to lose is a huge boon in the match up.
Blooded Traitors, A: It’s strange but this pairing is tricky, they always have the last activation on the first turn and their diabolyk bomb is terrifying, you should be careful because your units are very susceptible to getting in 2 inch range. As long as you avoid the two for one threat of the grenadier, you can apply accurate guns, and two shot melee to wipe em out.
Phobos, S: Here you have to dodge the track target, luckily we have tools to deal with the smoke, our combat units do a lot of damage, but don’t charge their healthy Reivers if you can avoid it! At the end of the day you have enough AP where you can wait out their activations. Be mindful of physical gun positions for omniscrambling and victory should be yours.
Elucidian Starstriders, A: Be careful with Elucia Vane and her indirect fire and of course with the artillery, if you want to try to shoot them be careful with the medic, the best you can try is bridge charges on their warriors especially in areas where the Death Cult Executioner doesn’t reach, they have hardly any good countercharge threats except for the aforementioned executioner and leader.
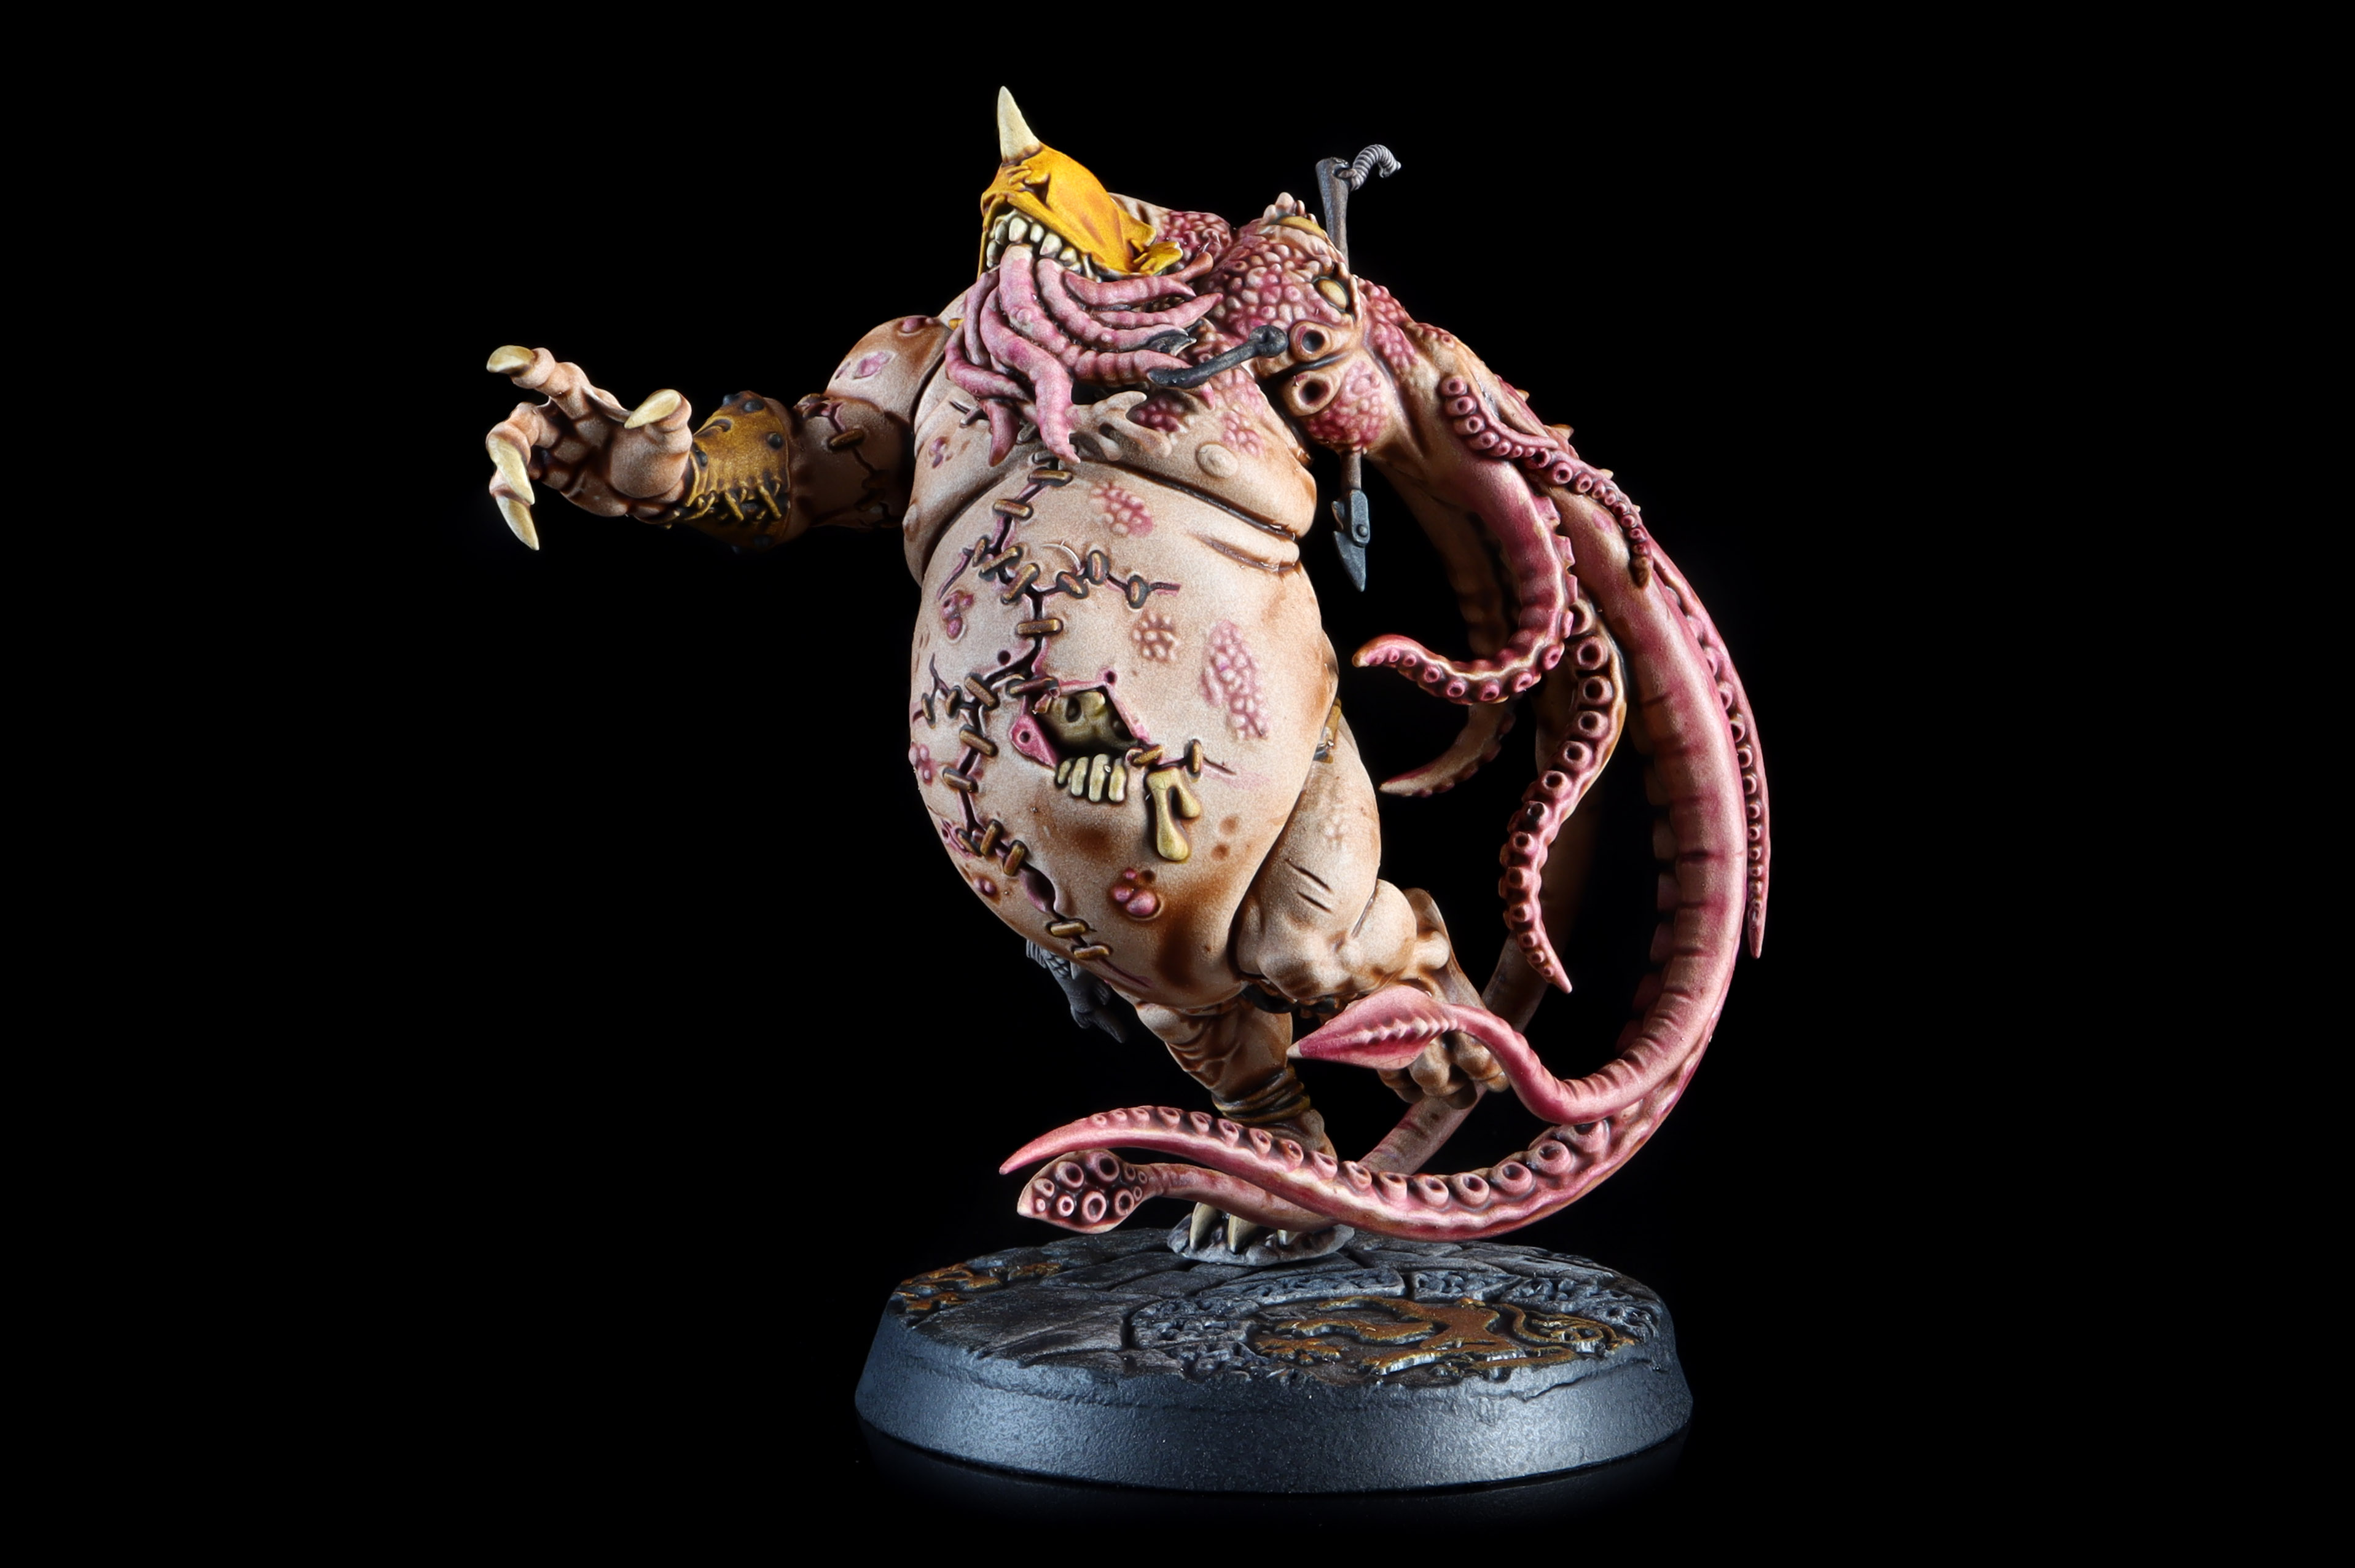
Gellerpox, B: Probably our most complicated matchup, as you can’t reliably kill Nightmare hulks with shooting and you can’t kill them reliably in combat… so the best advice you can have is to prevent them from scoring, kill the gellerpox mutants and glitchling and then try not to give bridge charges to the Hulks while eradicating them with your special weapons, Stun! across the leader and arc rifle gunner really limits the hulks if you can land the crits. Additional hulks can be injured so leftover guns can work towards injuring the hulks.
Imperial Navy Breachers, B: Another tricky matchup, be careful with their GA2 and the assault grenadier blitz can easily kill your sicarians, place your gunners well and be ready to shoot at the first chance you get. If you manage to eliminate their shooting and combat threats they won’t have enough firepower to stop you. Watch out for charging things that haven’t moved (unless they are multiple charges).
Farstalker Kinband, A: A priori you should be able to link good double charges with your sicarians by killing 2 of them on each swing. Watch out for the Kroot Tracker as he can position himself in such a way that he can shoot you even if you are under heavy cover. Kroot hounds can also sneak out and catch your skitarii on the flanks, so be mindful of their 11” threat ranges!
Kasrkin, S: Lots of special weapons, with one melee weapon, you charge them to operatives that have moved and then you will only have to continue linking safe melee charges. An easy match up until something changes.
Hierotek Circle, S: Another easy matchup, until something changes, they are slow but Reanimation Protocols will have them back in the fight, they are tough but your melee is much better and your special weapons should vaporize these robots. If that wasn’t enough you have +3 models, and all of your models can put damage on them, while only 6 of their operatives are true threats.
Tips for Playing in Gallowdark/Into the Dark
Hunter Clade is probably one of the best factions for ITD play, being able to fight multiple times, guard without penalties and having a lot of models on the field gives you a clear edge on the Gallowdark.
Phosphor Blast Pistol: With lethal 5+, the blast pistol is reasonably close to the arc pistol on 4+ saves or worse. As the only source of blast on the team don’t be too hasty to ignore the pistol as opponents might forget about positioning.
Aggressor Imperatives: Be mindful of whether or not the +1” of movement can get your models into position before an opponent. On many maps 7” normal move will be able to get you within 1” of a door in one move allowing you to open up lanes quicker than opponents expect.
Irradiated Space with the Vanguards of evolution: Vanguards ability to injure a 2” bubble can be very powerful in the tight corridors. The leader specifically fights reasonably well against most WS 4+ models and can hold his own easily. Concealed vanguards behind cover can make melee models second guess, initiating a fight as WS 4+ from a space marine, is no guarantee of a kill.
Concealed Position: Is a powerful tool that allows you to set up a shooting lane, and ready an infiltrator for a turn 2 charge. It’s certainly a better bet than pursuers on ITD as it’s much easier to keep your gunners safe on tp1 in the tight confines of most maps.
Big bases in tight hallways: A sly opponent can position a model just outside 1” of a barricade in a hallway stopping any sicarians from landing on the opposite side of the barricade. Being on 40mm bases can definitely get you stuck in some traffic jams. Be ready for this line of play with a plasma or flechette to break the enemy’s position.
Control Edict: On ITD there are a handful of very important things to keep in mind. Control Edict is probably just too good to pass up on ITD. Being able to use potentially 4-7 action points before an opponent or even in response to an opponent’s play is too valuable. Don’t forget that you can use control edict in 1 lane, then move your leader to another lane for the latter turning point.
Ruststalkers, Legs, and Small Rooms: Players may assume that with so little terrain the gait is less powerful. However being able to ignore player barricades generally opens up any 2×2 room for a charge. When combined with +APL or accelerant agents your rust stalkers can open doors, charge, and fight with impunity on many layouts.
Skull on a rustalker: If you don’t need the skull to play the mission then yes, opening a door, charging and fighting twice is an awesome trick that you can use its virtually 4APL on the table (Suck it custodes!)
Hatchway fighting: This is awesome, you can move (even dash) and fight on conceal if you fulfill the hatchway fights requirements, so take a look at it. Also you can charge, stay close to the access point and fight again even if you are not in engagement range via hatchway fights. They are awesome and one of the most interesting mechanics on ITD.
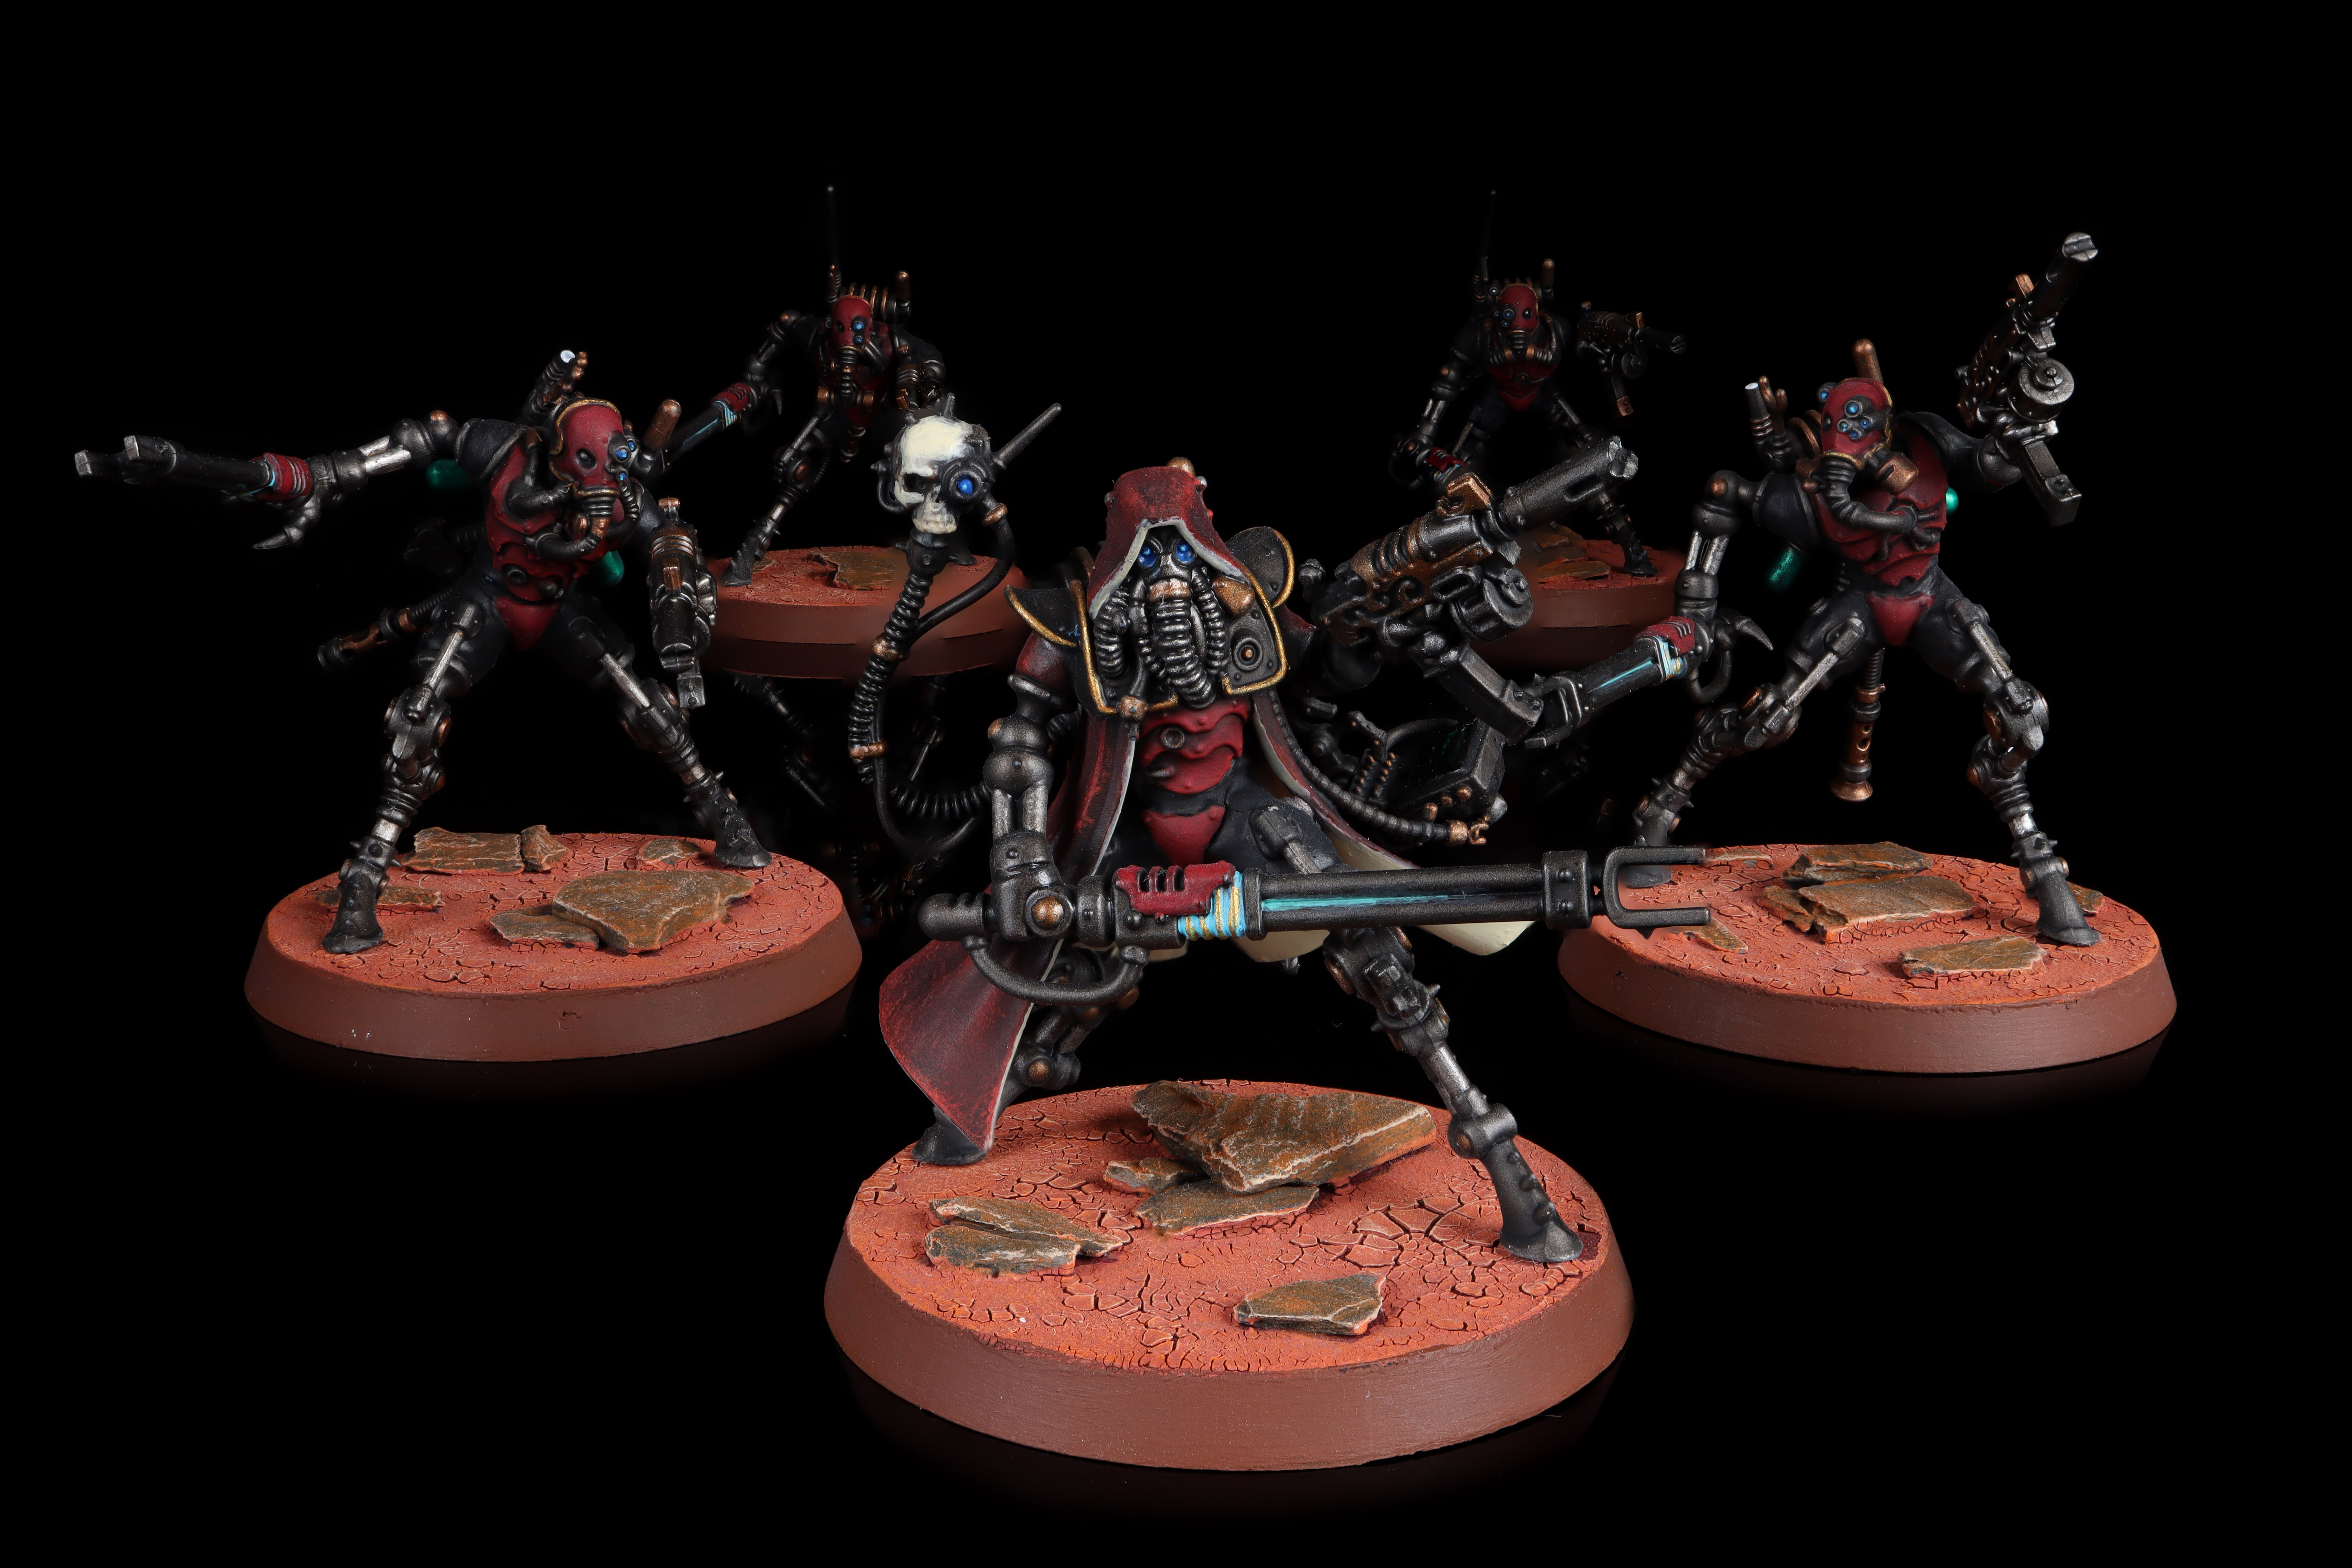
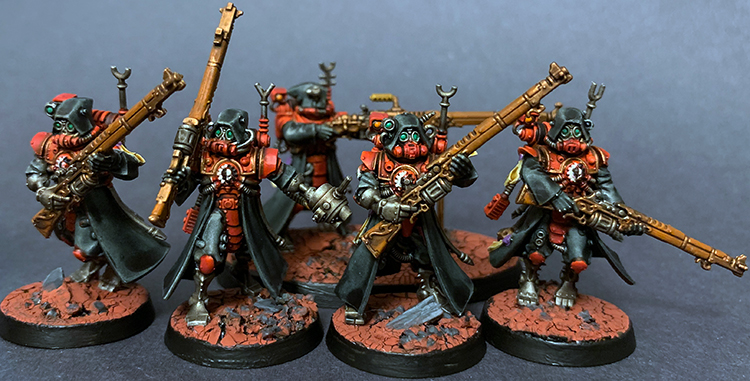
Painting and Modeling Hunter Clade
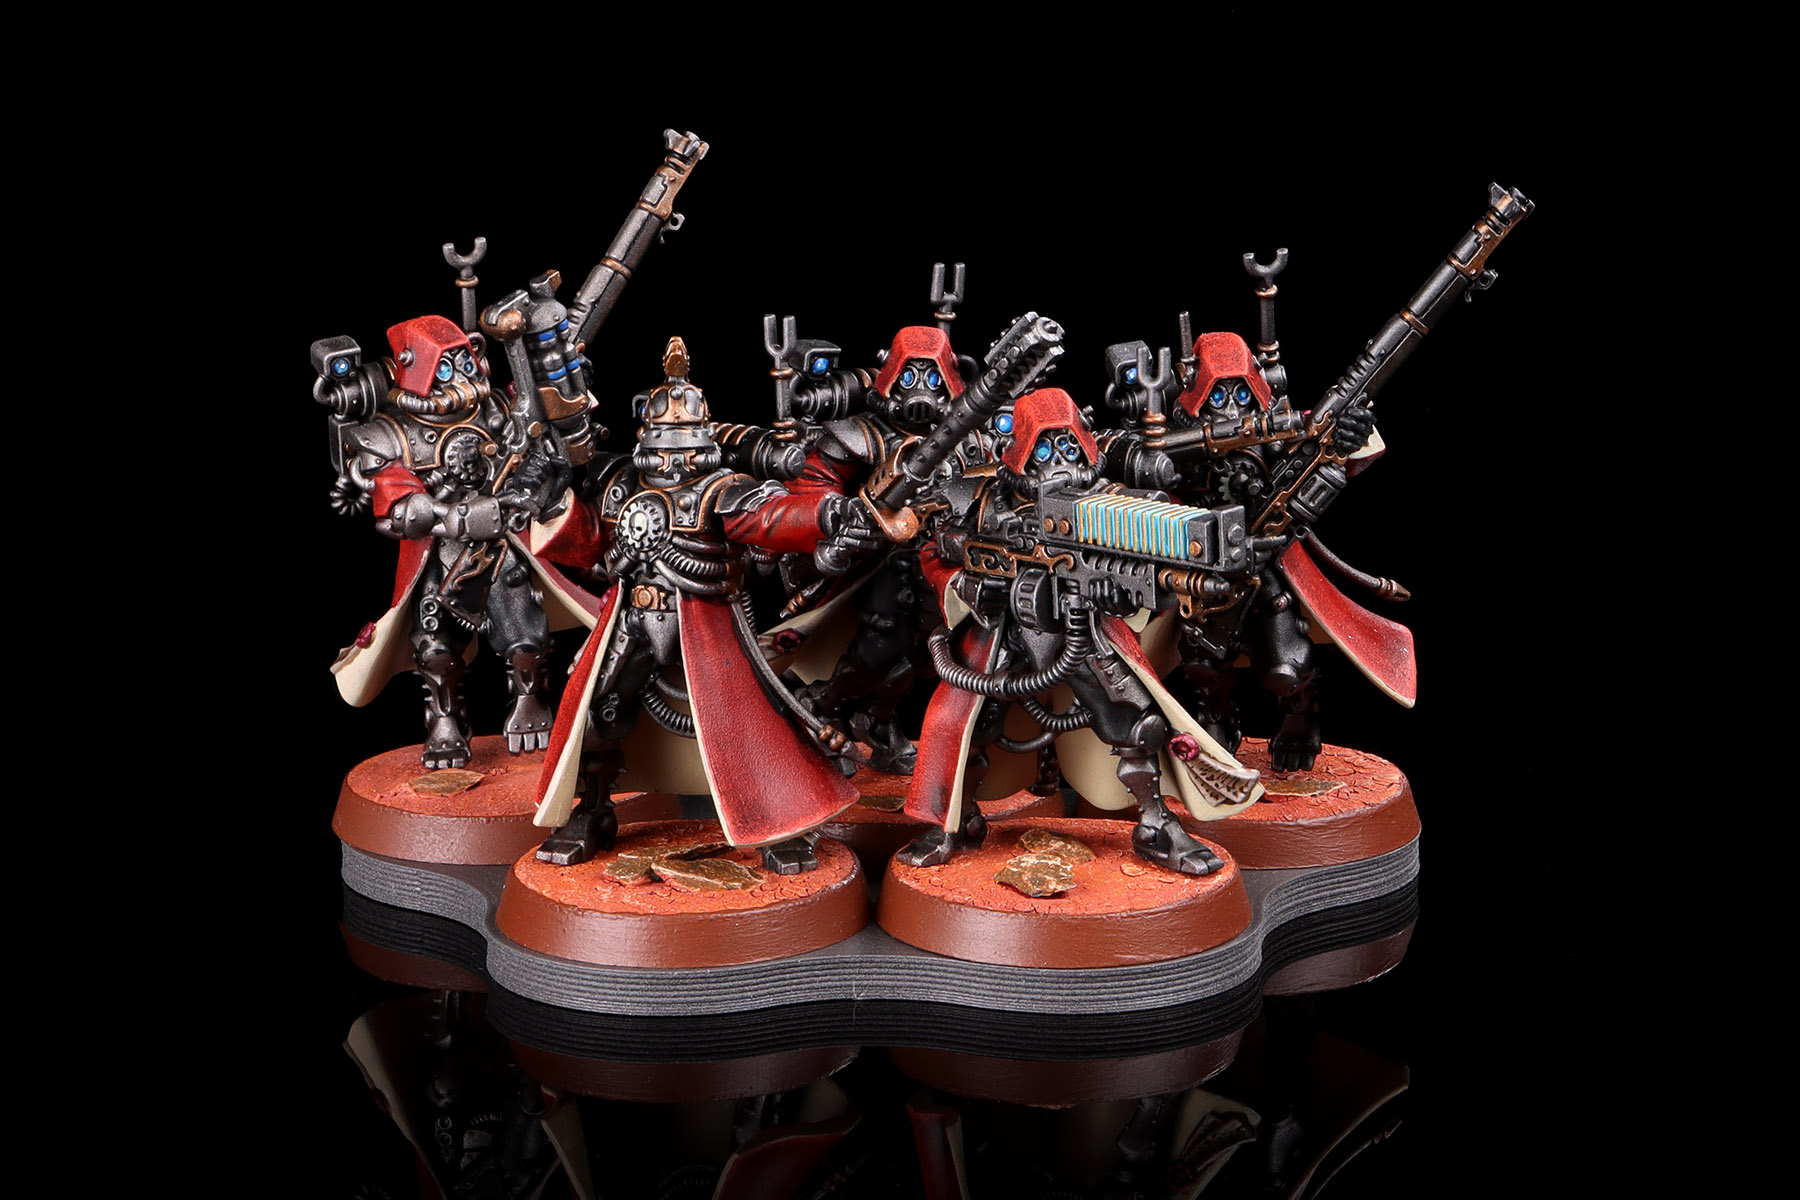
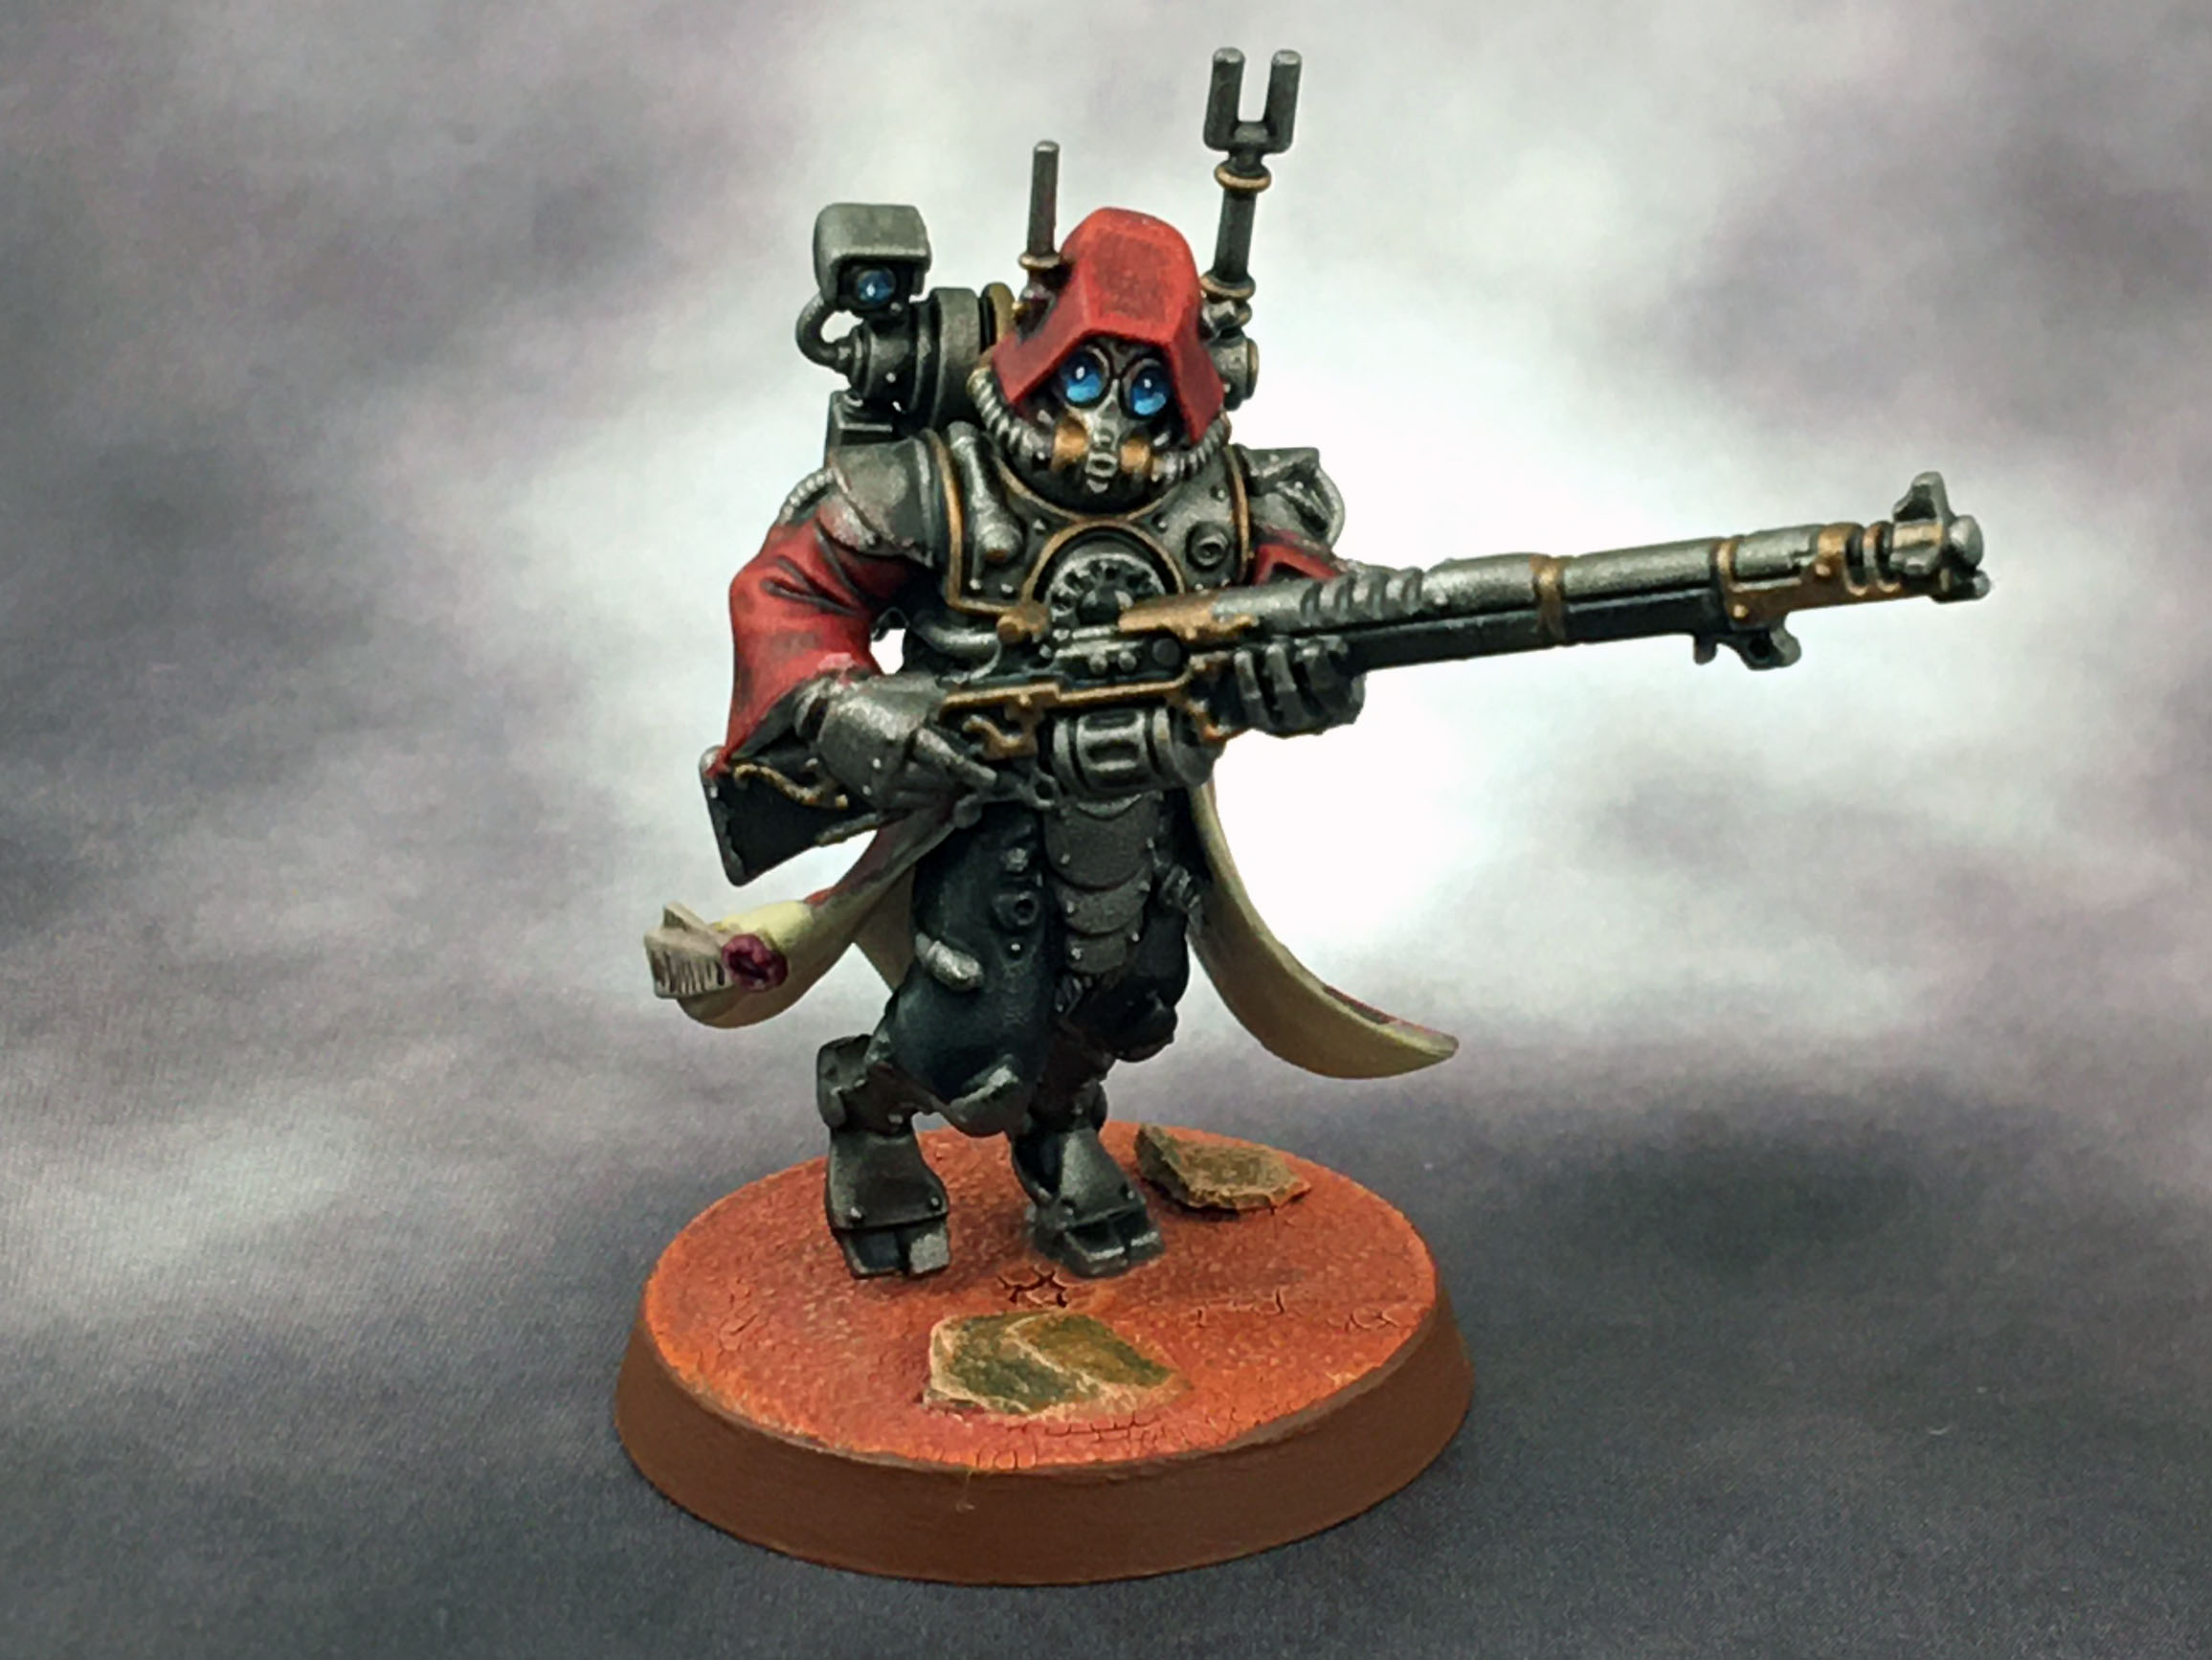
With a faction as long as storied as Hunter Clade you can take your models all across the 40k lore. From loyal mechanicus to heretical hereteks, you pull inspiration from almost anywhere. Some admech could be attached to various space marine legions, sporting the same colors and regalia. To the tried and true red cloaks and checkered filigree.
You can find more on how to paint Hunter Clades in our How to Paint Everything: Adeptus Mechanicus article. We’ve also included some additional teams below.
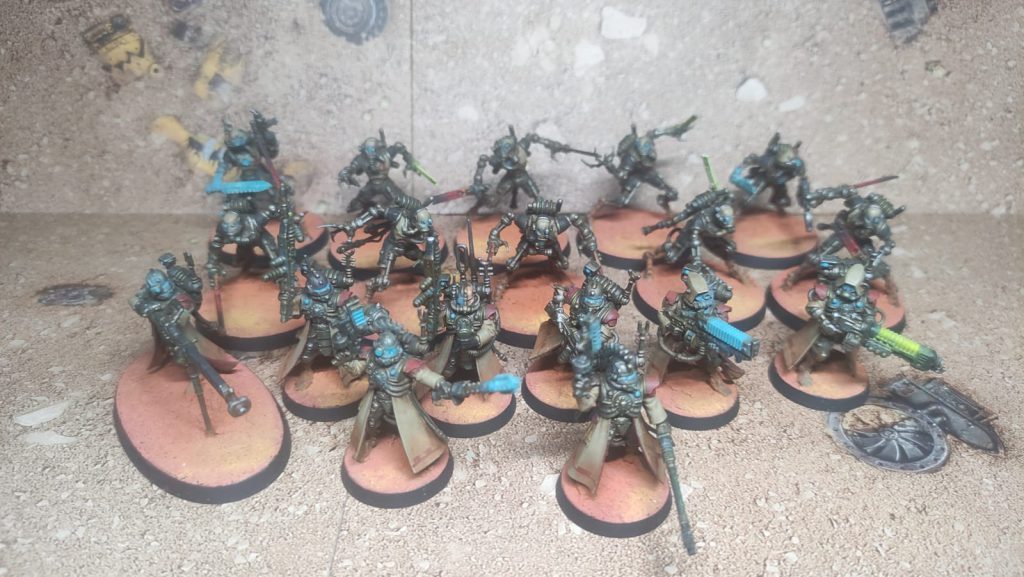
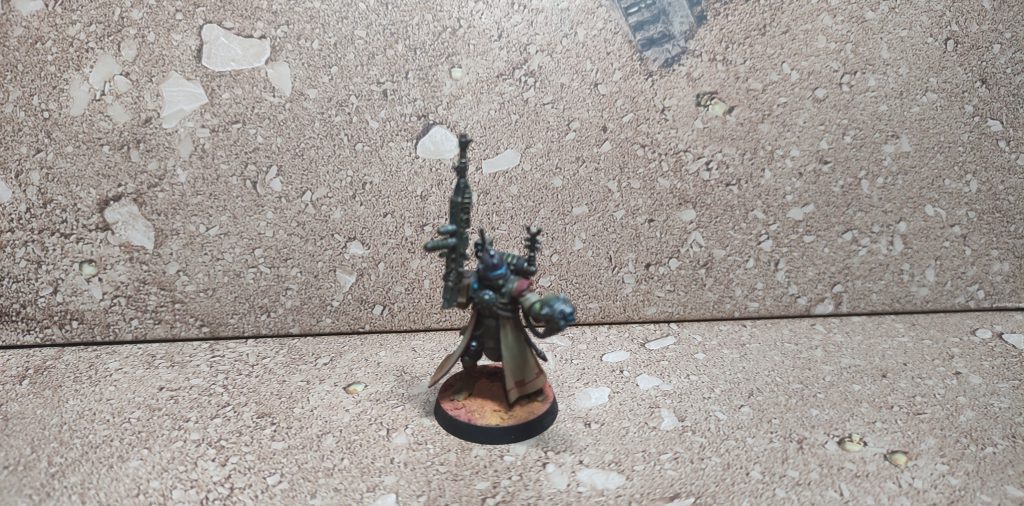
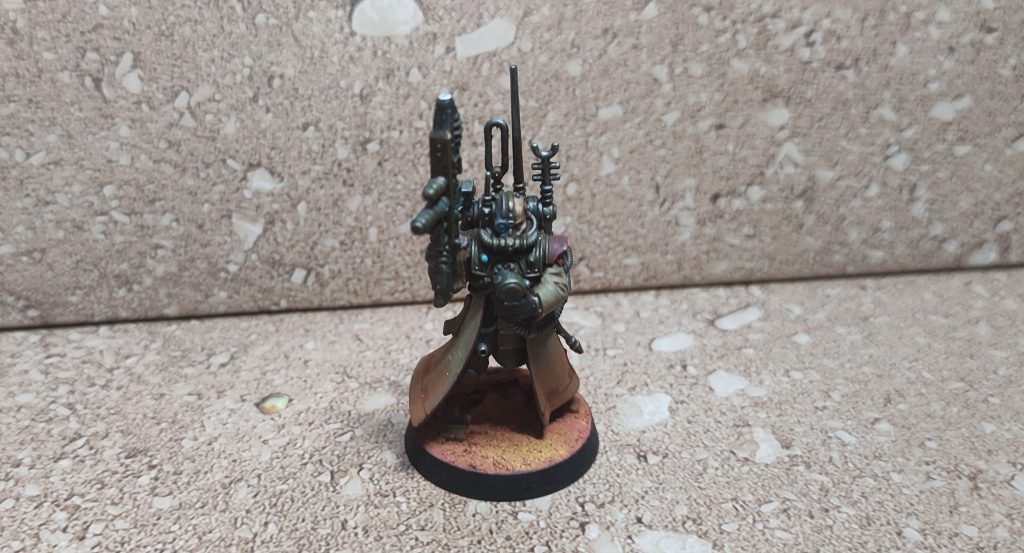
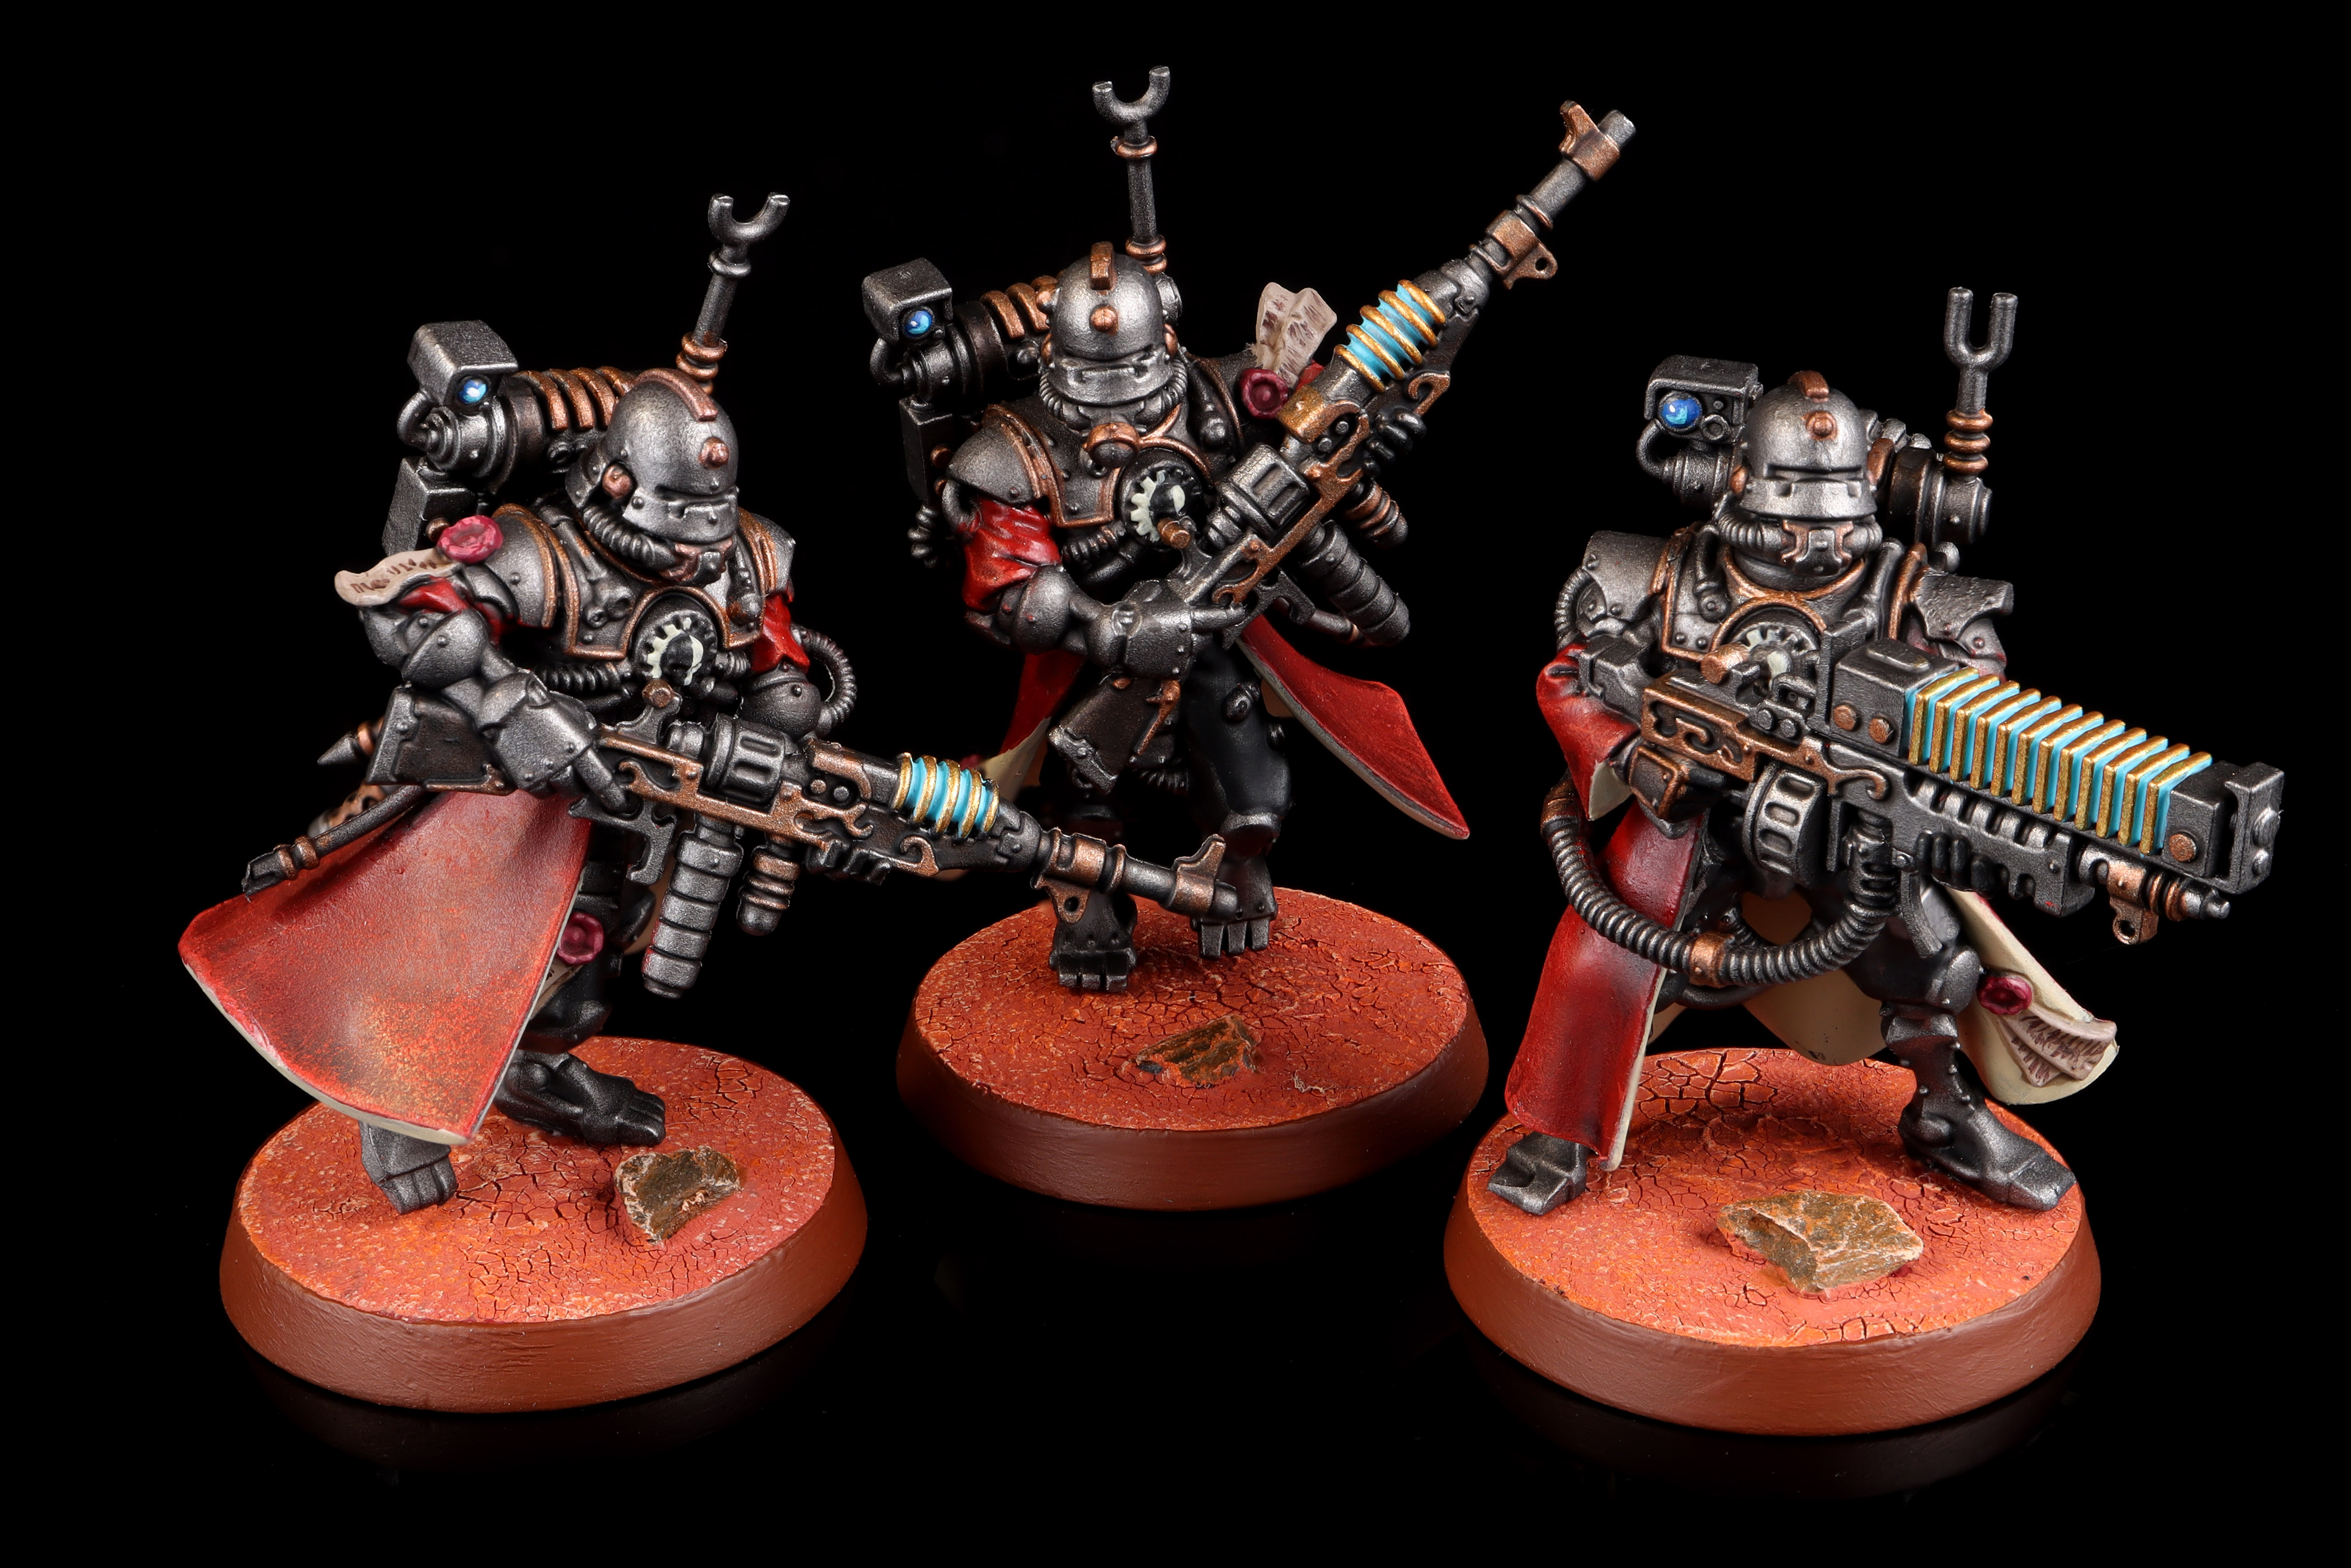
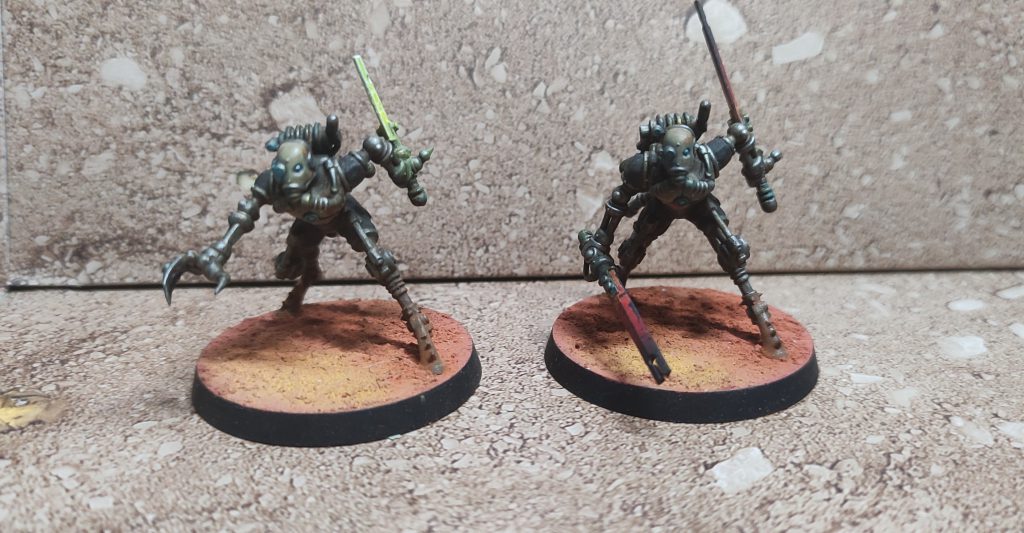
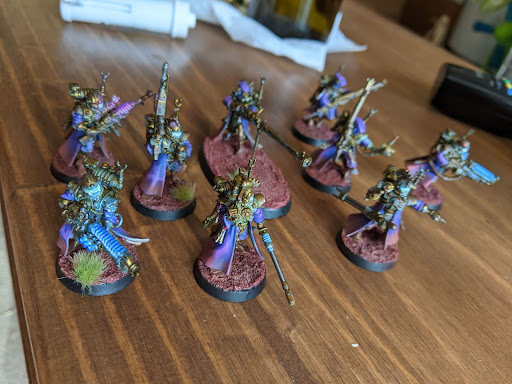
Travis has gone with an original color scheme sporting royal purple skitarii, backed by some more traditional sicarians. He went with metallic undercoats, contrast metallics, and finished off with some verdigris effects.
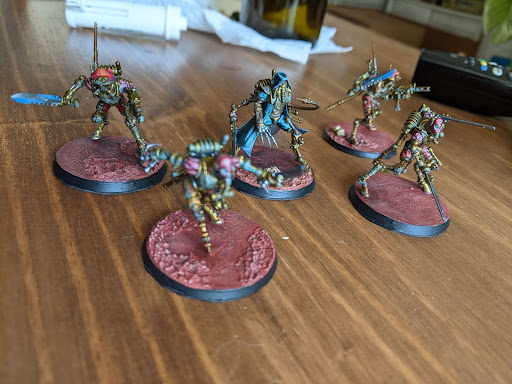
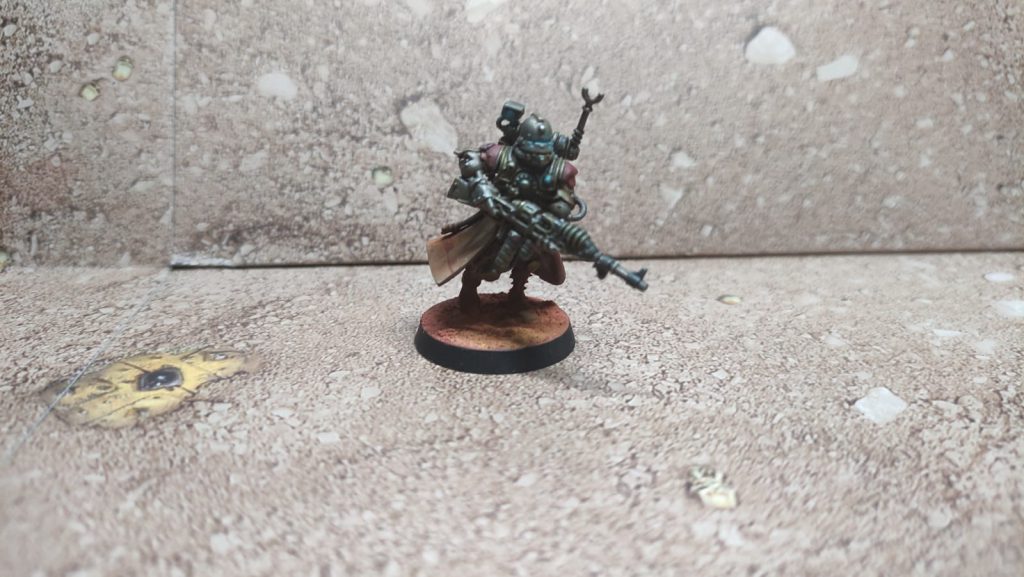
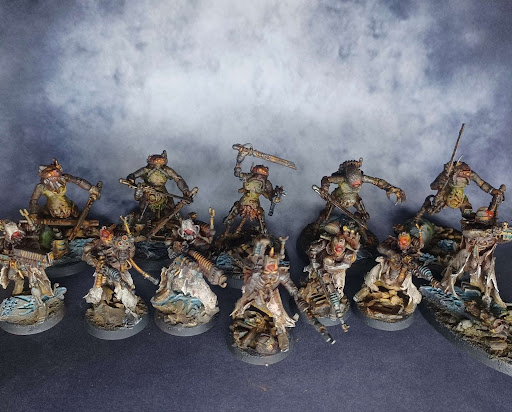
Adrian turned to the ruinous powers for his Hunter Clade. Nurgle touched sicarians and a grungy set of skitarii take his hereteks into the ruin.
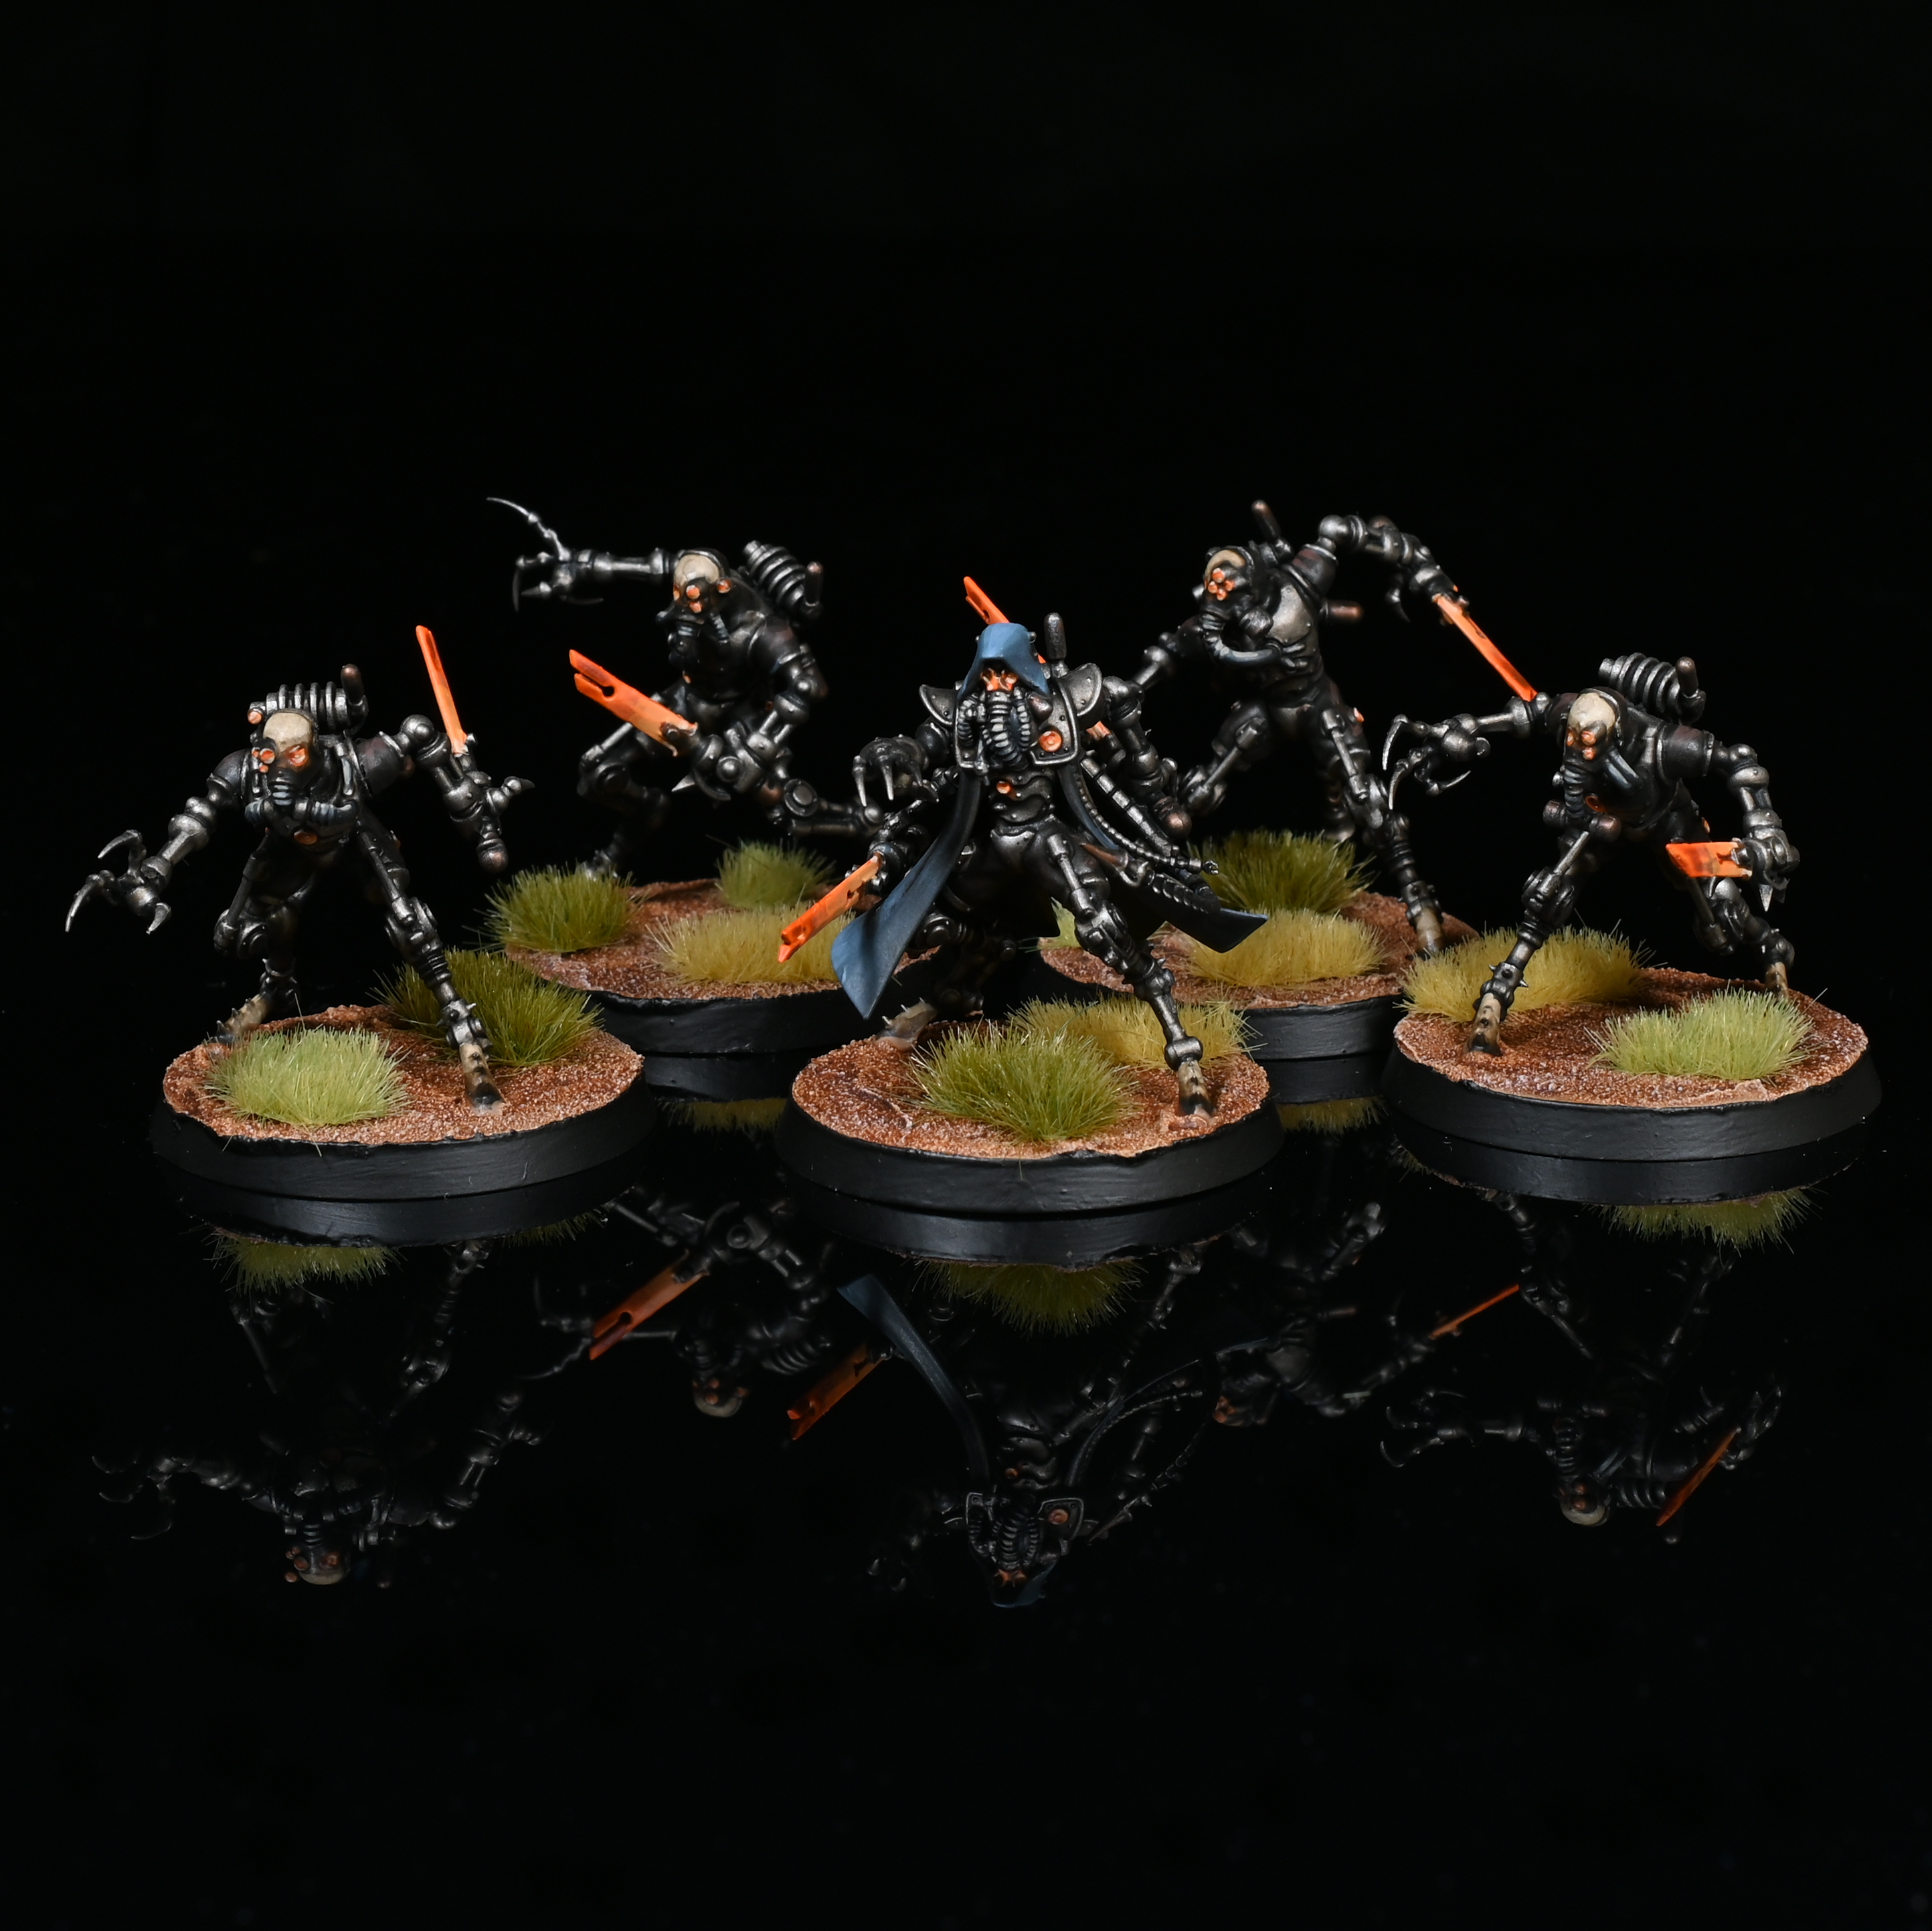
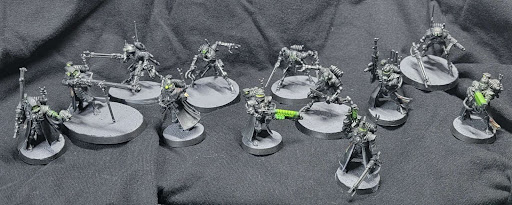
Perhaps you are interested in some splinter cell style assassination centric hunter clade? Done with moon effect basing, and some fluorescent green paints, these smooth operators get the job done quickly and quietly
Final Thoughts
Travis: While the team isn’t the most flavorful team of killteam 2021, hunter clade provides the most flexible play styles of any team. Able to adapt to your opponents strengths, with your own mindful usages of the control edict bring the metallic boots and crush your opponents.
As of balance slate Dec 23, the team has lost some of its obscene top end, but still remains flexible. Four sicarians can still lead to dangerously good melee turns, but we no longer have a throwaway sicarian. Keep them safe and use them efficiently and the team should still perform admirably.
Ace: This is a good team to start with if you came from 40k since all the models should be available for you. It is also a good starting team as it does not have too many specialists with too many skills. On the other hand if you are a competitive player it is a good place to develop your skills as it rewards good positioning and solid base mechanics. Now also after the DS the Roster configuration becomes more interesting and it is still a competitive KT despite this nerf. Highly recommended for both rookie players and those who want to keep improving in the game.
Have any questions or feedback? Drop us a note in the comments below or email us at contact@goonhammer.com.
